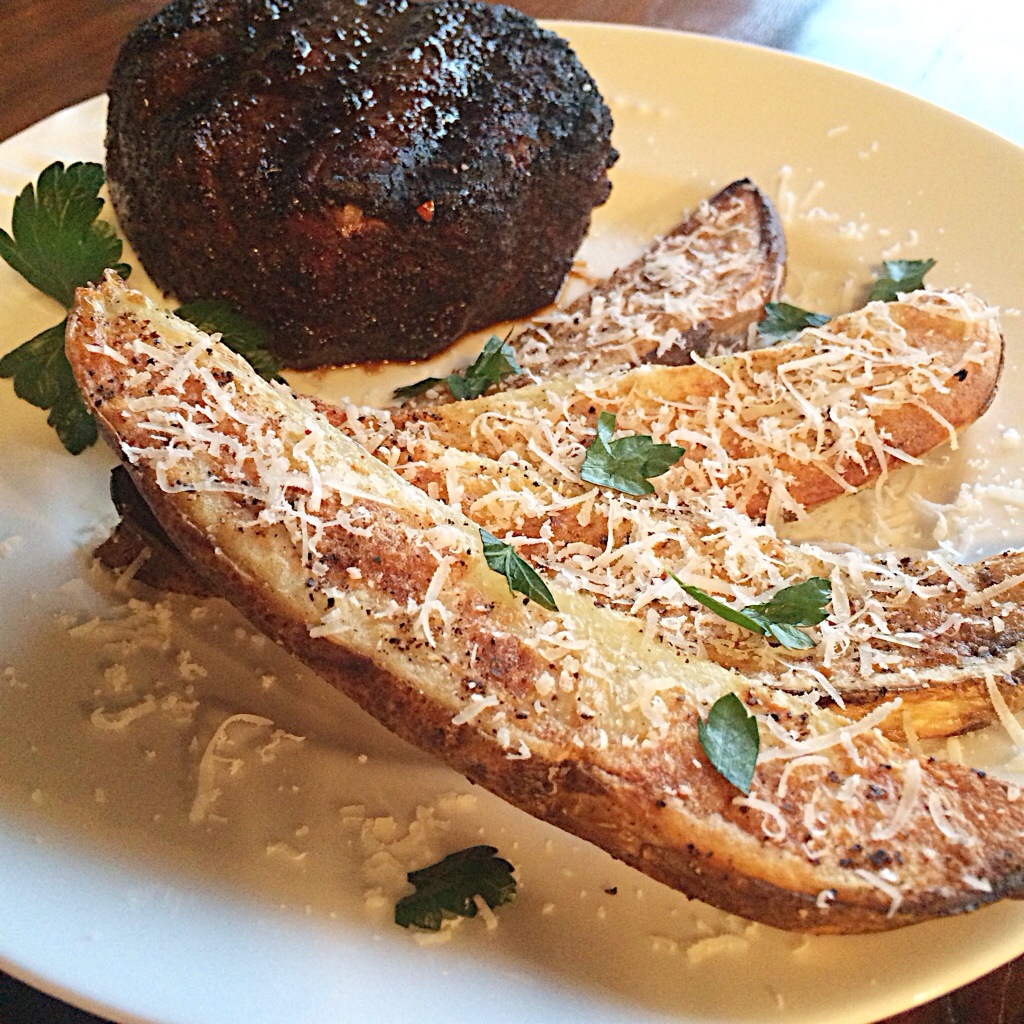

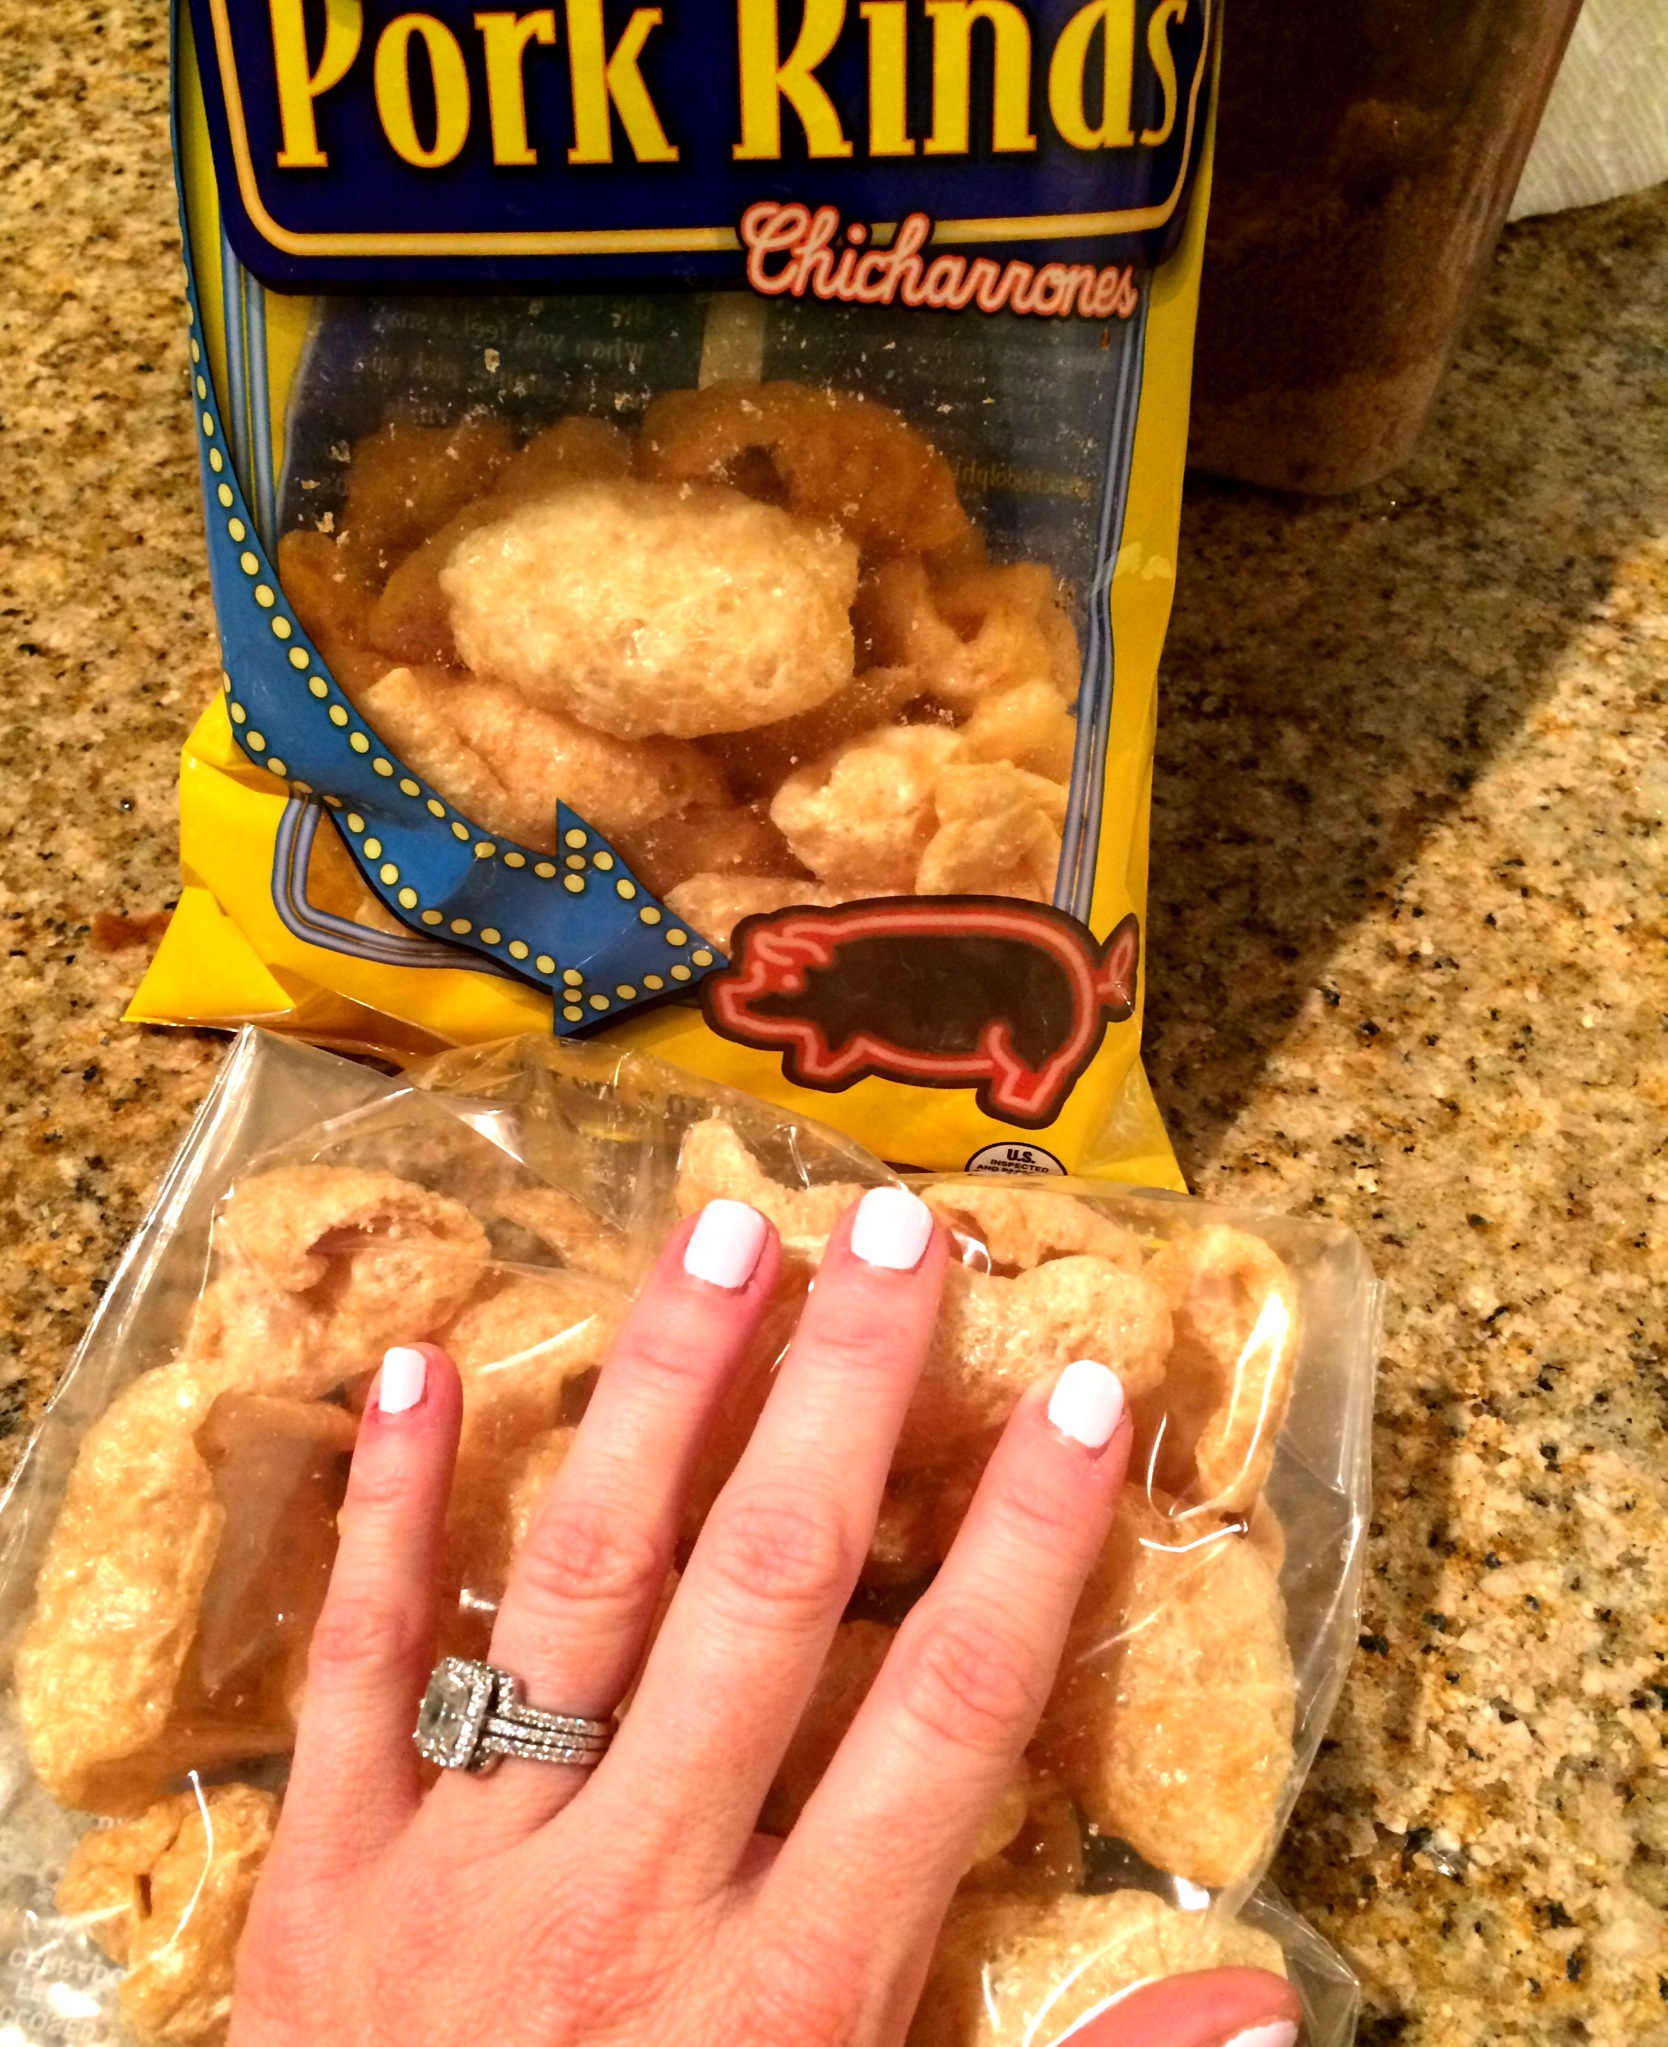
These one of a kind meatballs are my final recipe that was featured on Local Memphis Live last week. A sweet and tangy balsamic BBQ sauce gives these meatballs a fun twist, but it's really the pork rinds that make this recipe stand out. Pork rinds in meatballs?!?!?! What in the world?! Well, traditionally breadcrumbs are featured in meatballs, and we've all had a BBQ flavored meatball so put the two together and you have quite a unique meatball! Pork rinds were a fun subject for me to discuss on the Local Memphis Live segment because it immediately brought back a childhood memory. When I think or pork rinds I think of being a kid on a road trip. When I was a kid, we would go on summer trips to the beach, and what I remember most were the gas station stops. We would make pit stops and stock up on snacks for the car. As strange as it may sound, pork rinds were always a family favorite. I've grown up eating pork rinds, so cooking with them made a lot of sense!

Grocery list (makes about 20 meatballs):
Sauce:
1/3 cup ketchup
1/3 cup balsamic
2 tbsp brown sugar
2 tbsp Dijon
1 tbsp apple cider vinegar
1/2 tbsp Worcestershire
1/2 tsp garlic powder
1/4 tsp salt
Meatballs:
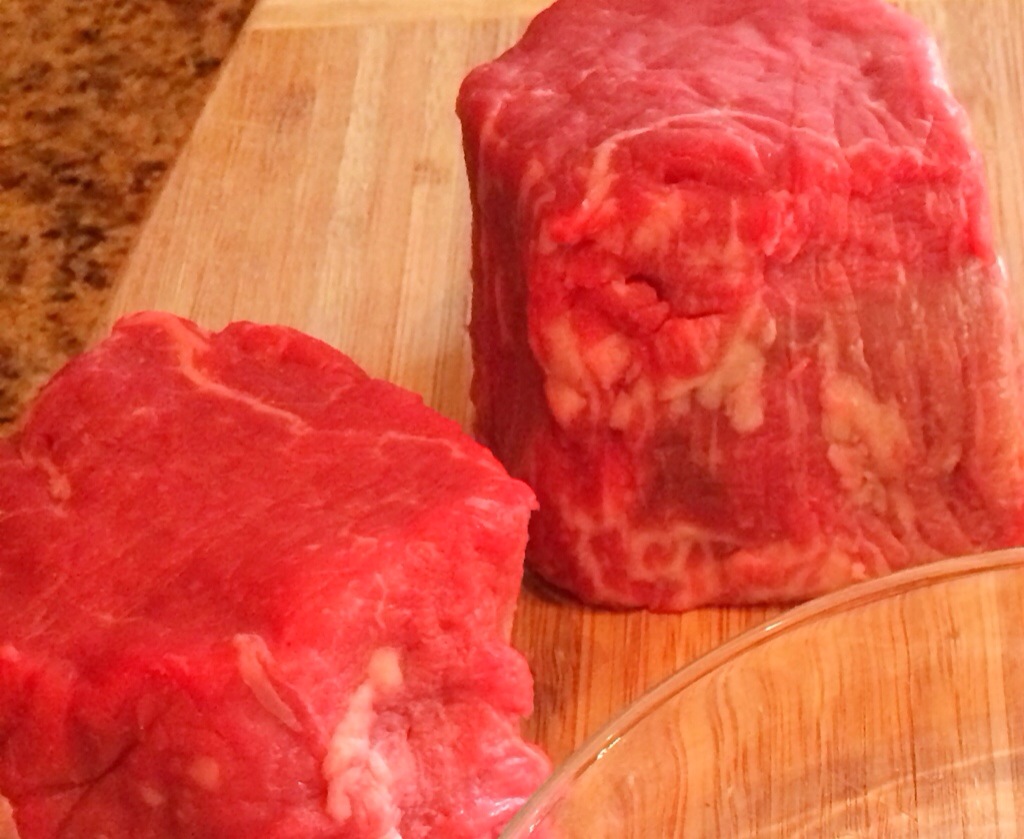
1/2 lb pork
1/2 lb ground beef
1/3 cup grated onion
1 garlic clove minced
1/4 cup parm
1 tbsp cream or milk
1 egg - beaten
2 tbsp basil - minced
1 tsp salt
1 cup Rudolph's Original Pork Rinds (or breadcrumbs)
Directions:
Step 1:

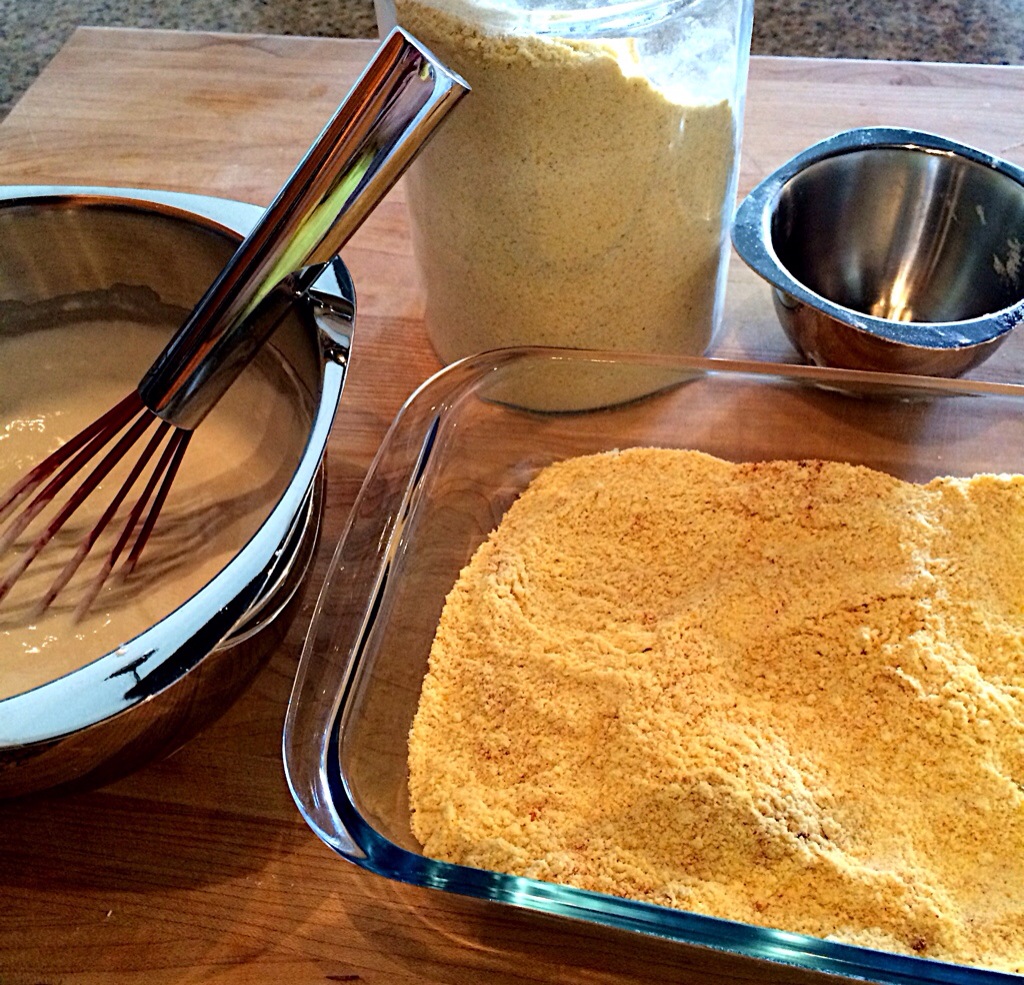
Start by making the sauce. In a small saucepan, whisk together the ketchup, balsamic, brown sugar, Dijon, apple cider vinegar, Worcestershire, garlic power, and salt. Set over low heat and whisk until smooth.
Step 2:
Heat oven to 350 degrees.

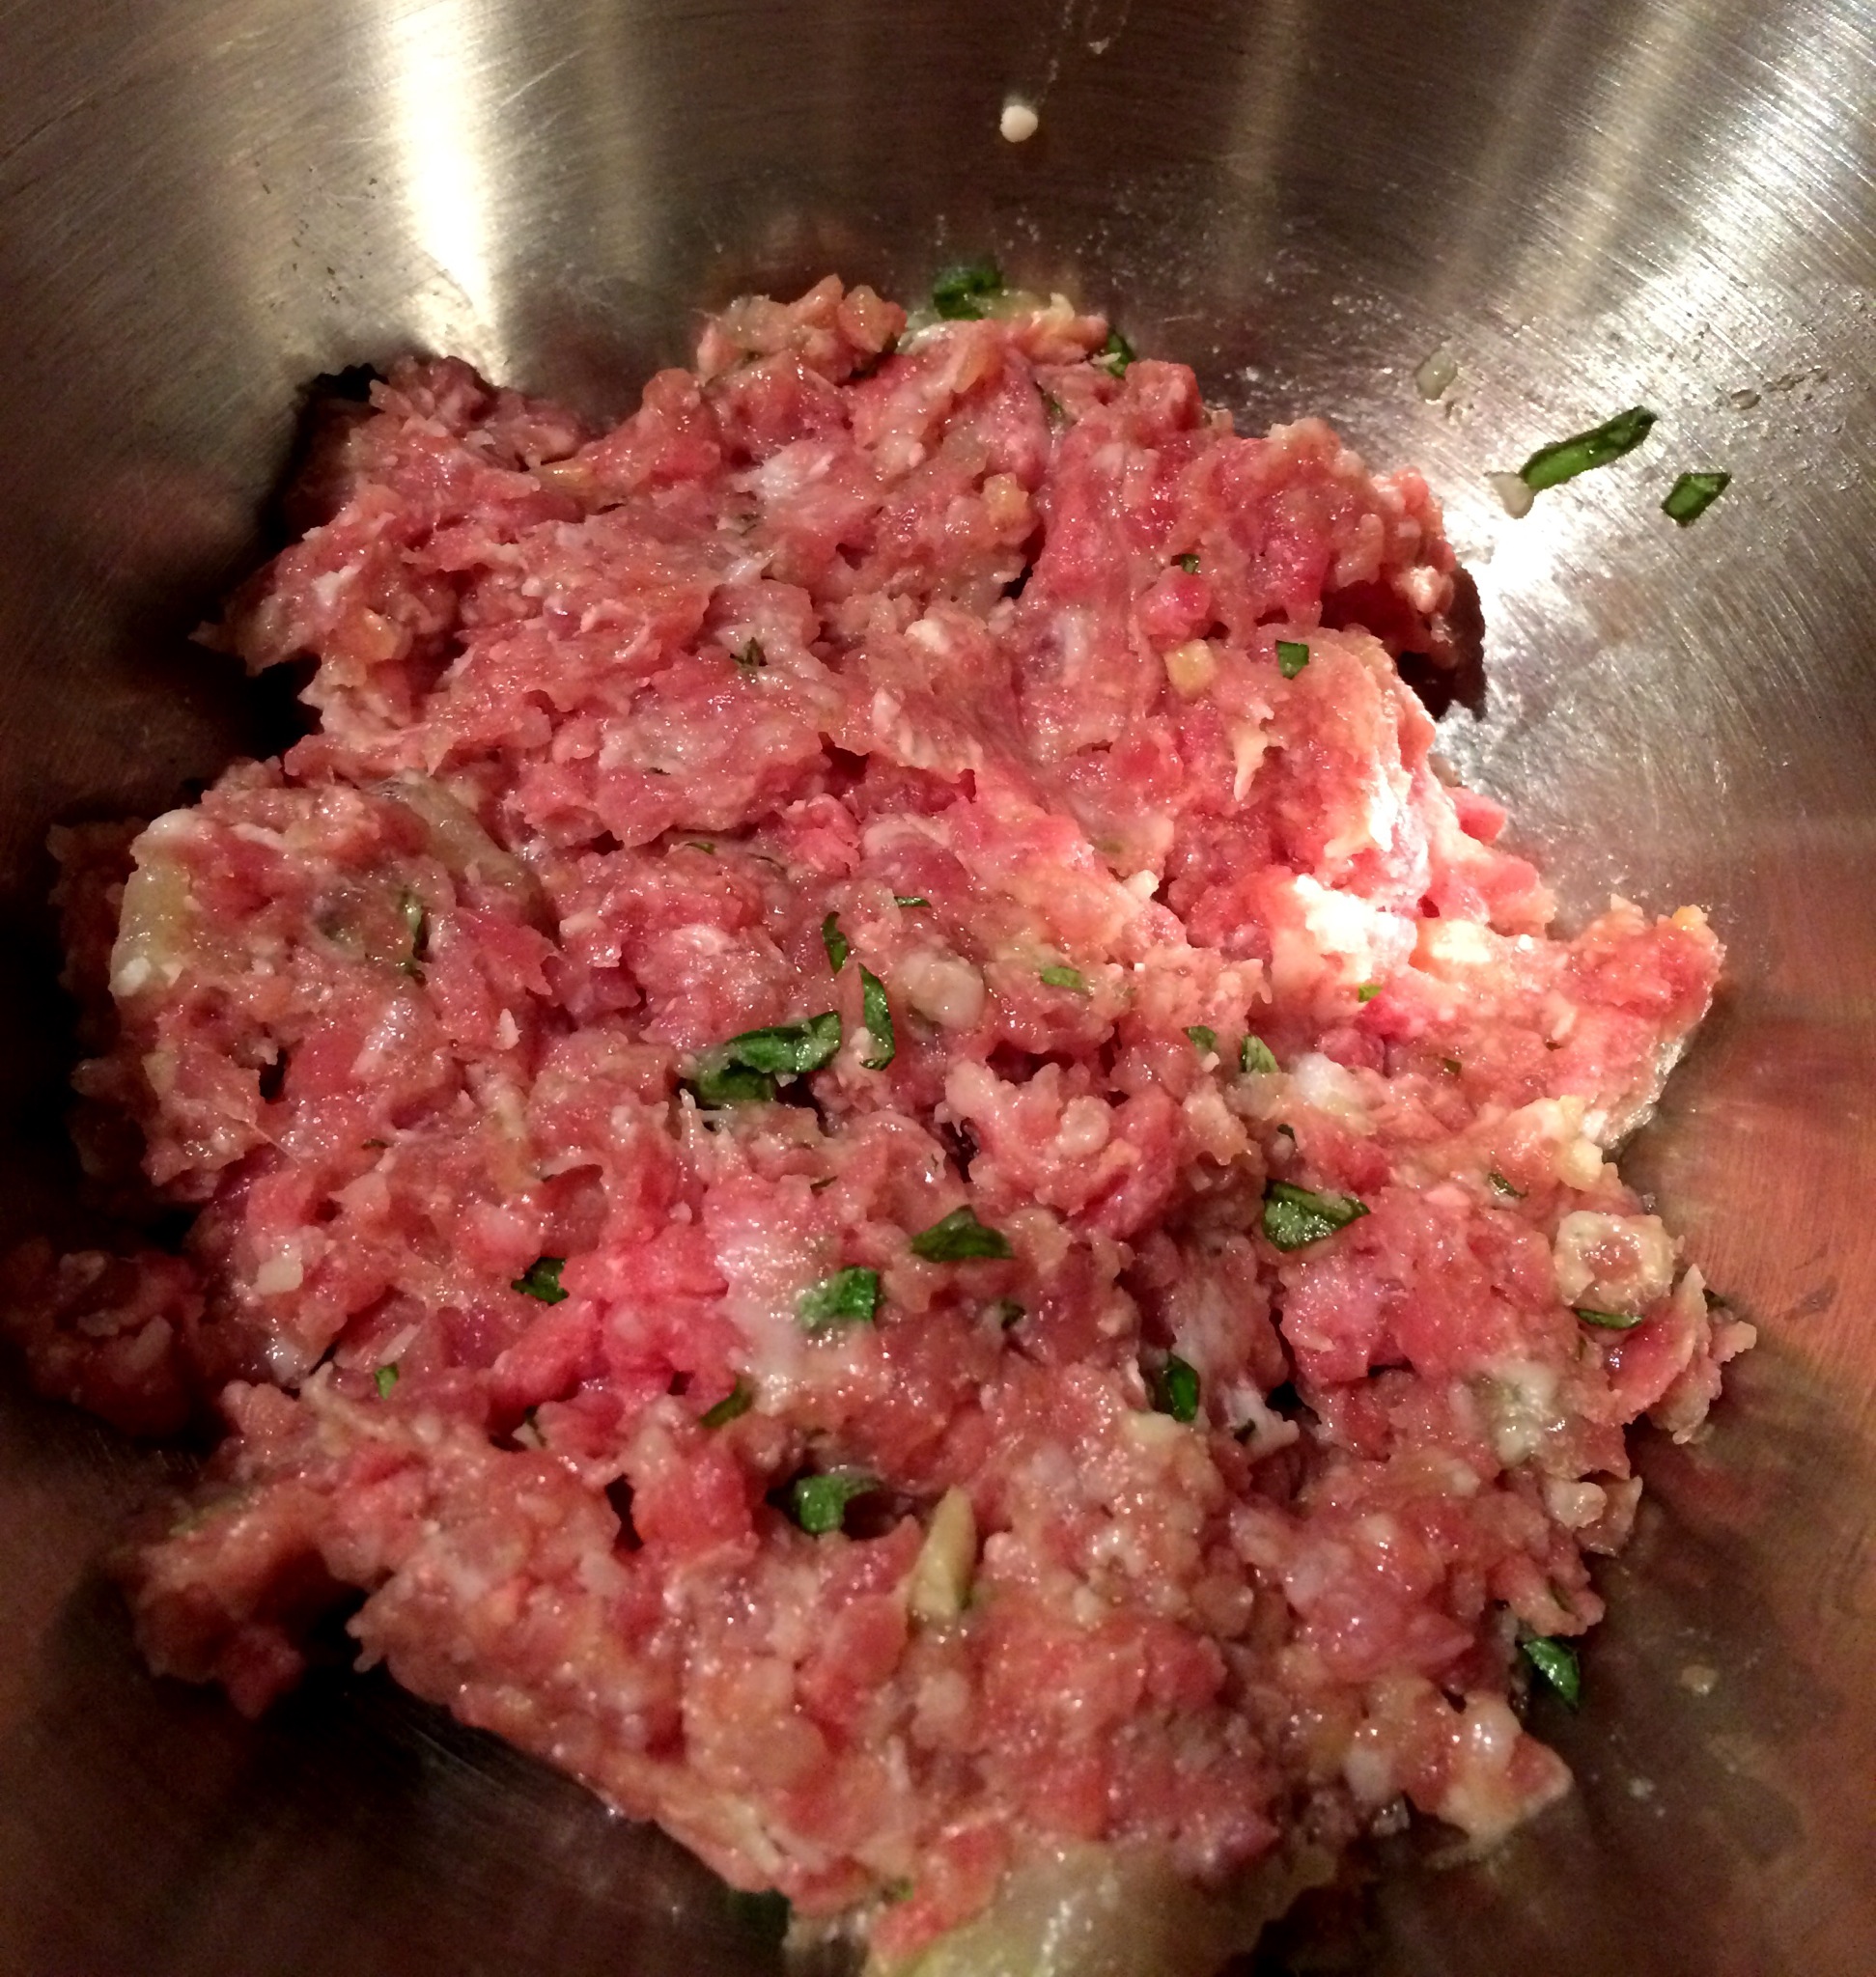
Make the meatball mixture. In a mixing bowl, combine the pork, beef, onion, garlic, parm, cream, beaten egg, basil, and salt with a fork. Don't over mix. In a plastic bag, crush your pork rinds into very fine crumbs. You can also do this in a food processor. Add the crushed pork rinds and combine the mixture with your hands. Again, don't over mix. Just mix together until well combined.
Step 3:
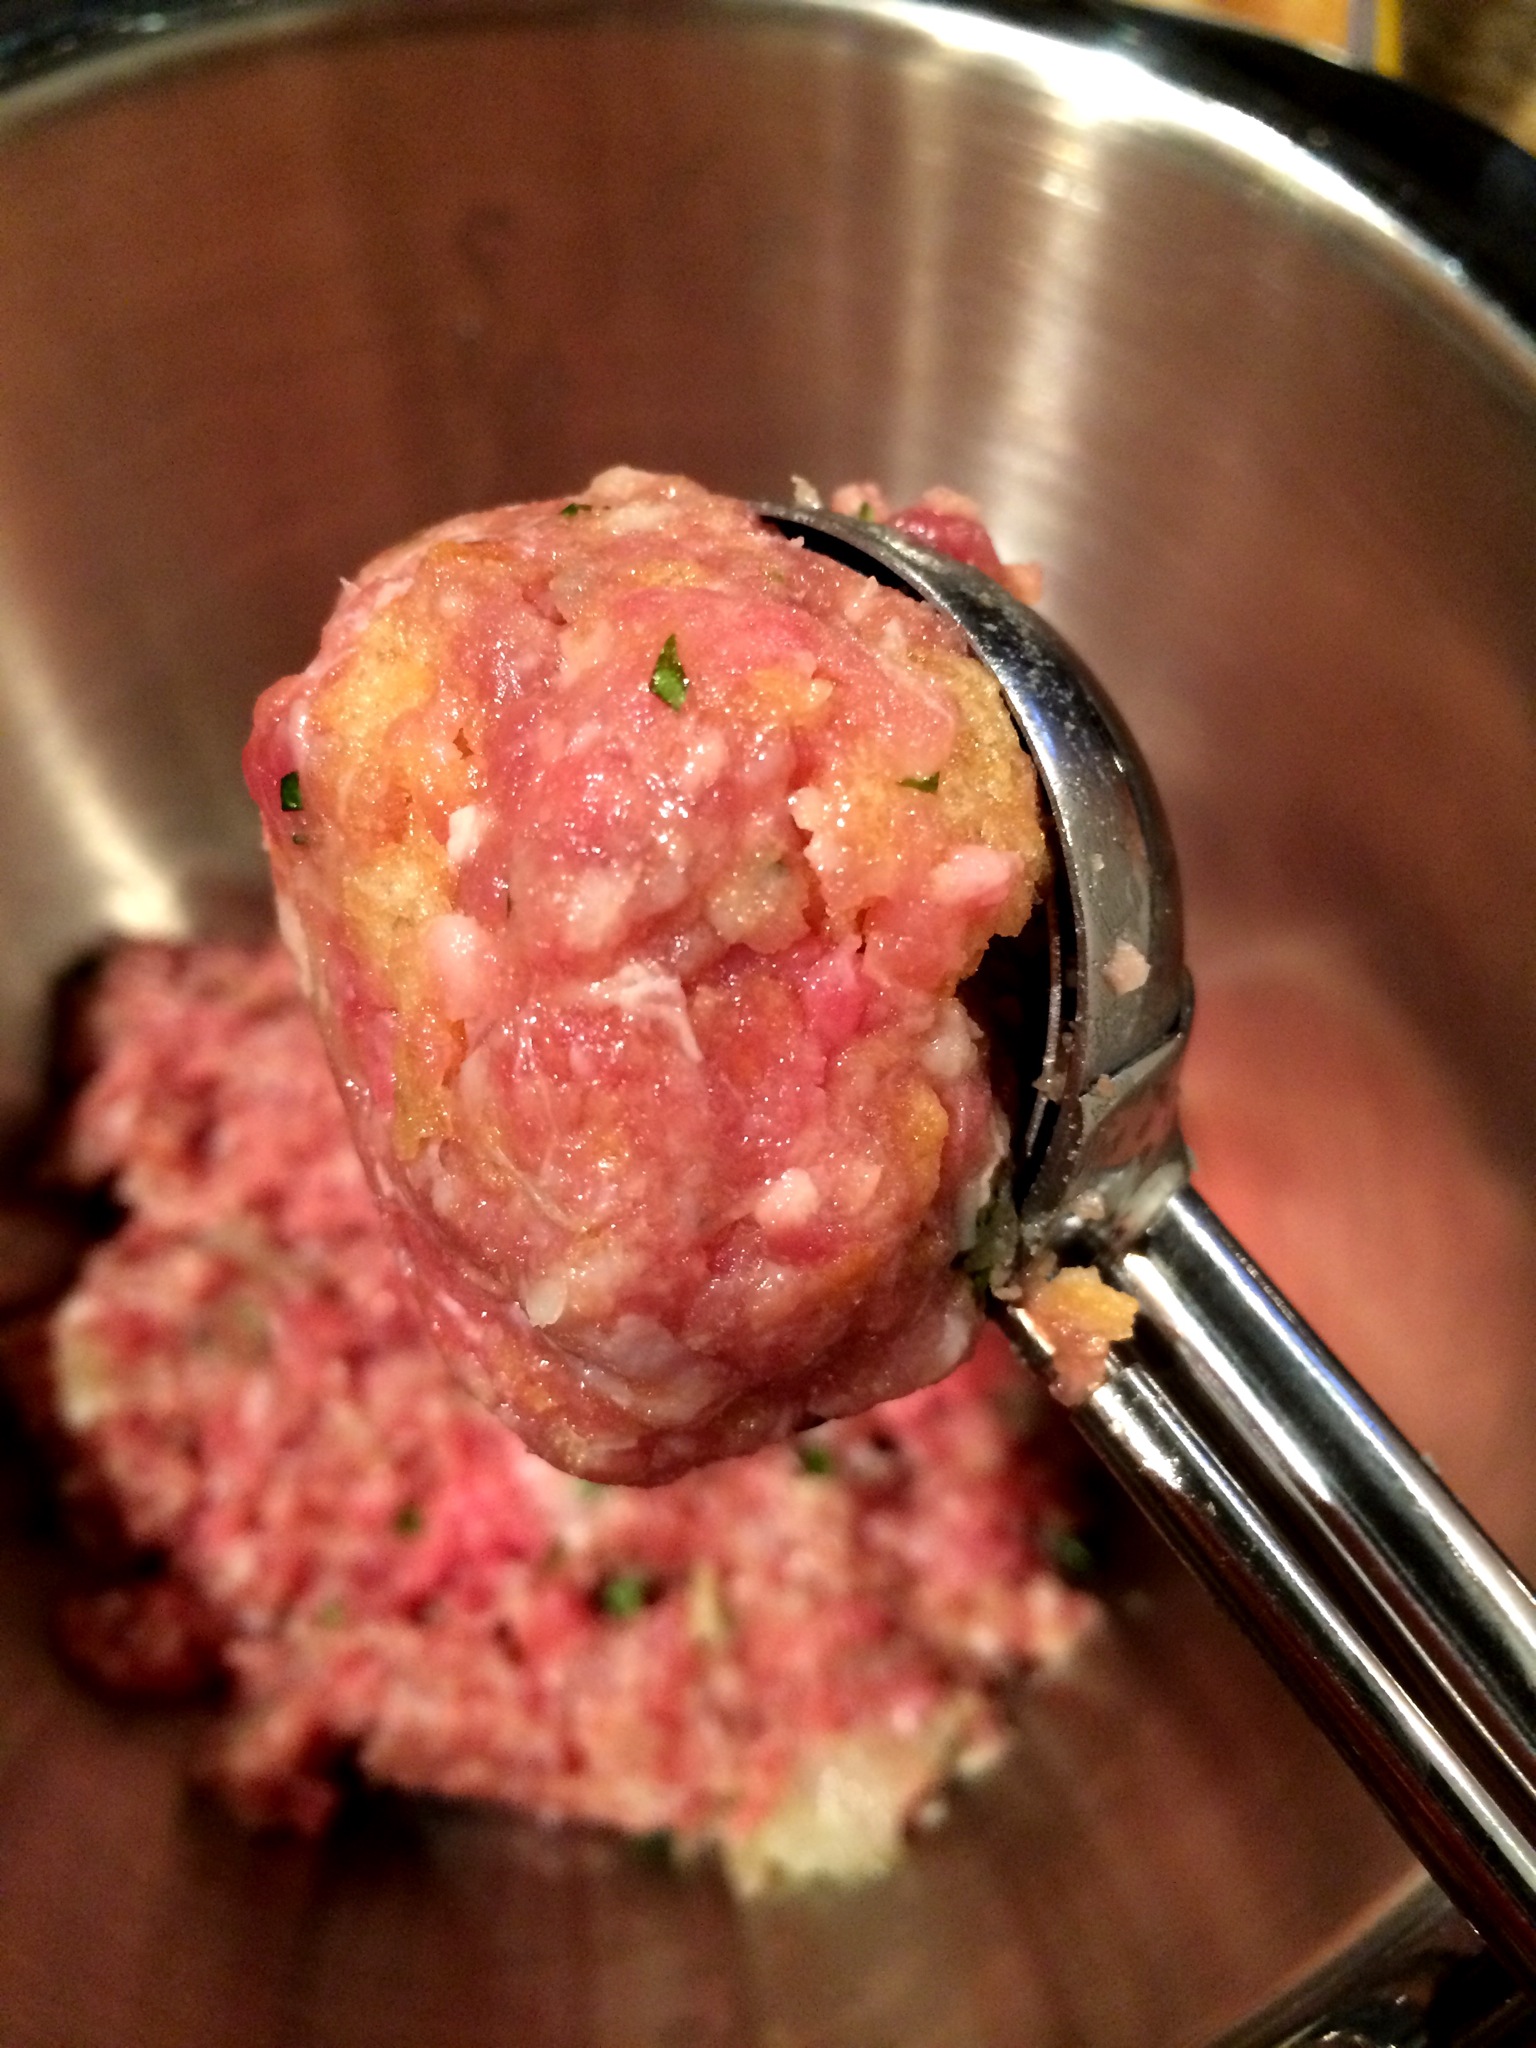
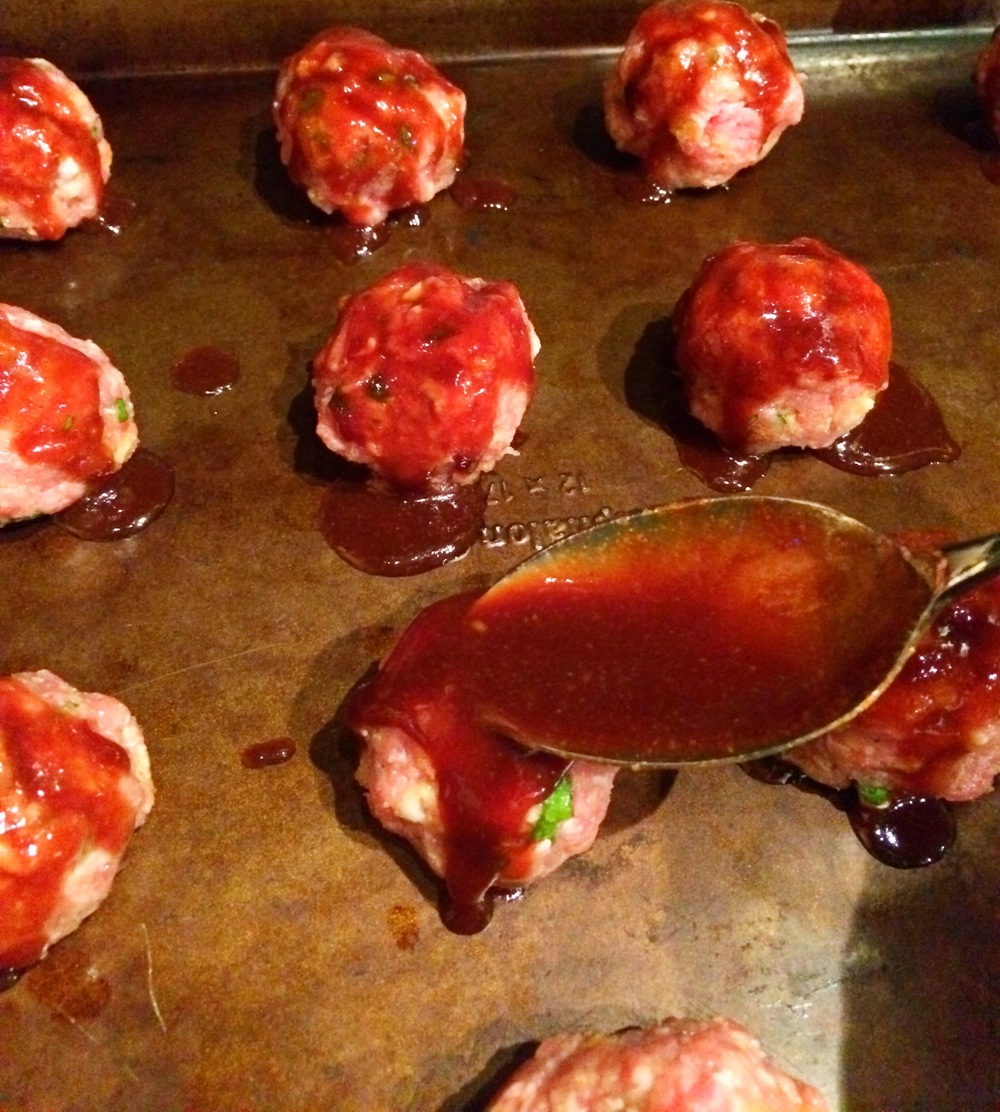
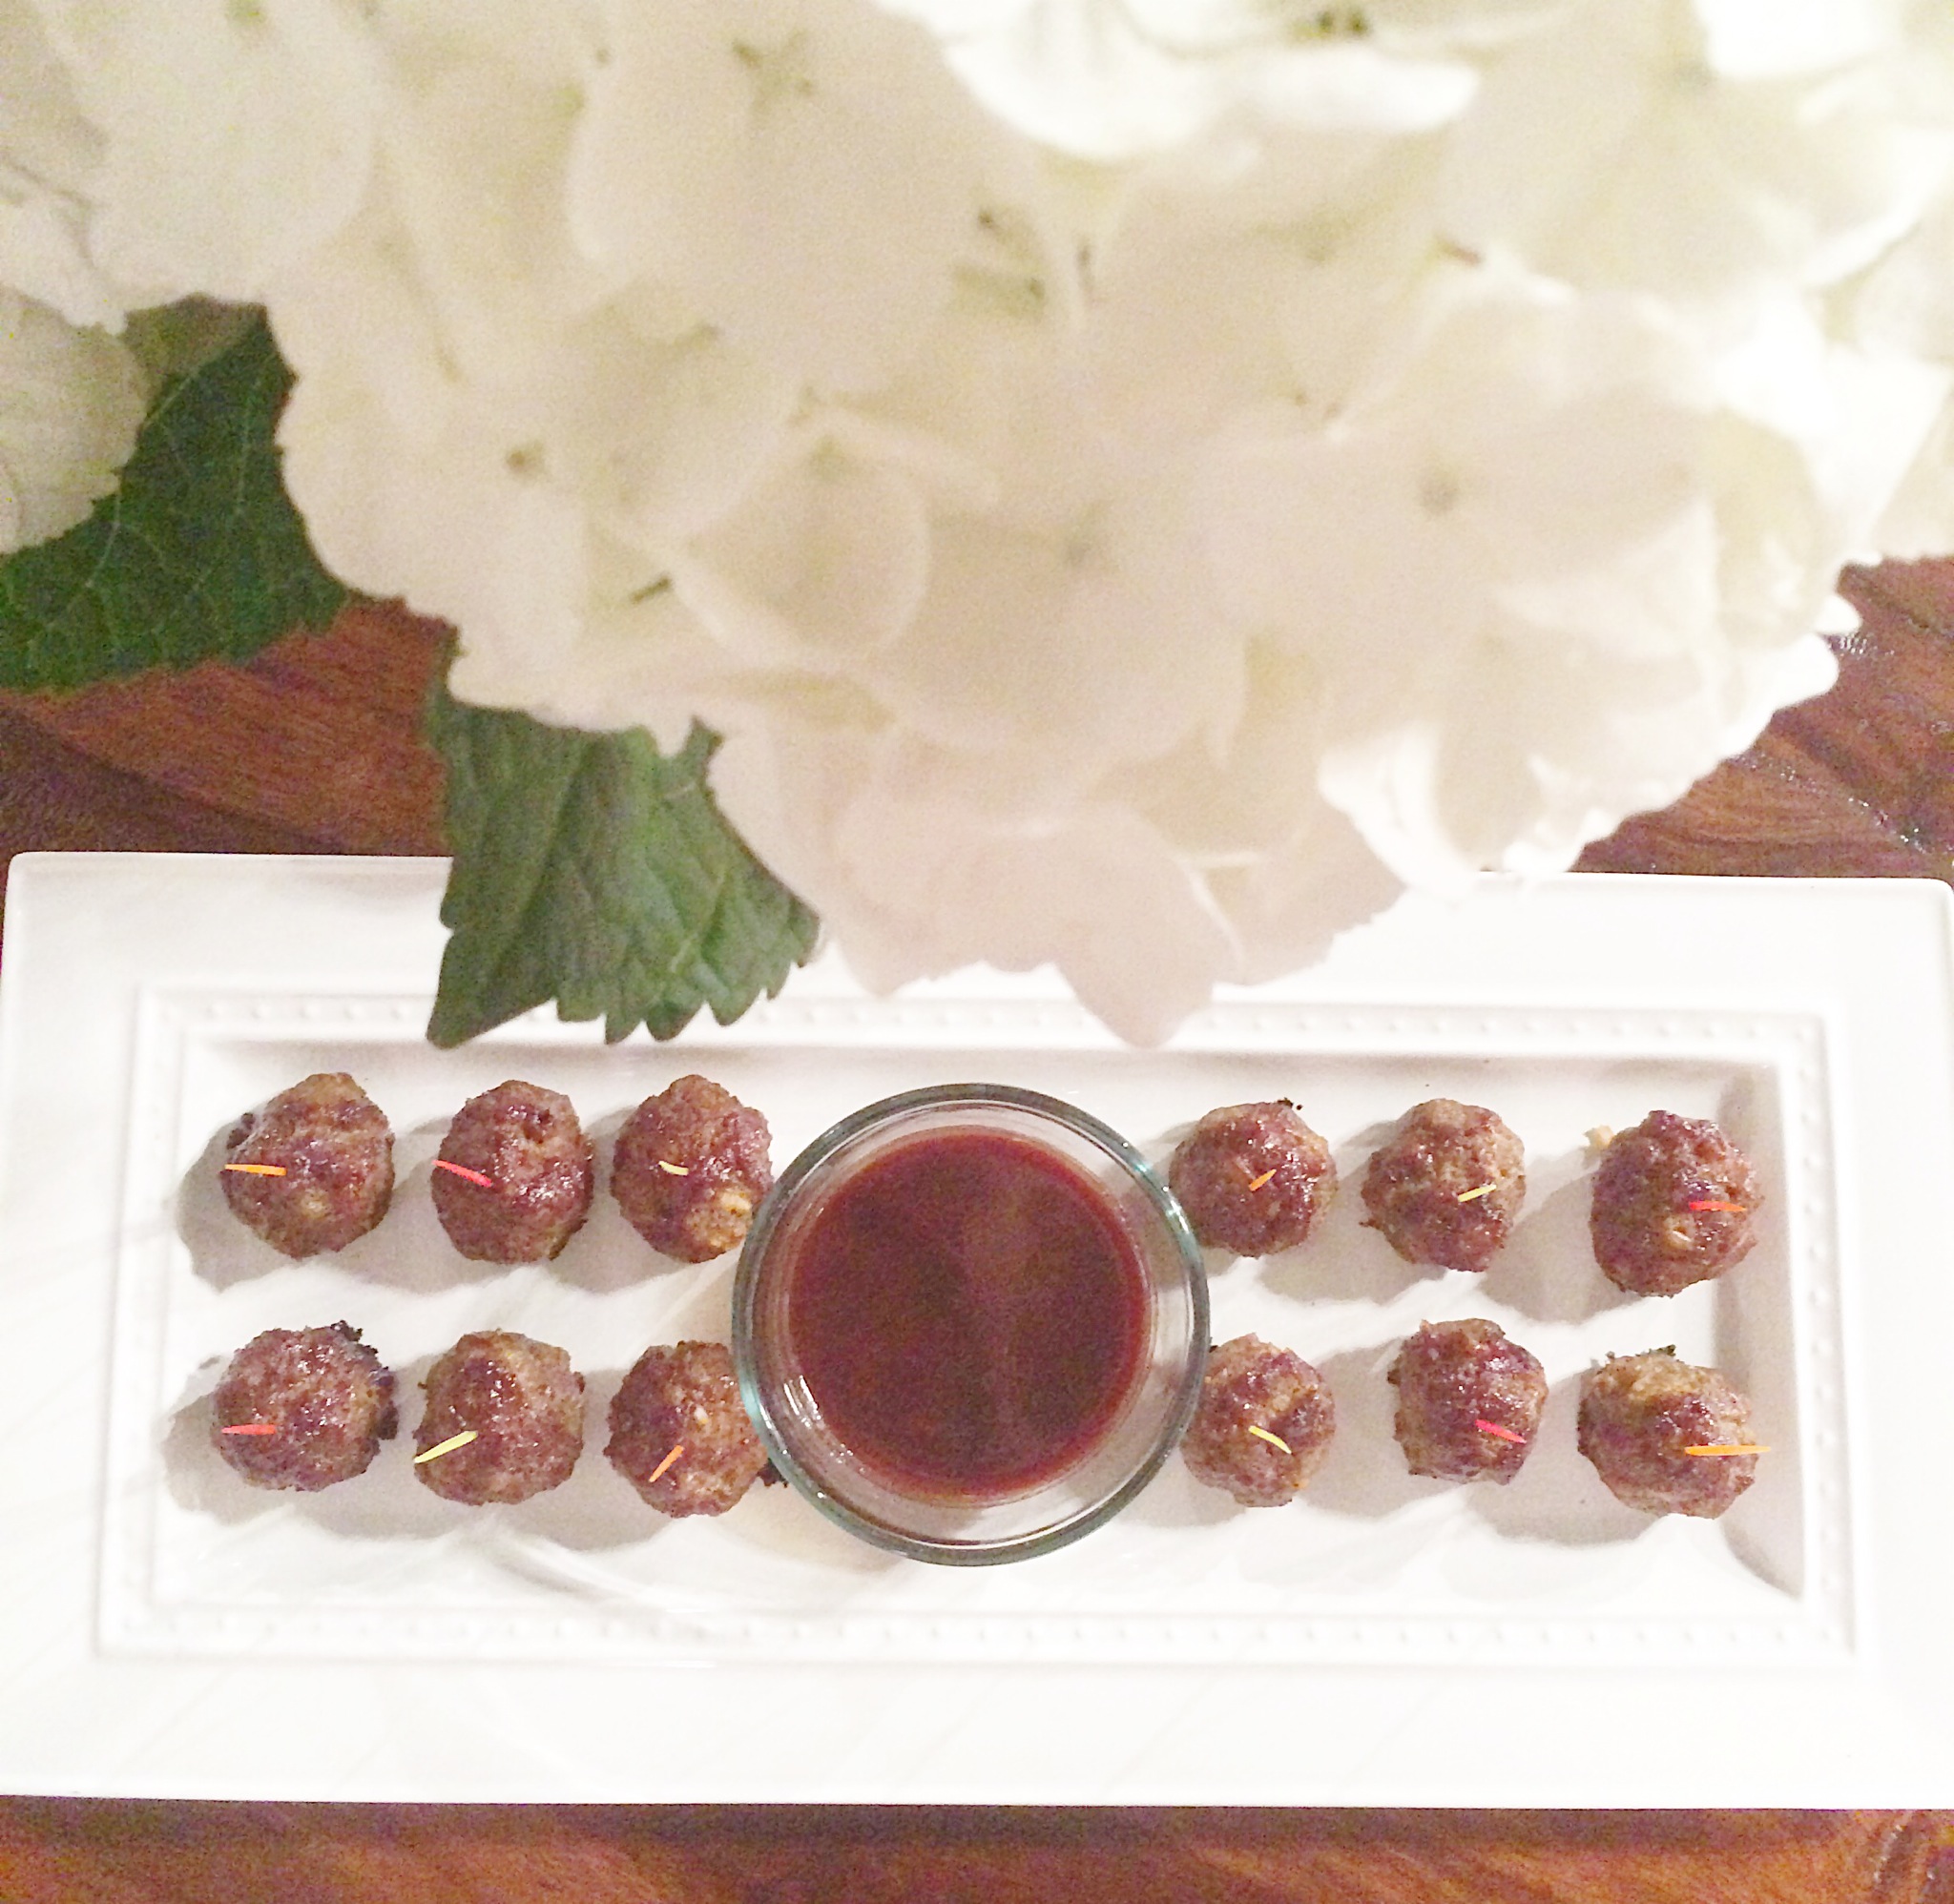
Make your balls. You can use your hands but I like to use a small ice cream scoop so they're all the same size. Place meatballs on a baking sheet and spoon a small amount of the Balsamic BBQ sauce over each ball. Bake for 35-40 minutes. Serve extra sauce alongside for dipping.
CHEERS TO HAPPY EATING!!!