

Cooktales Holiday Series: Buttermilk Biscuits
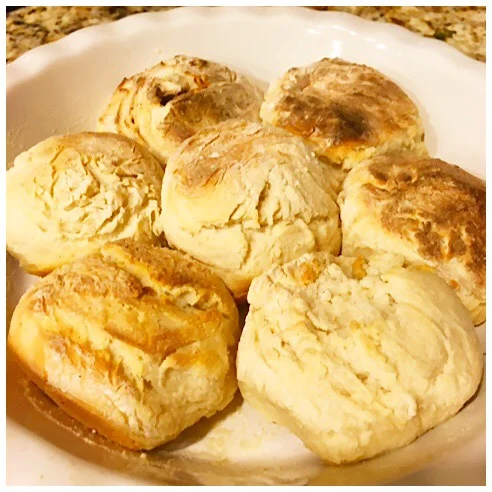
I met Cassie just a few months ago but instantly connected with her. A talented musician living in Nashville to pursue her dream, I realized after only talking to her for a few minutes that Cassie and I have a lot of the same aspirations, just in a different line of work. She also told me about her grandmother who recently passed away, and it warmed my heart hearing how much her and her Mamaw connected over food and recipes. Here's her Cooktale and delicious biscuits: Some of my favorite memories with my Mamaw are of us in the kitchen together. I always enjoyed baking cookies, making casseroles, and trying desperately to master her buttermilk biscuits. She hardly ever followed a recipe, which made it difficult for little amateurs in the kitchen like me. Mamaw said, “It’s all in the way they feel…the elasticity, ya know?” One day, we finally figured out the exact measurements of the ingredients to her tasty homemade biscuits.
My Mamaw went to be with the Lord on July 17th, 2015. I miss our special moments in the kitchen, but will always hold those memories closely. While she was in the hospital, one of the last things she told me was to not forget a “dab-a sugar” and a “pinch-a salt,” then my biscuits would be just right. To this day, I don’t know what the exact measurement is for a “dab” or a “pinch,” but I always get tickled when I’m trying to figure it out.
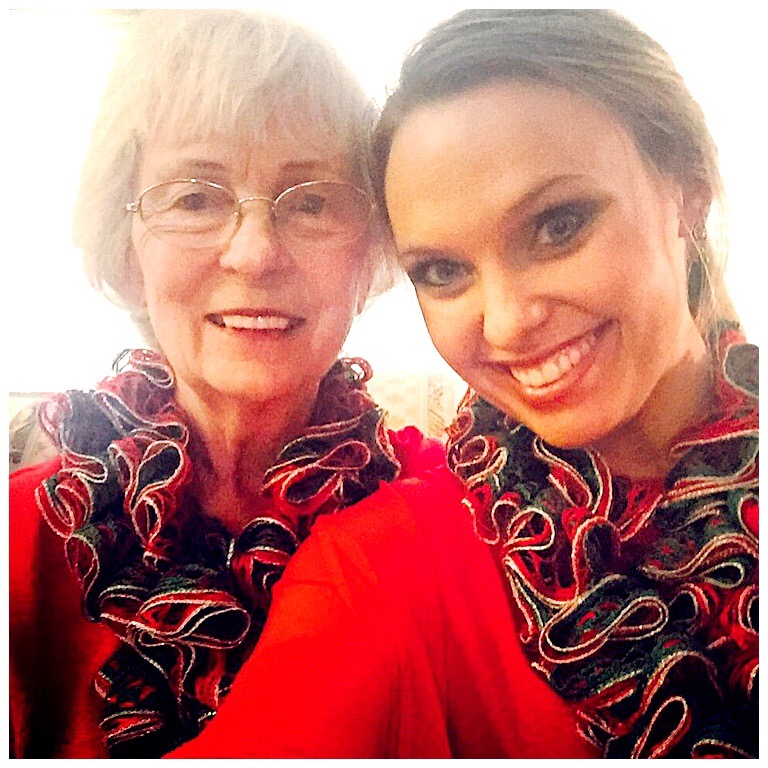 I’m still convinced that even if I follow one of her recipes perfectly, nothing ever seems to taste as good as it did at Mamaw’s house. Maybe it was her presence that made everything better or pinches and dabs. If you’re feeling adventurous and like your coffee with cream and sugar, try dipping these biscuits in!
From the words of my Mamaw Lynda Means, “So, as you taste and see that your dish is good, always remember to ‘Taste and see that the Lord is good.” Psalm 34:8
Grocery list:
- 2 3/4 cups self rising flour
- 1 1/2 cups buttermilk
- 2 tablespoons Crisco
- 1 teaspoon baking powder
- 1 tablespoon butter (softened)
- dab- sugar
- pinch-salt
Directions:
Preheat oven to 400. Grease pan well with Crisco. Mix ingredients together. Roll dough into desired thickness. Toss and turn dough in self rising flour. Place in pan and bake for 15-20 minutes. Broil for 2-3 minutes to brown the top. Brush with butter.
Cheers to Cooktales from everywhere!
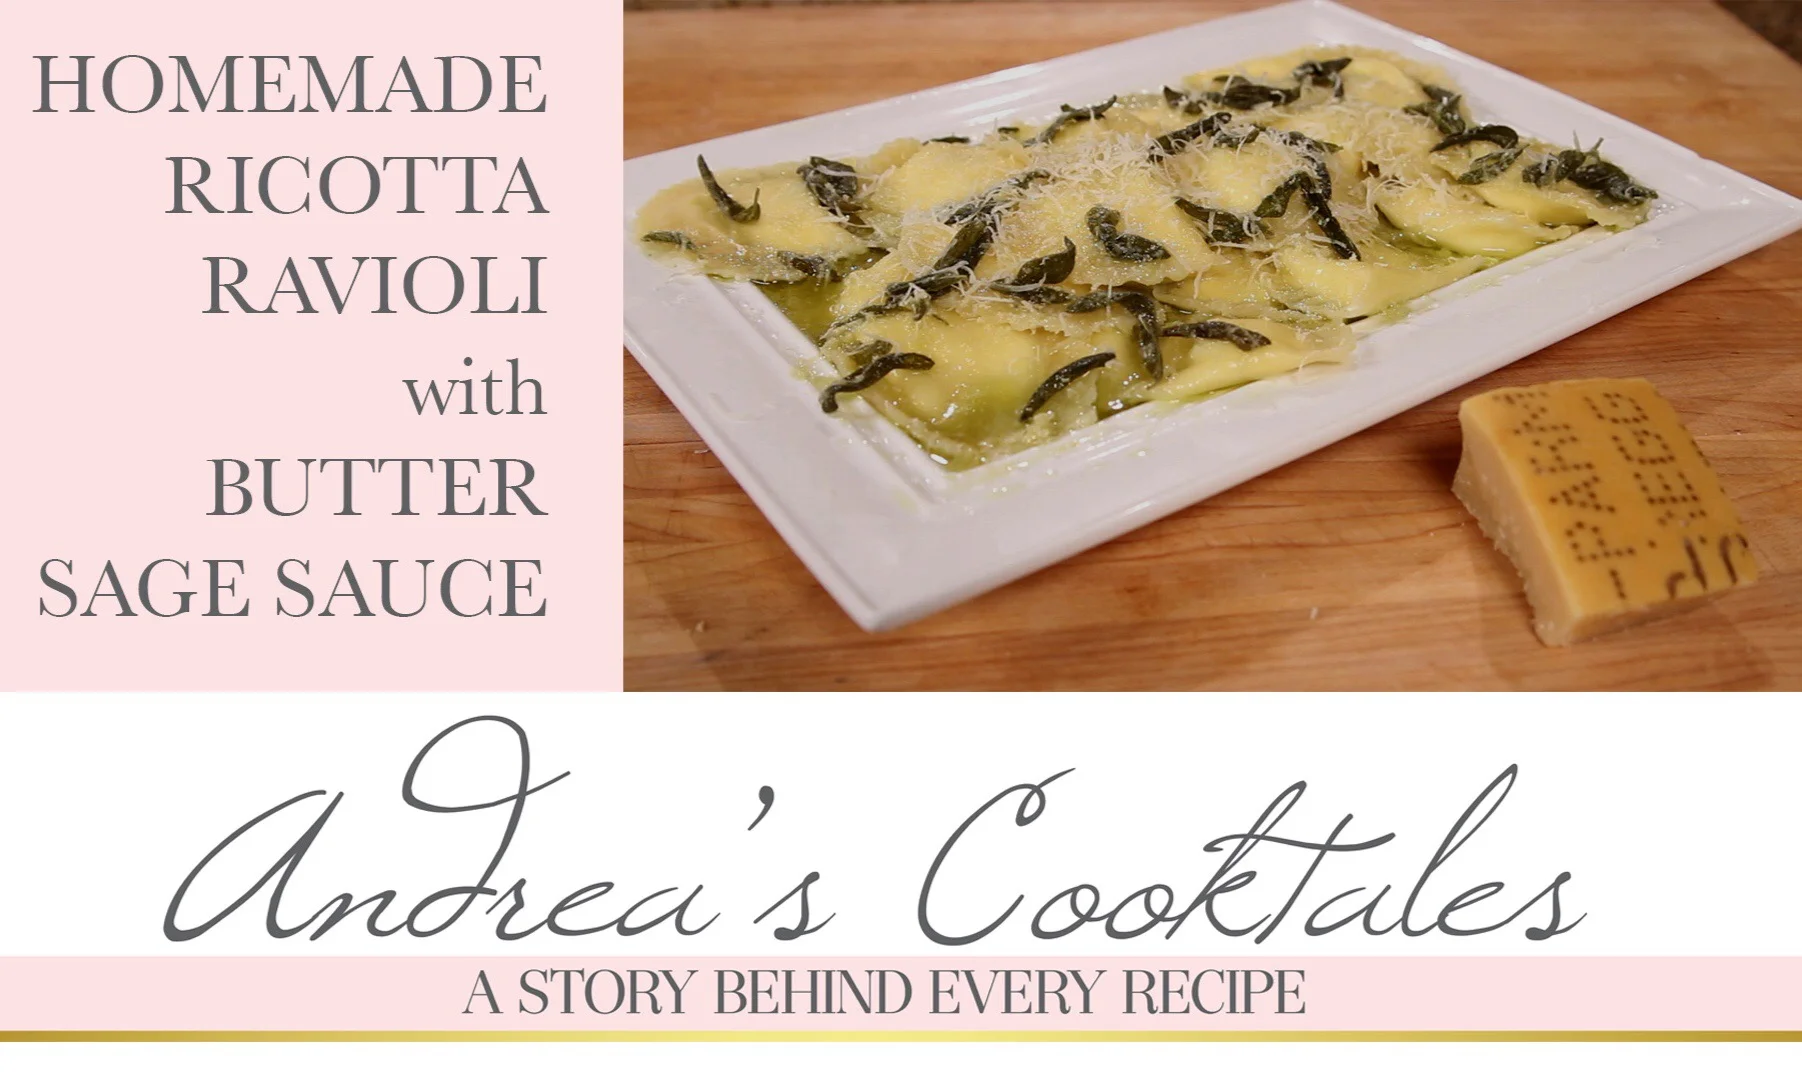
Andrea's Cooktales - Series 2, Episode 18 - Homemade Ricotta Ravioli w/ Butter Sage Sauce
Homemade Ricotta
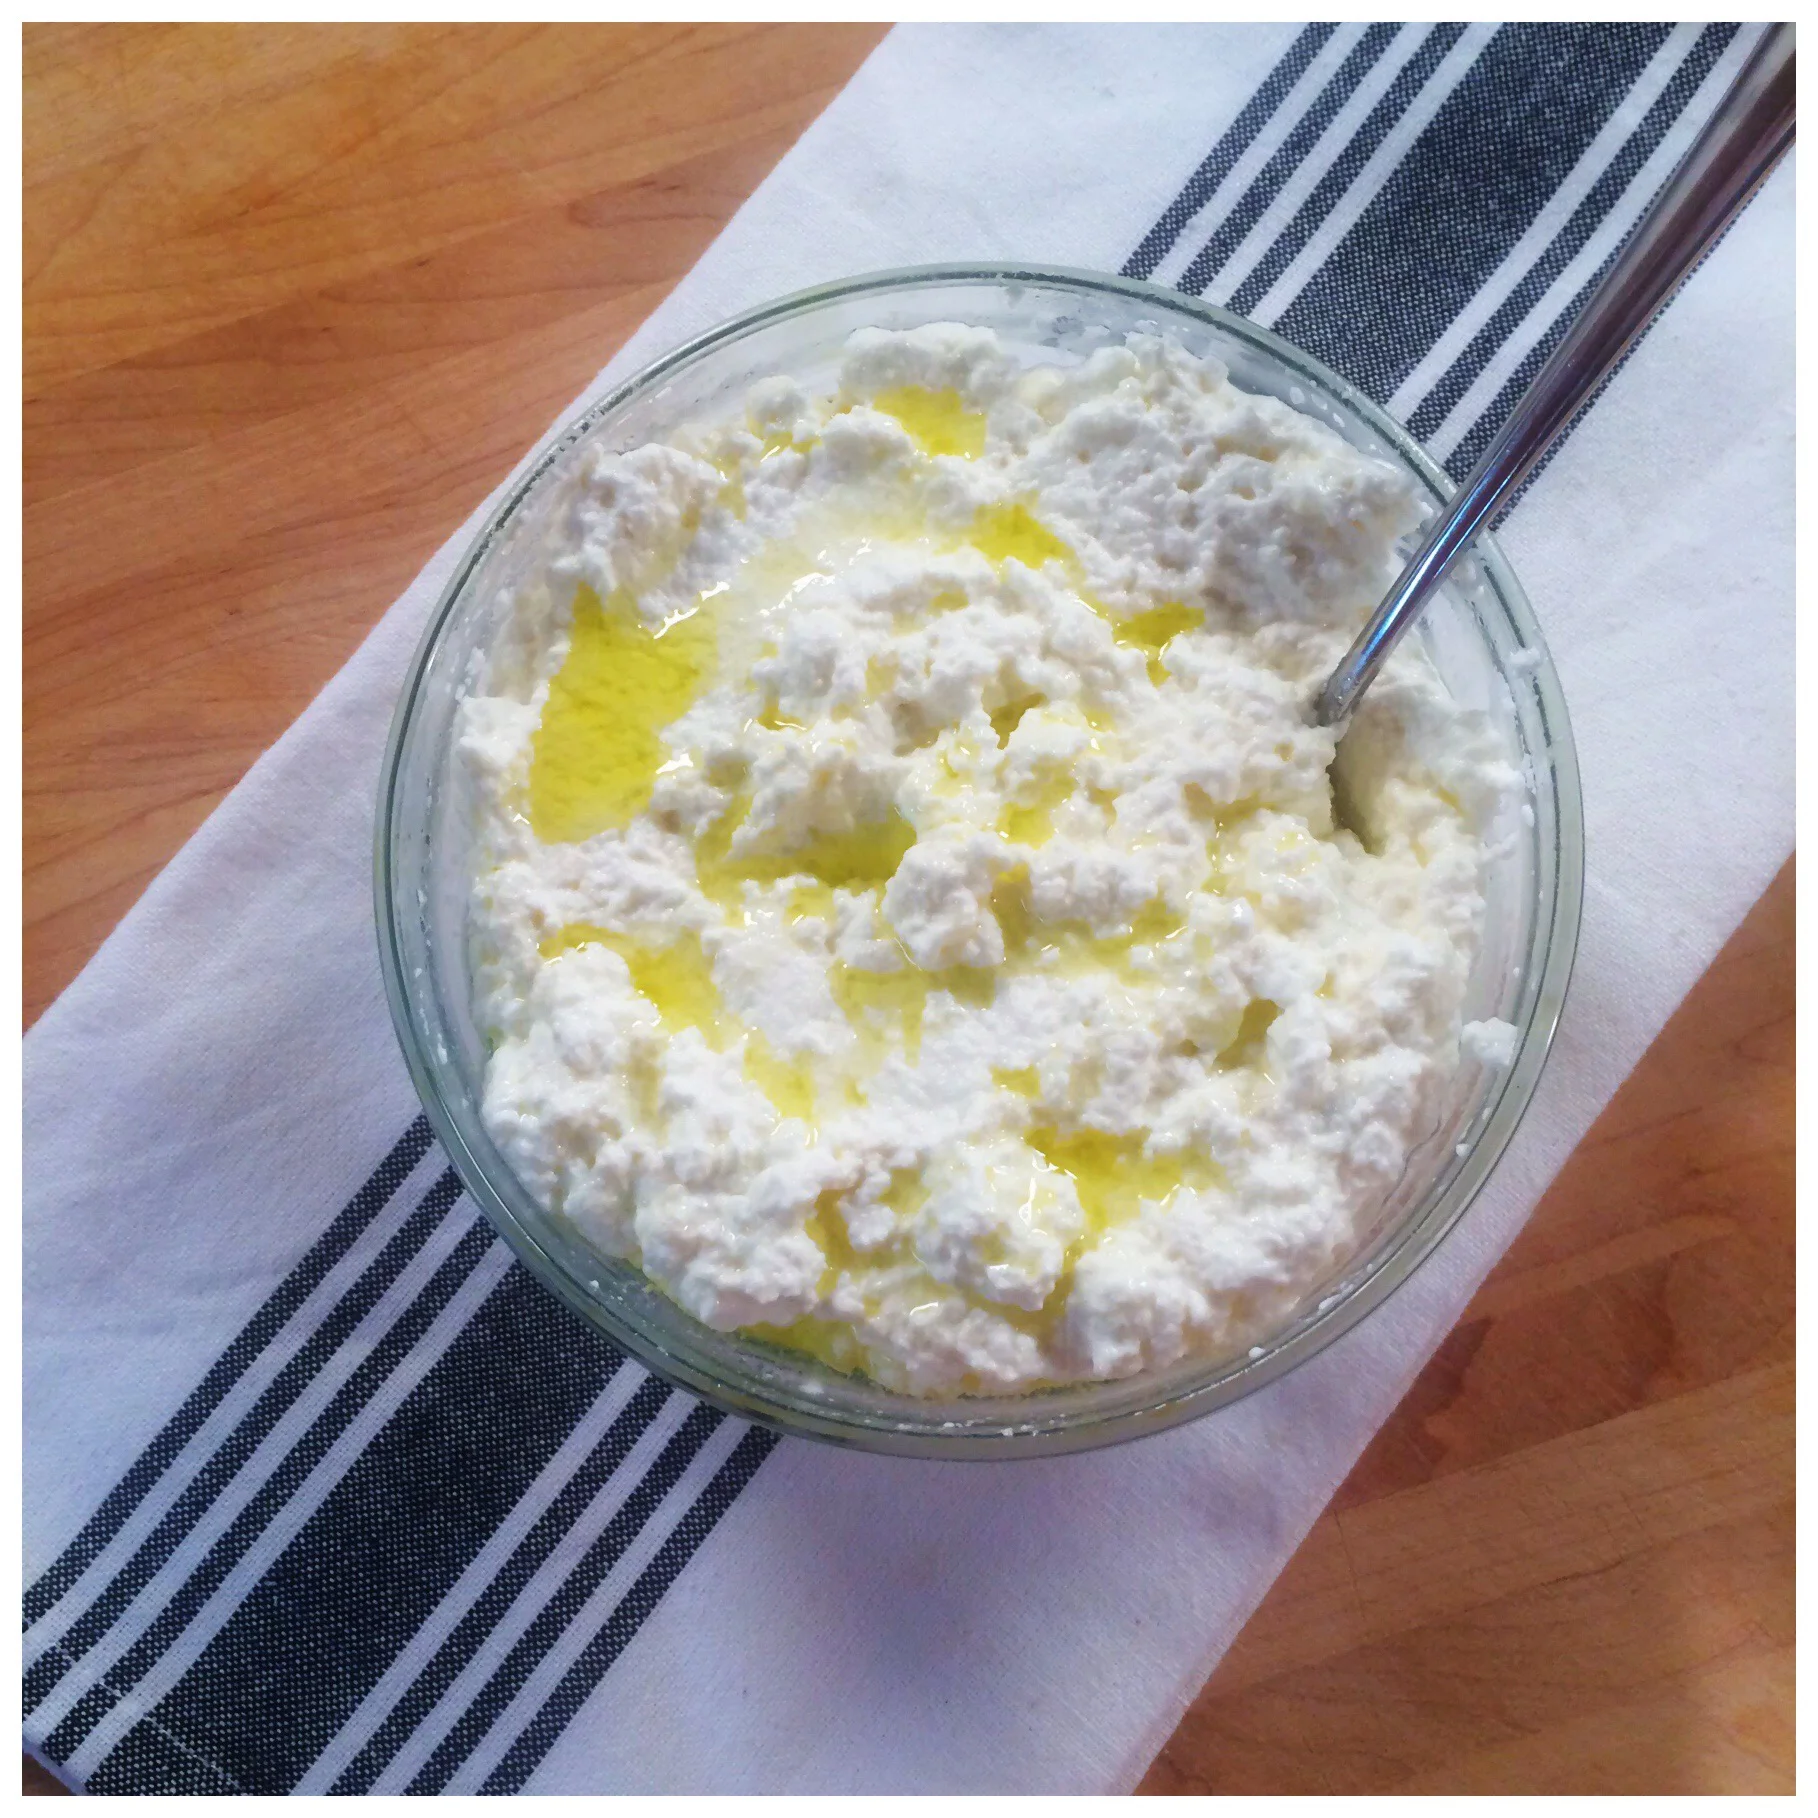
I made homemade ricotta for the first time for a dinner party because I wanted ricotta crostini but didn't want store-bought. I had just got back from Italy where homemade ricotta was abundant, and it was there, I fell in love with the cheese. So I thought, why not make it myself? I was shocked to learn how easy it was and now I make it like crazy for quick, impressive crostini when we have people over. My favorite way to use it is in my Homemade Ricotta Ravioli with Brown Butter Sage sauce recipe. To die for!
See the the video on making homemade ricotta!
Grocery list:
4 cups whole milk
2 cups heavy cream
1 tsp kosher salt
3 tbsp white wine vinegar
Extra virgin olive oil
Directions:
1. Make the ricotta. In a large Dutch oven or cast iron pot add the milk, cream, salt and stir together over medium heat. Let it come to a complete boil, stirring occasionally, for about 5 minutes.
2. Turn off the heat and stir in the vinegar. Let the mixture sit for several minutes (I wait at least 6-7 minutes) until it curdles. There will be large chunks throughout the mixture. Set a large sieve covered with a damp cheese cloth over a deep bowl. Pour the milk mixture into the sieve, and let the liquid drip out into the bowl.
3. Occasionally discarding the liquid in the bottom of the bowl, let the mixture sit at room temperature for about 30 minutes or until it’s the consistency you desire. The longer it sits, the thicker it gets. When it’s to your liking, pour into bowl drizzle with about a tbsp. of olive oil and mix together.
* Refrigerate until ready to use. It will last up to 5 days.
Homemade Pasta Dough
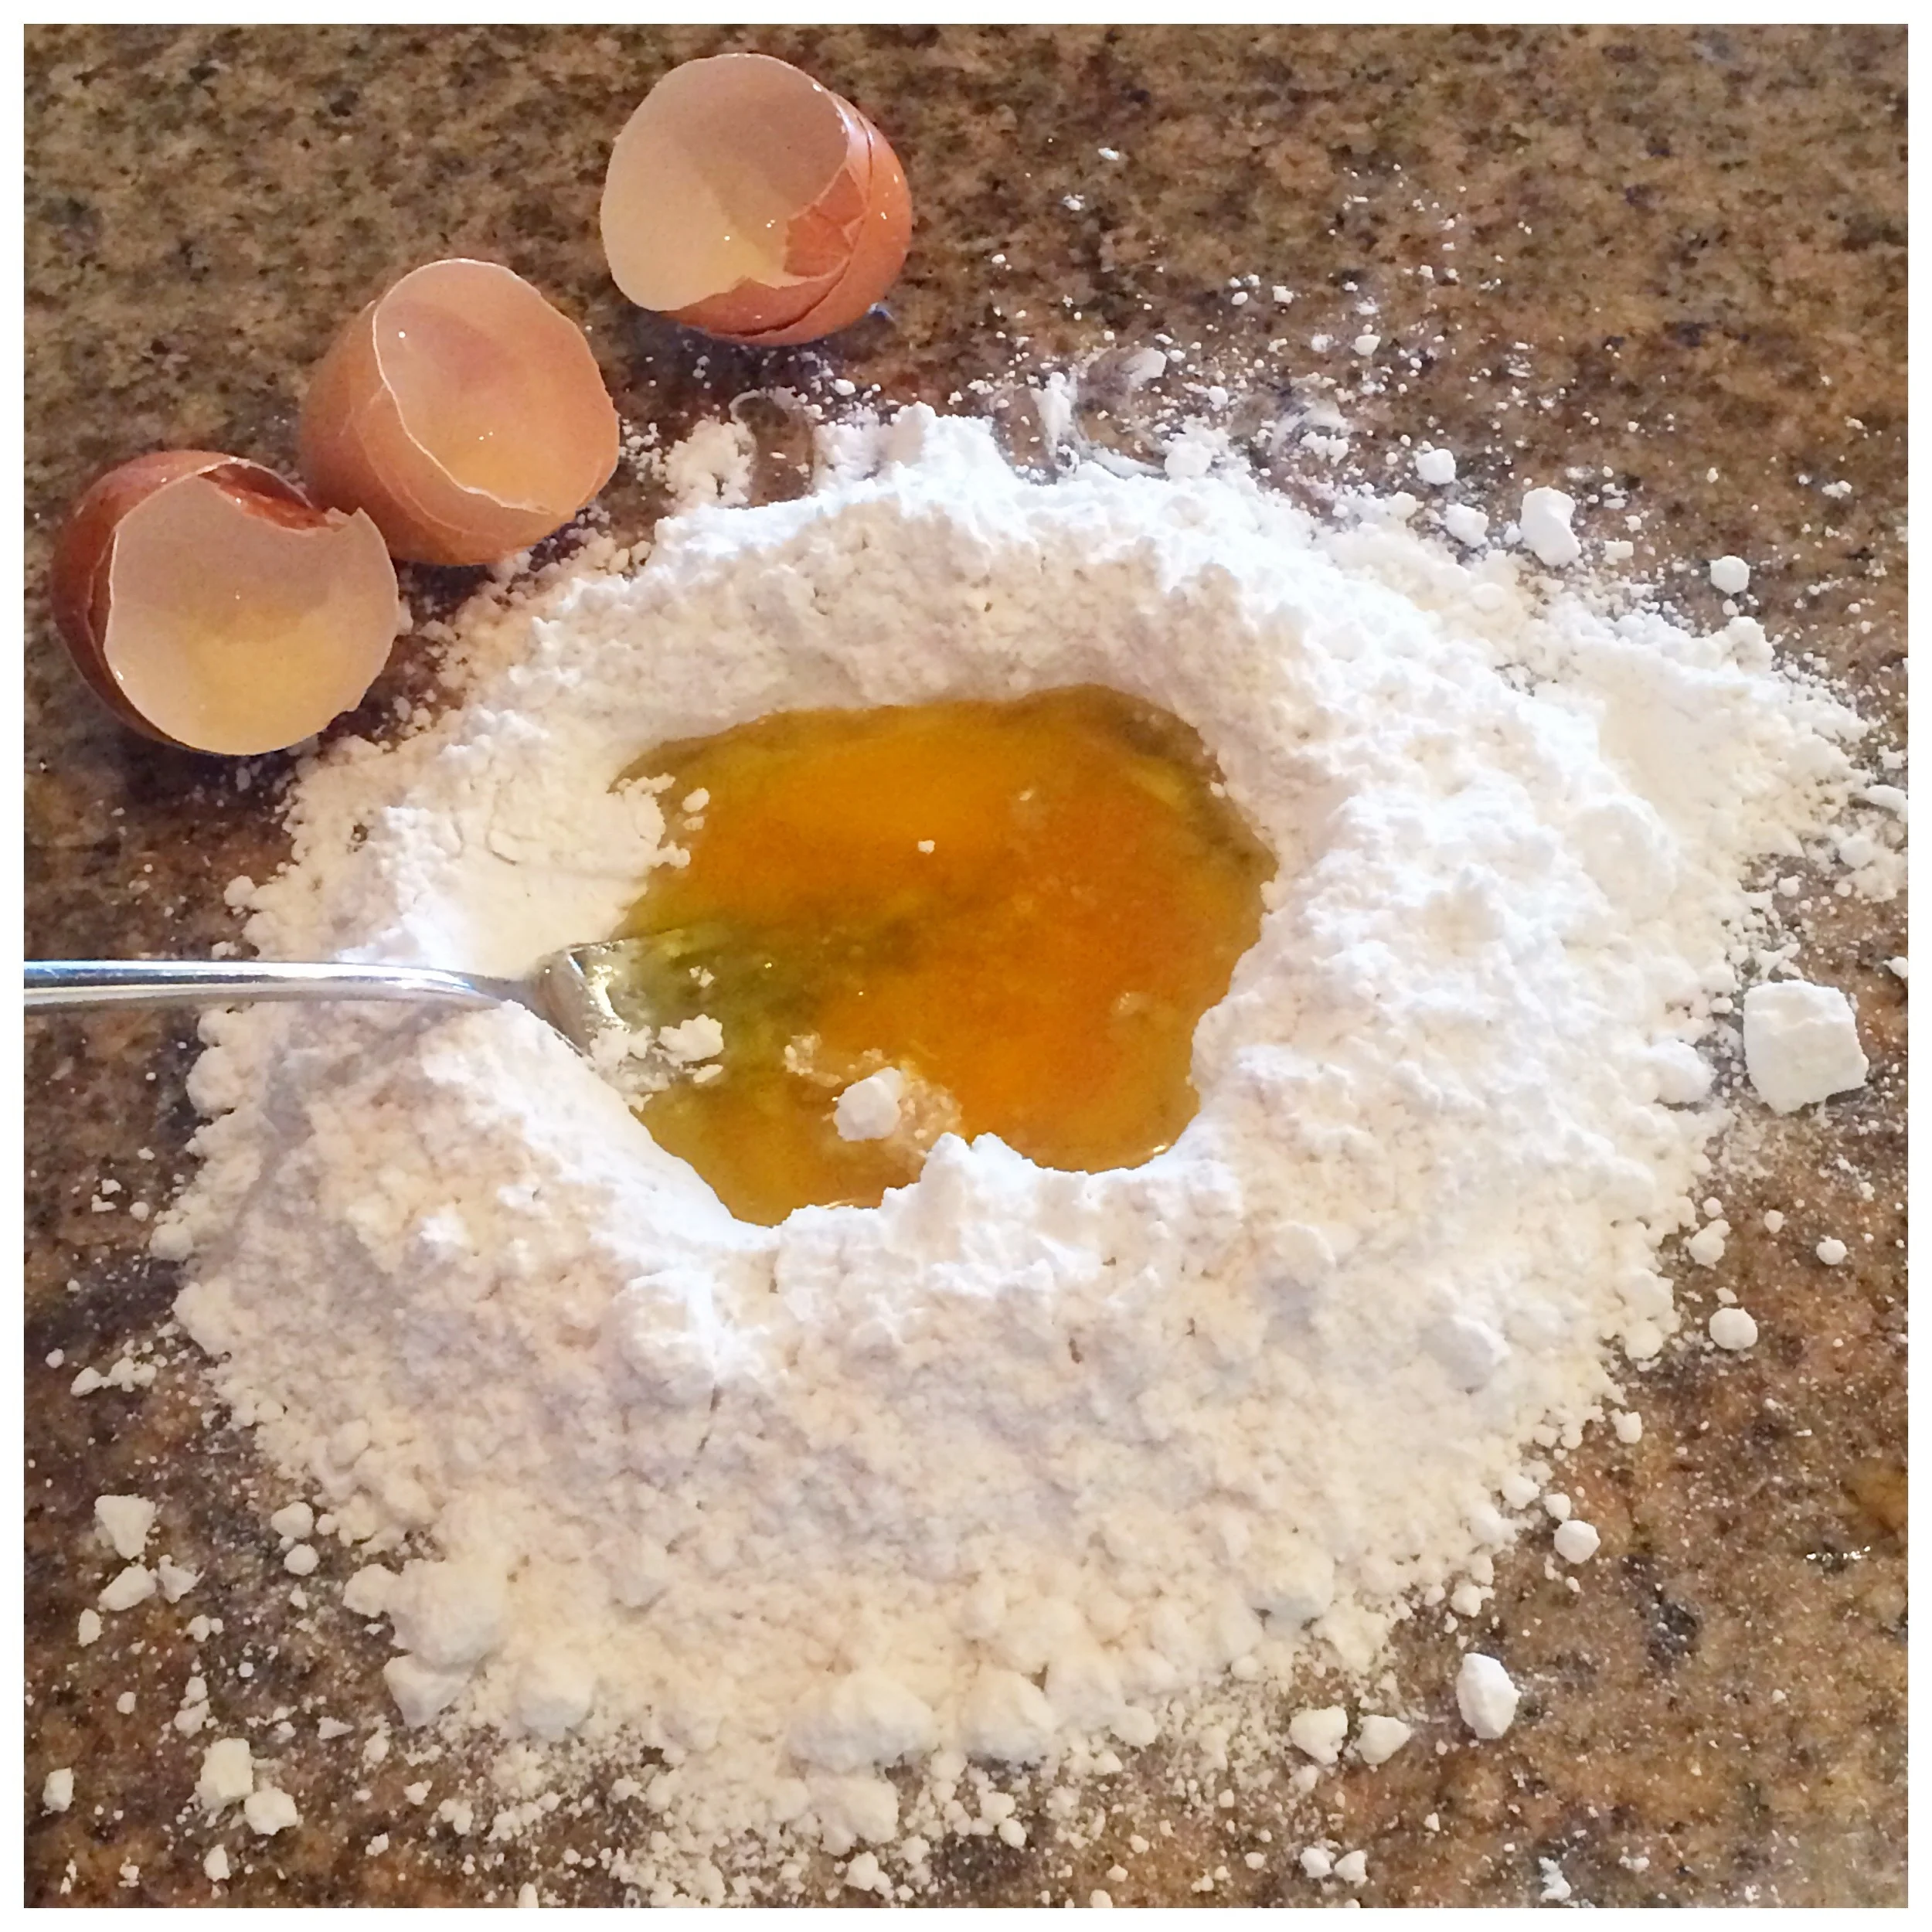
I started making pasta dough just a little over a year ago... Now I have no idea why I didn't start sooner! Eat homemade pasta and you'll never want to go back to store-bought! I use this for homemade lasagna, spaghetti, linguine, and my absolute favorite: my Homemade Ricotta Raviolis with Brown Butter Sage Sauce.
WATCH VIDEO MAKING HOMEMADE PASTA DOUGH!
Grocery list:
- 1 cup cake flour
- 1 cup all-purpose flour
- 3 large egg yolks
- ¼ tsp kosher salt
- ¼ cup extra virgin olive oil
Directions:
1. On a large cutting board or clean countertop, dump the cake flour and all-purpose flour together into a mound. Make a well in the middle and add the egg yolks, salt, and olive oil. Beat the egg yolks, salt, and oil together with a fork until smooth.
2. With about 1/3 cup of water near, slowly begin bringing the flour into the egg mixture, adding 1 tsp of water at a time to moisten the dough. Continue to bring the flour into the dough, adding water as needed. Once all the flour is somewhat mixed in, bring the dough together with your hands and begin kneading it together. If the dough is too wet, add more flour. If it’s too dry, add more water. Once it forms into a rough ball, begin kneading for 6 to 8 minutes or until the dough is smooth and elastic.
3. Completely cover in plastic wrap and put in the refrigerator at least 30 minutes. When ready to use, cut the dough ball into four equal parts. Working with each piece of dough one at a time, form into a thin, rectangular disk then run through a pasta rolling machine, starting with the thickest setting. Continue to run the dough through several times, adjusting the setting each time until the pasta is about 1/8 to 1/16 inch thick. From here, you can make the ravioli or have sheets of pasta for lasagna. If you want spaghetti or linguine, use a machine to cut the pasta out.
* Homemade pasta only takes a couple of minutes to cook. Boil in salted water for 1-2 minutes.
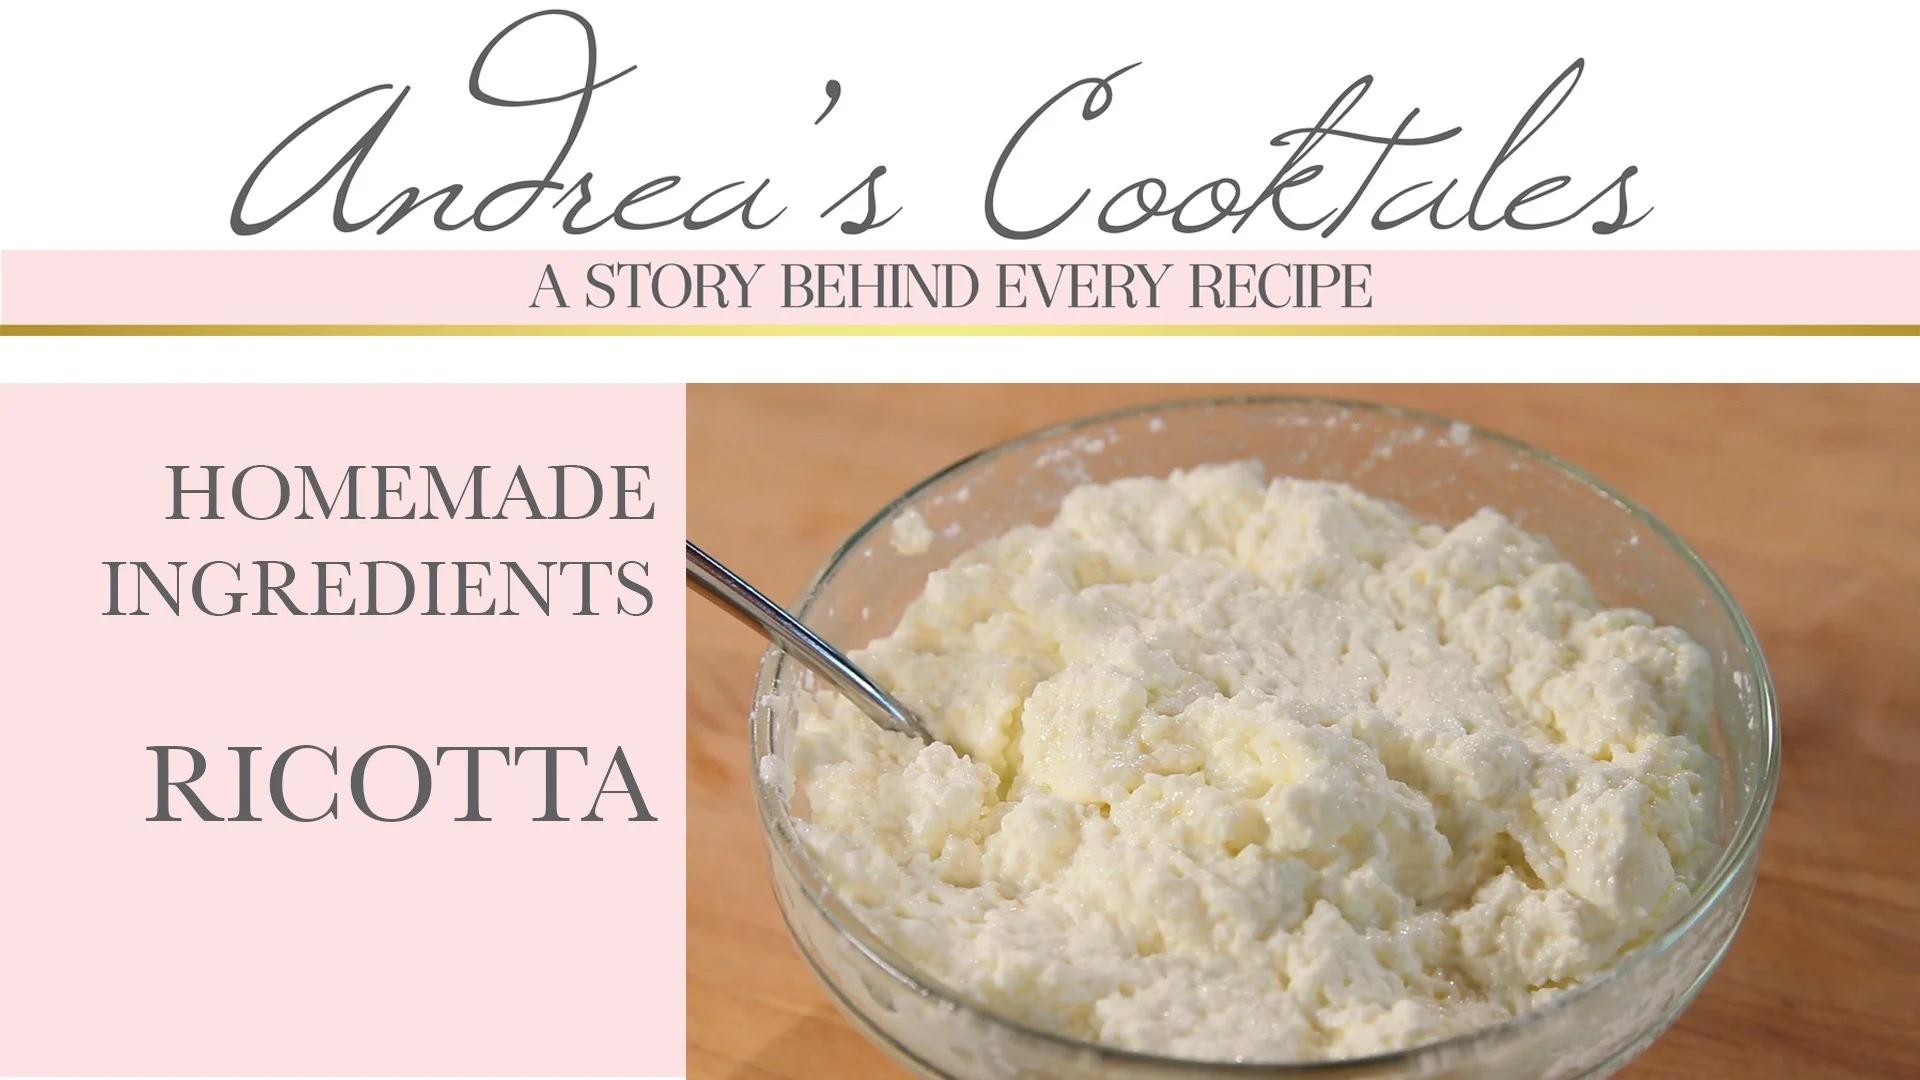
Andrea's Cooktales - Homemade Ingredients - Episode 2: Ricotta
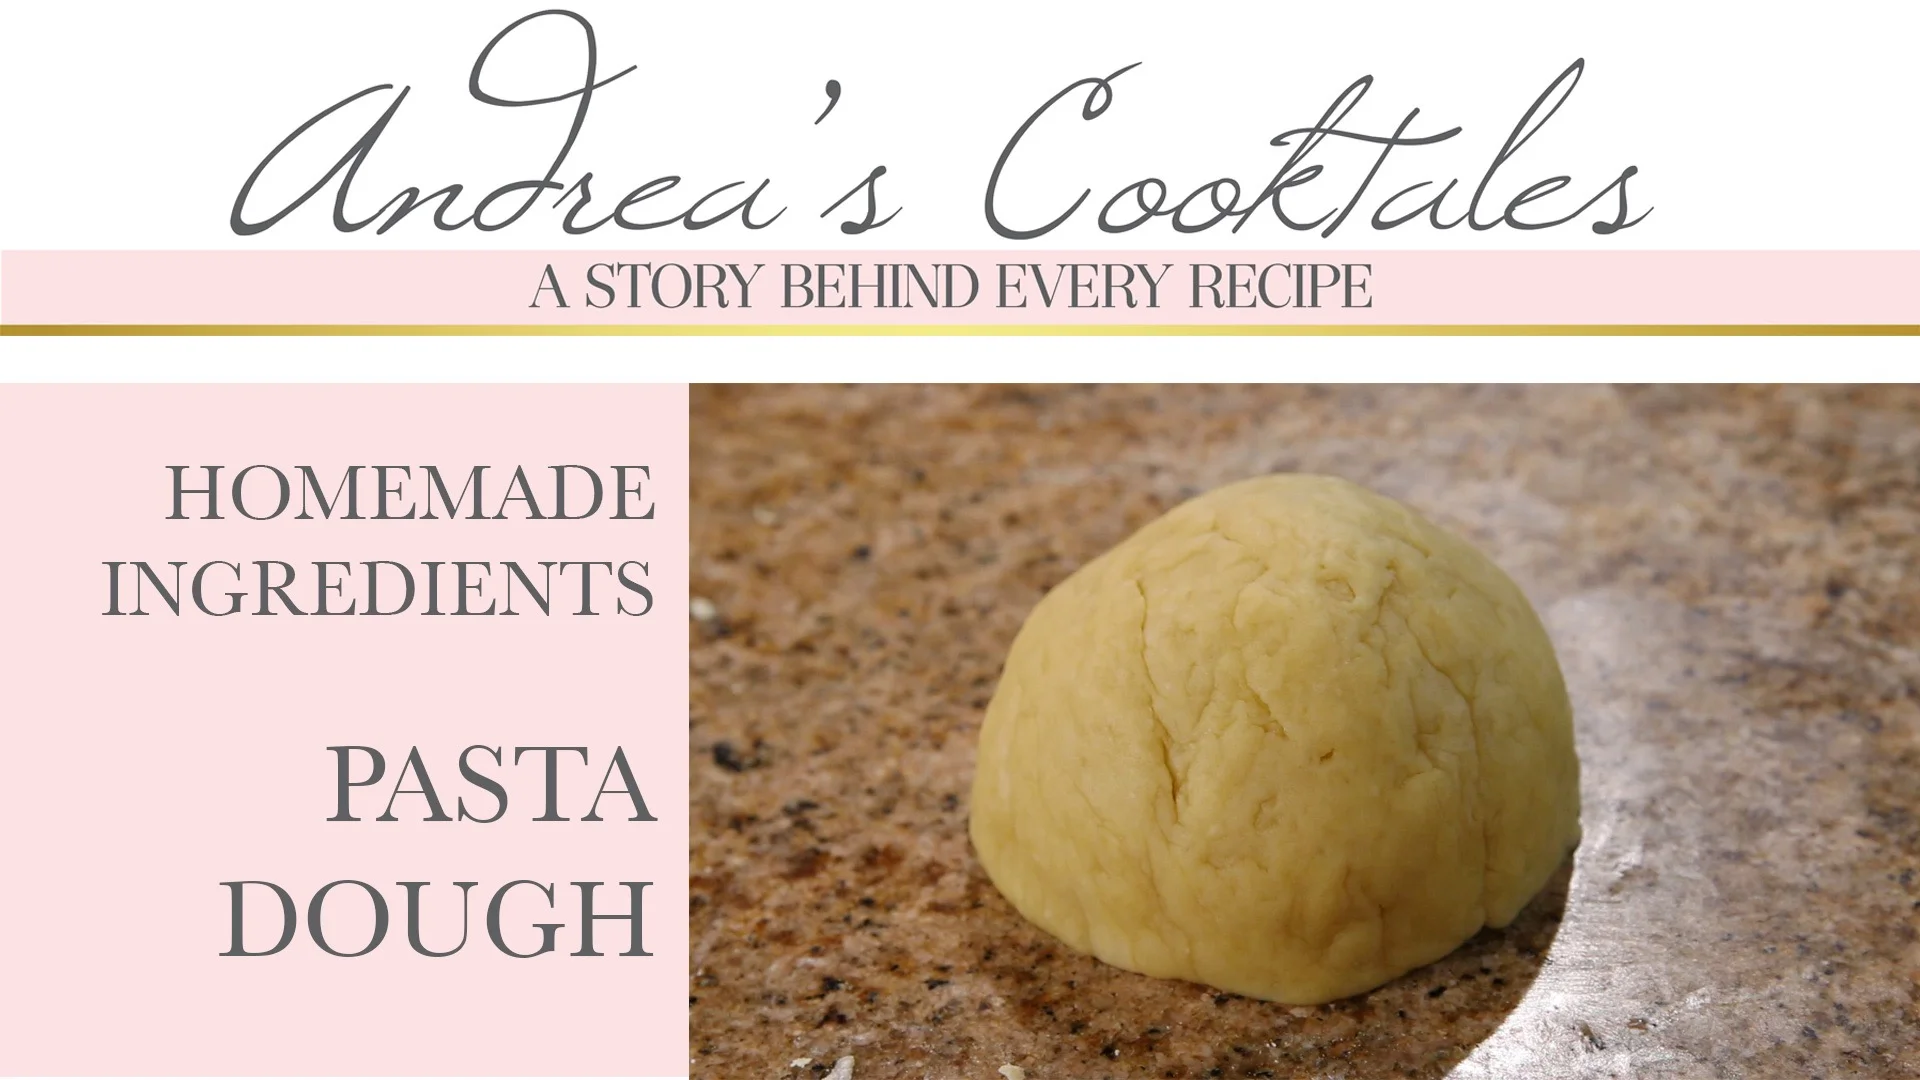
Andrea's Cooktales - Homemade Ingredients - Episode 1: Basic Pasta Dough
Nenne's Famous Pecan Pie
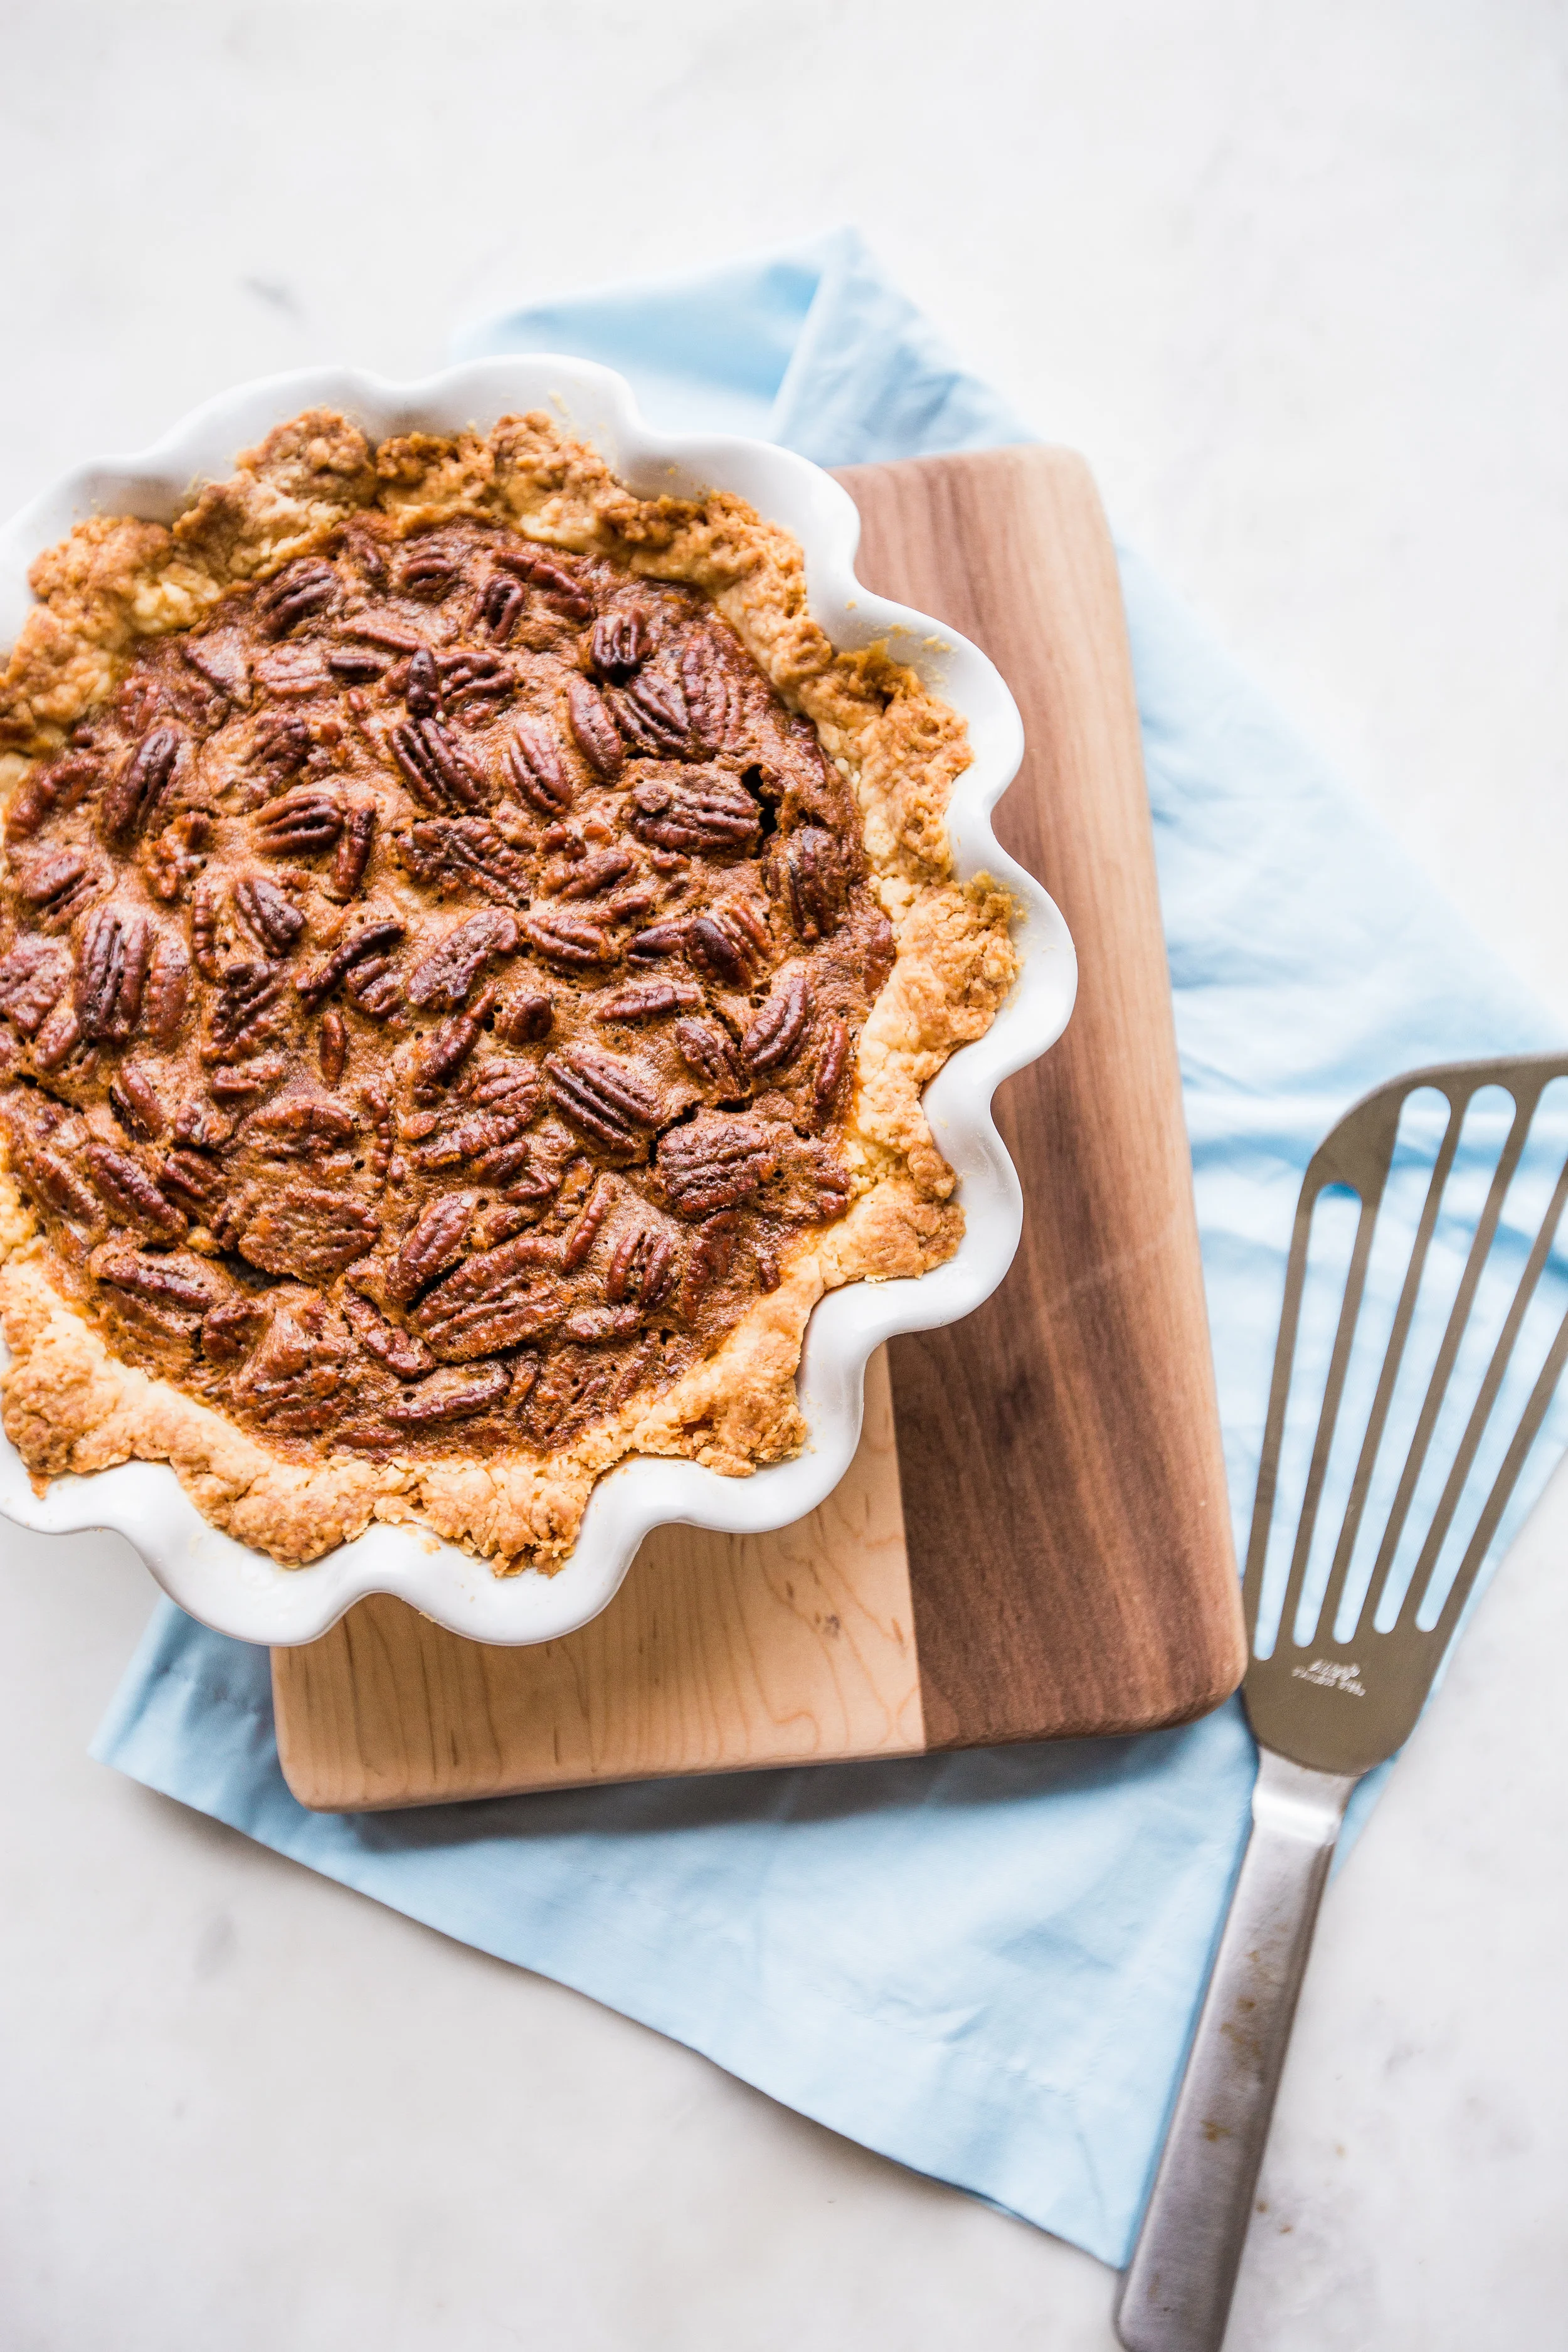
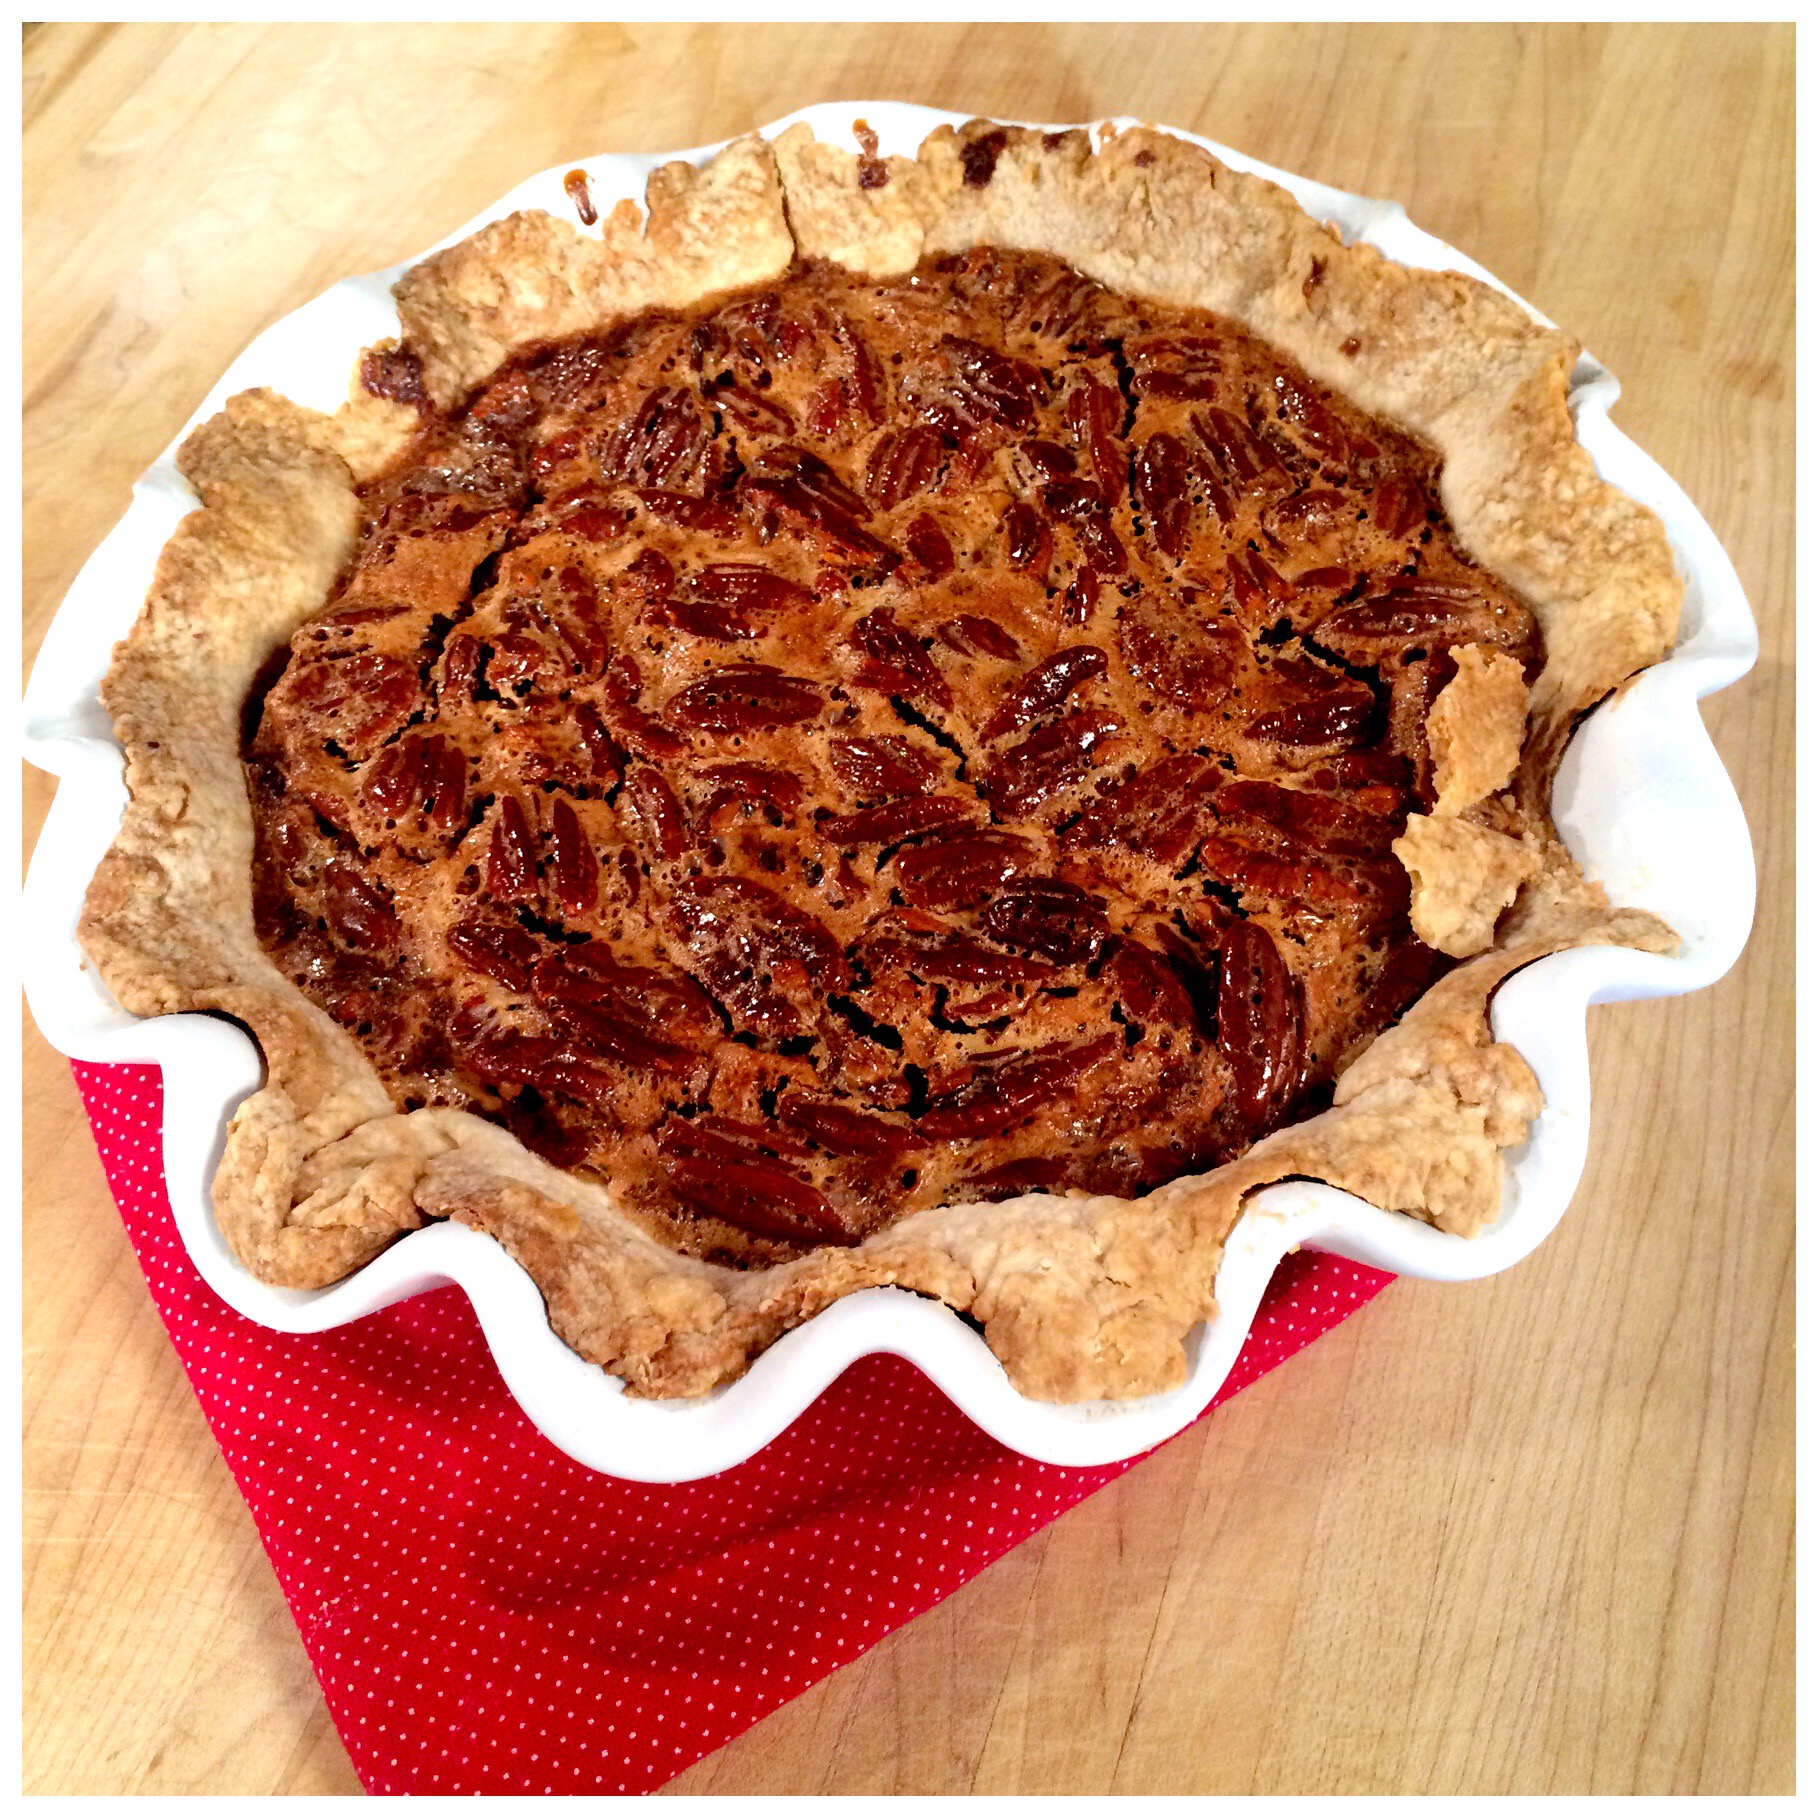
My Nenne is one of the most special people in my life. Every holiday with her is extra special because she brings her famous, sought after pecan pie to dinner – a pie that has been in our family for generations. I learned to make this pie years ago, when she was going out of town for Thanksgiving. Everyone was freaking out because we weren't going to have Nenne's pecan pie at the dessert table, so I had to figure out how to make it -- at the time I didn't cook or bake! She gave me step by step directions and wished me luck because others had tried to make it before and it didn't turn out. Of course I was nervous, but I did exactly what she said and it worked! That's when I realized I could cook!!! Now, I make her pie every year around Thanksgiving.
SEE THE VIDEO HERE!
Grocery list:
Crust:
2 cups flour
¼ tsp salt
3 tbsp sugar
¼ cup Crisco – really cold
12 tbsp butter – really cold and cubed
¼ cup or more ice water
Pie filling:
½ cup Caro – both white and dark (mostly dark, some white)
¼ cup butter
1 cup sugar
3 eggs – beaten
2 cups pecans
1 tsp vanilla
Directions:
1. Make the pie crust by sifting the flour salt and sugar together in a large bowl. Add the shortening and the cold butter and break it up with a pastry cutter or quickly with your hands. The mixture should be crumbly and the butter should still be hard. Add the ice water until the flour mixture comes together and forms a dough ball. Add additional water if it still doesn’t come together. Continue to bring it together with your hands until it’s smooth but don’t overwork it or it will be tough. Once it comes together in a ball, cut the dough in half, wrap each ball in plastic wrap, and refrigerate for at least 30 minutes. Take out one of the dough balls and on a heavily floured surface, pat the dough out into a disk shape. Continue flooring if the dough seems too sticky or fragile. Roll out with a floured rolling pin into a circle shape and press into a 9 inch pie pan.
2. Preheat oven to 350 degrees. Heat Caro and butter in a small saucepan over high heat and bring to a boil. The mixture should boil for at least 2 minutes. Beat the sugar and eggs together with a whisk in a medium bowl. Add the hot Caro mixture to the sugar mixture and stir together quickly. Pour in the nuts and vanilla and stir to completely combine.
3. Pour into the prepared pie shell and bake for 42-45 minutes. Before taking it out of the oven, shake the pie. If it’s still very shaky, keep baking it for an additional 5-10 minutes. Pie should not come out of the oven until it’s just slightly shaky. Let cool before cutting and serving.
CHEERS TO A HAPPY THANKSGIVING!
Andrea's Cooktales - Series 2, Episode 17 - Nenne's Pecan Pie
Homemade Truffle Gnocchi
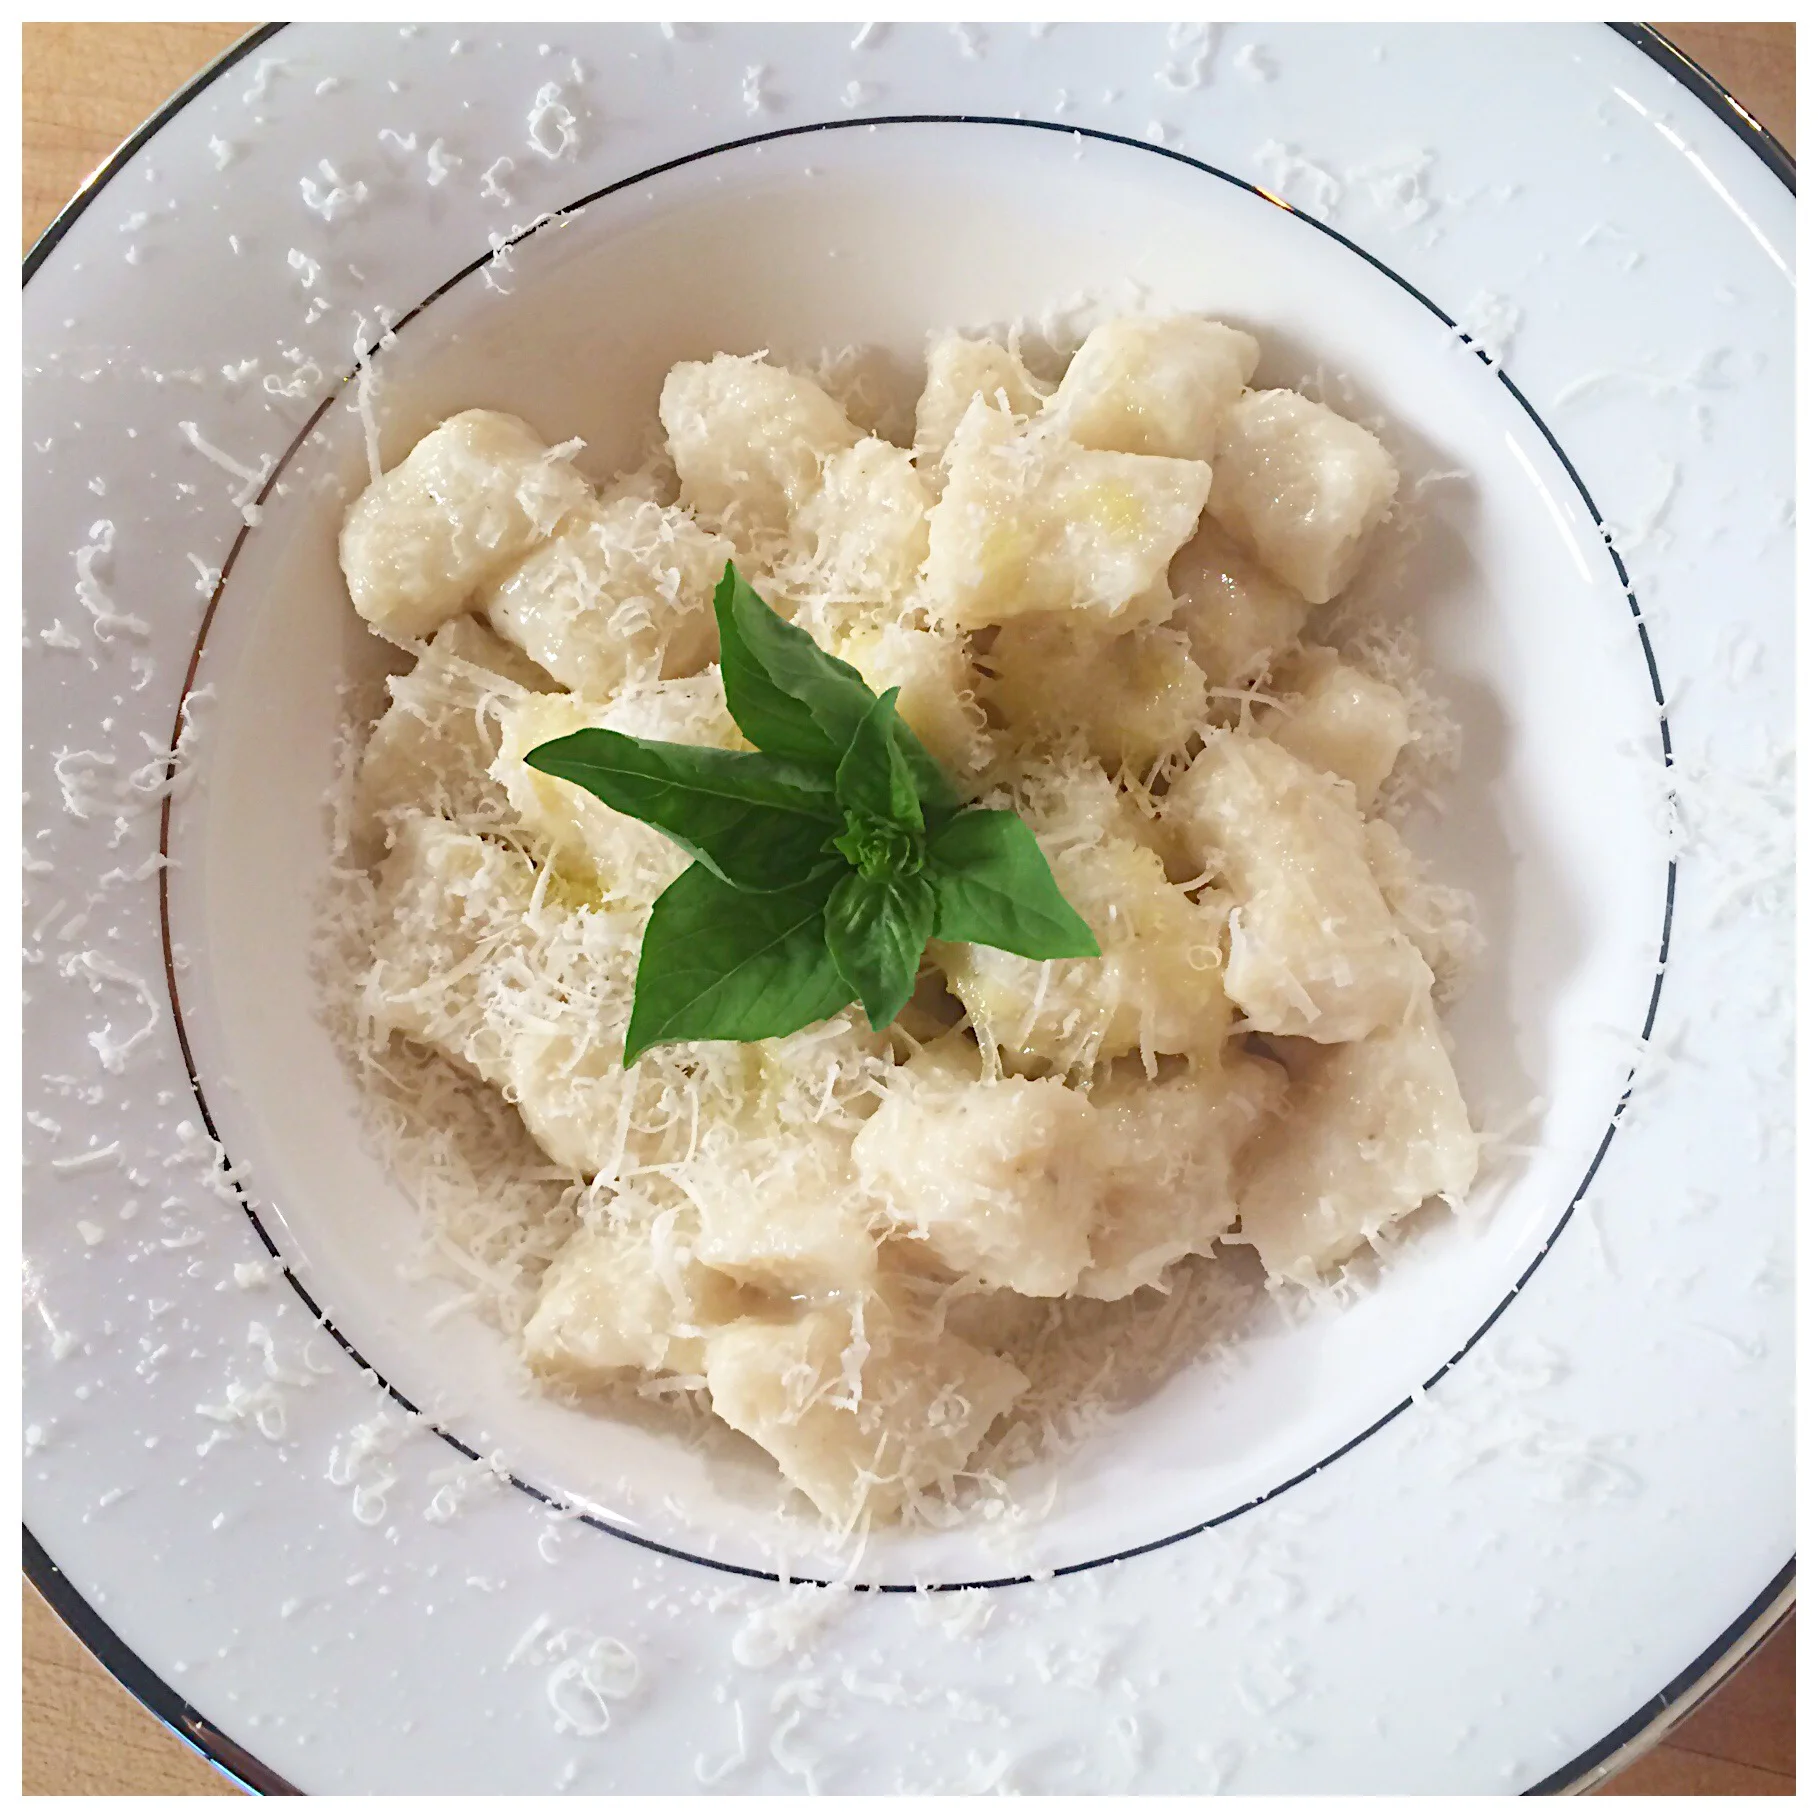
This year Tres and I took a trip to Italy with our friends Ginger and James. While we were there, we went truffle hunting, and a sweet little dog, Nebia, found us 5 truffles! We took them back and the wife of the truffle hunter taught us how to make authentic Italian Gnocchi, and we used the truffles to shave right over the dish... Omg it was amazing! Honestly, it was one of the most authentic experiences we have ever had in another country, and I brought the recipe back with me!
SEE THE VIDEO HERE!!!
Grocery list (4-6 servings)–
1 lb russet potatoes (about 4 potatoes)
Kosher salt
2 eggs – lightly beaten
½ tsp kosher salt
¼ tsp pepper
1 ½ all-purpose flour – plus extra for dusting and rolling
2 tbsp truffle butter
½ cup heavy cream
½ tsp truffle salt (or Kosher)
½ cup parmesan – freshly grated, plus more for serving
1 tsp corn starch – optional
Fresh truffles or truffle oil – optional
Directions:
1. Preheat oven to 400 degrees. Poke small holes all over the potatoes with a fork and place them on a baking sheet, lightly covered with Kosher salt. Bake for 45 minutes to 1 hour or until slightly overdone. Let cool then cut in half longways. If you have a ricer, you can push the potatoes through the ricer. If not, using a cheese grater, grate the potato on the smallest grating side until the entire potato, aside from the skin, has been pushed through the grater. Discard the skin or any rough part of the potato. The texture of the grated potato should be fluffy.
2. Pour the egg mixture over the grated potatoes, and sprinkle with the salt and pepper. Cover the potato mixture with about ¾ cup of the flour and start to combine lightly with your hands (the key to fluffy gnocchi is lightly handling the dough and not overworking it). Once combined and as the dough becomes sticky or sticks to the board, add more flour. Continue to add more flour as you lightly mix it together. You will know when it’s finished when it holds together and is not too dry or not too sticky.
3. Cut the dough into 4 even pieces and roll each of the 4 pieces into a ½ inch rope, lightly flouring the pieces as needed. Cut the dough into ½ inch piece gnocchi, flouring the dough as you cut them and keeping the gnocchi on a floured baking sheet or work surface.
4. When ready to cook, bring a large pot of water to a boil and add salt. Begin to prepare the truffle sauce by heating a sauté pan over medium heat. Add the butter and let melt. Add the cream and salt, and let come to a slight boil. Simmer the sauce until it thickens. For thicker sauce, whisk in the corn starch. Add the grated parmesan and grated fresh truffles if using them.
5. Boil the gnocchi for about 2 minutes or until they float to the top of the pot. Using a pasta strainer, add them directly into the cream sauce and stir to combine. Add more parmesan to the top and fresh sliced truffles or truffle oil if desired.
CHEERS TO HAPPY EATING!!!
Andrea's Cooktales - Series 2, Episode 16 - Homemade Truffle Gnocchi
Creamy Butternut Lasagna
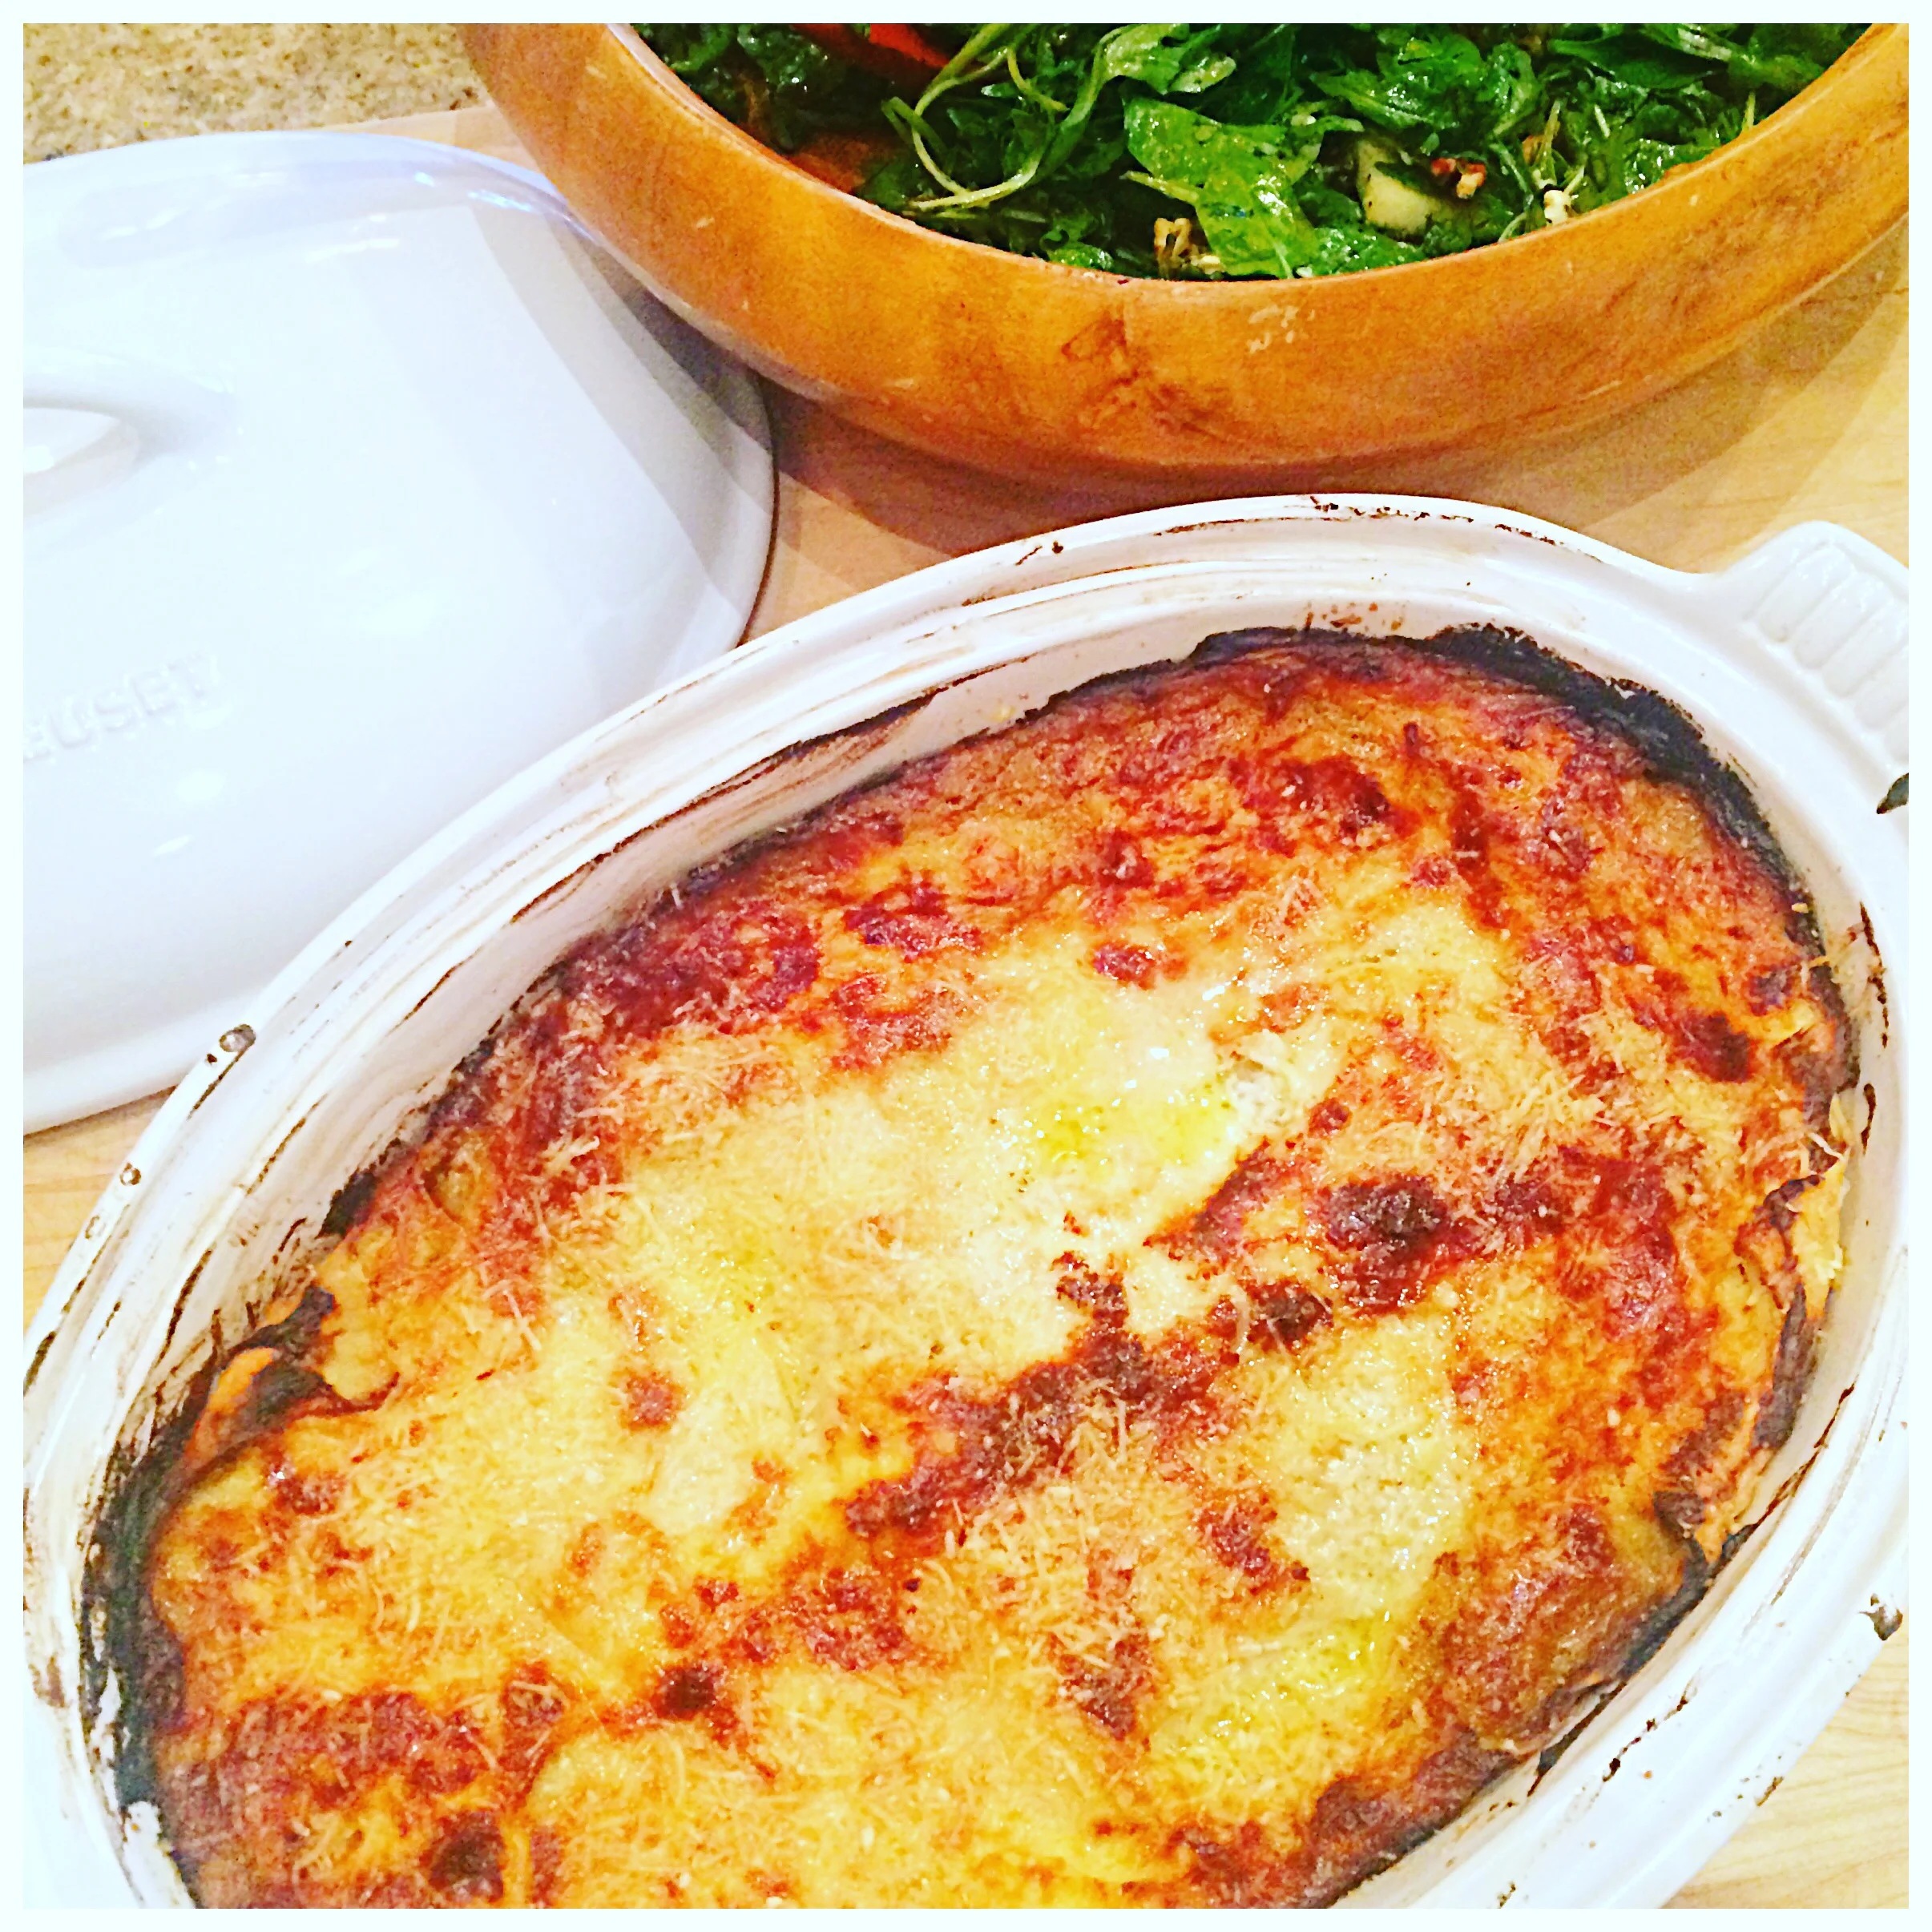
Something about a little chill in the air makes me want to eat comfort food like its going out of style. Soups, casseroles, hearty meats and veggies - I have been making it all. Traditional lasagna was always a Thanksgiving staple for my family every year, so I thought why not throw a whole lot of fall into it with a butternut squash sauce?! There's nothing more comforting than the combo!
Grocery list:
1 large butternut squash - peeled and cut into 1/2 inch cubes
3 tbsp olive oil
Kosher salt
Pepper
1 small onion - finely chopped
1 garlic clove - minced
2 tsp sage leaves - minced
1 tsp all spice
1/2 tsp red pepper flake
1/4 cup maple syrup
1 1/2 cups half and half
15 oz ricotta cheese
4 oz goat cheese
1 egg
1/4 tsp nutmeg
Butter for greasing pan
2 cups freshly grated Parmesan cheese
Store bought or Homemade lazagna noodles (recipe follows), boiled about one minute or until al dente
Directions:
1. Heat oven to 425. On a large baking sheet, toss butternut squash pieces with 2 tbsp of the olive oil and a generous amount of salt and pepper. Roast for 30 minutes or until soft. While the squash is roasting, heat the other tbsp of olive oil in a large saute pan over medium-low heat. Add the onion and a dash of salt and pepper and cook until caramelized - about 15 minutes. Add the garlic, sage, all spice, and red pepper and cook for one more minute. Transfer the mixture to a blender, along with the cooked squash, maple syrup, and half and half. Blend until smooth.
2. In a medium bowl, mix together the ricotta cheese, goat cheese, nutmeg, and a dash of salt and pepper until smooth.
3. Turn oven temperature down to 400. Butter the bottom and sides of a large casserole dish. Ladle a layer of the butternut squash sauce into the bottom of the dish, covering the bottom. Layer noodles, butternut squash sauce, ricotta mixture, and Parmesan cheese in that order. Repeat three times. Finally, top with about 1/2 cup of the remaining Parmesan cheese. Drizzle olive oil over the cheese. Bake for 30-35 minutes or until golden and bubbly.
Homemade Lasagna Noodles:
Grocery list:
1 cup cake flour
1 cup all-purpose flour
1/2 tsp Kosher salt
2 large eggs
2 tbsp olive oil
Directions:
1. Pile the cake flour and all-purpose flour onto a clean work surface. Sprinkle salt over the top and make a hole in the center of the flour mixture with your hands. Add the eggs and olive oil to the center and beat together with a fork.
2. Slowly, begin incorporating the flour from the sides into the egg mixture. Add a tbsp of water at a time, continuing to mix with the fork until the dough starts to come together. It will take approximately 1/4 to 1/3 cup of water to come together.
3. When dough roughly comes together, begin kneading with your hands for 8 to 10 minutes. Add more flour if it's too wet, more water if it's too dry. The dough consistency will be smooth and elastic when it's ready.
4. Cut into four pieces. Working with one piece at a time, flatten the dough out and run through a pasta machine about five times or until thin, about 1/8 inch. Cut each thinned piece in half, the shape of traditional lasagna noodles or to fit the casserole dish you are using. For this recipe, you'll have one of the four pieces of pasta dough leftover. Save and make another pasta dish.
CHEERS TO HAPPY EATING!!!
Everything Candy Bar Milkshake
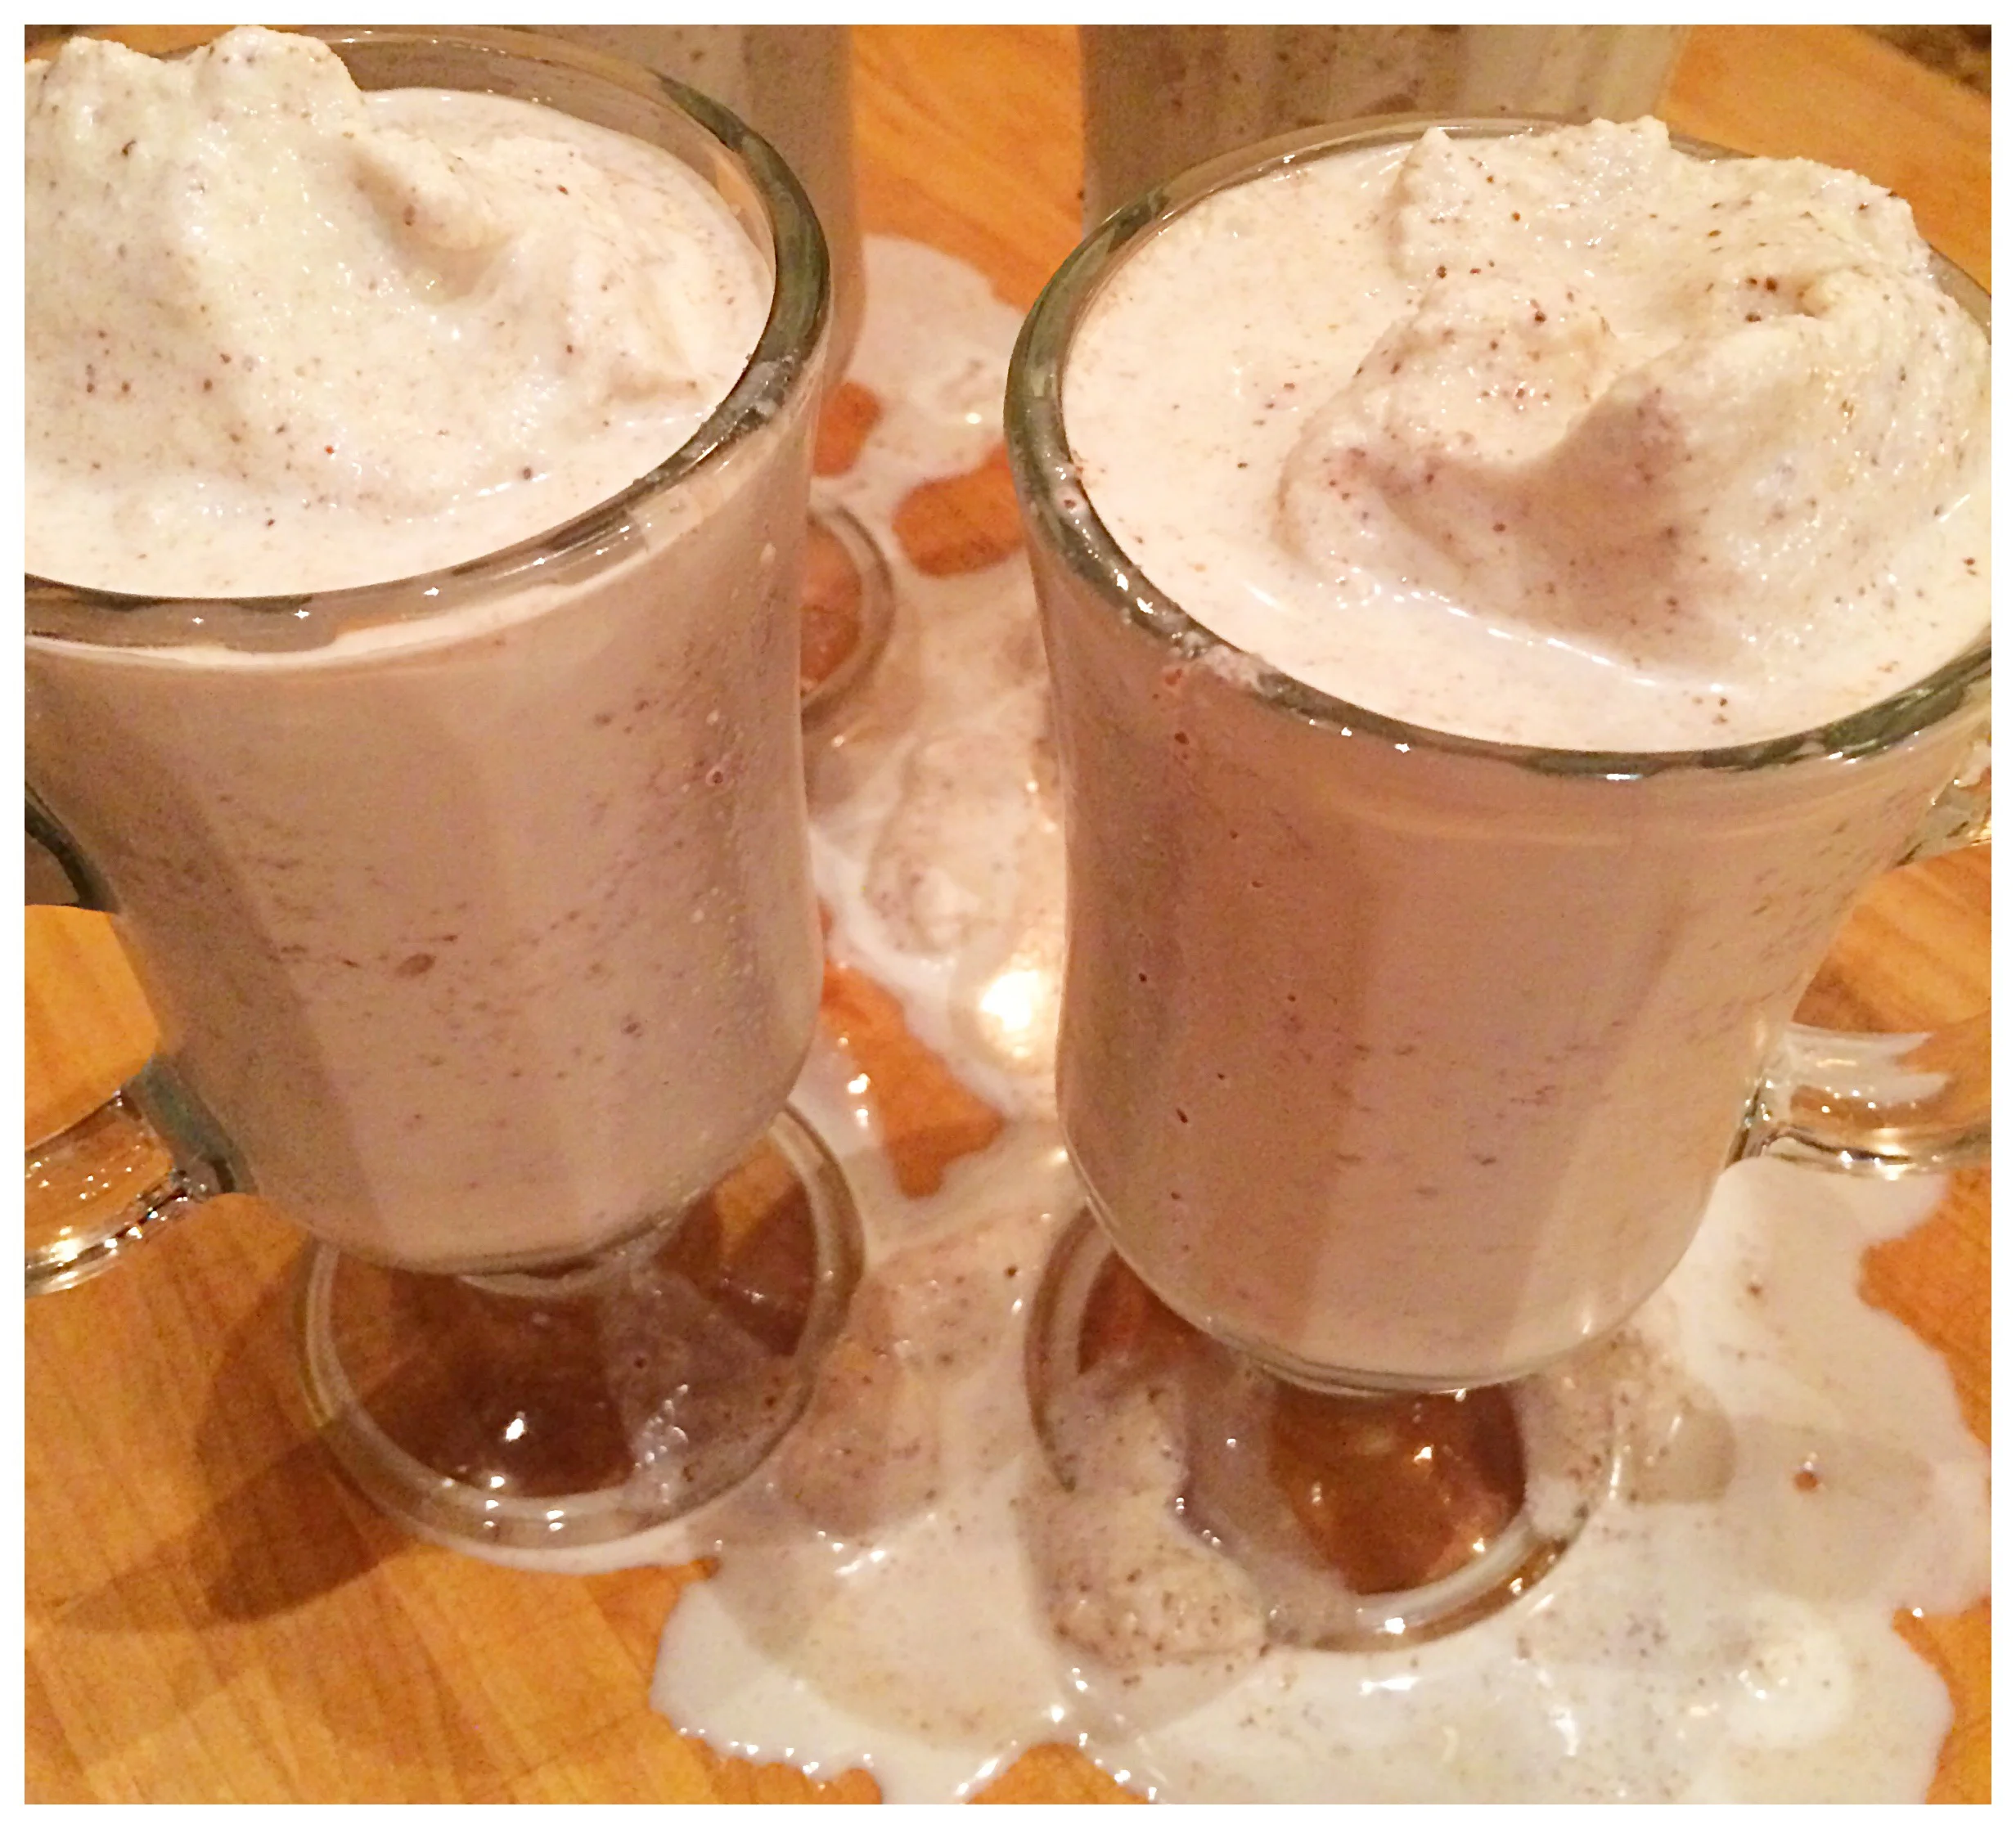
As a kid I remember having so much leftover candy after Halloween. If your trick or treating was as good as mine used to be, I bet you have plenty of leftover candy. If you're not sure what to do with it, make a milkshake out of it!
Grocery list (4-6 servings):
1 quart vanilla ice cream
1 1/2 cups milk (or more for thinner milkshakes)
1-2 cups leftover candy bars - roughly chopped
Directions:
Put the ice cream, milk, and candy bar pieces in a blender. Close the lid and blend on high until smooth. Serve in tall glasses with a straw.
Slawesome Deviled Eggs
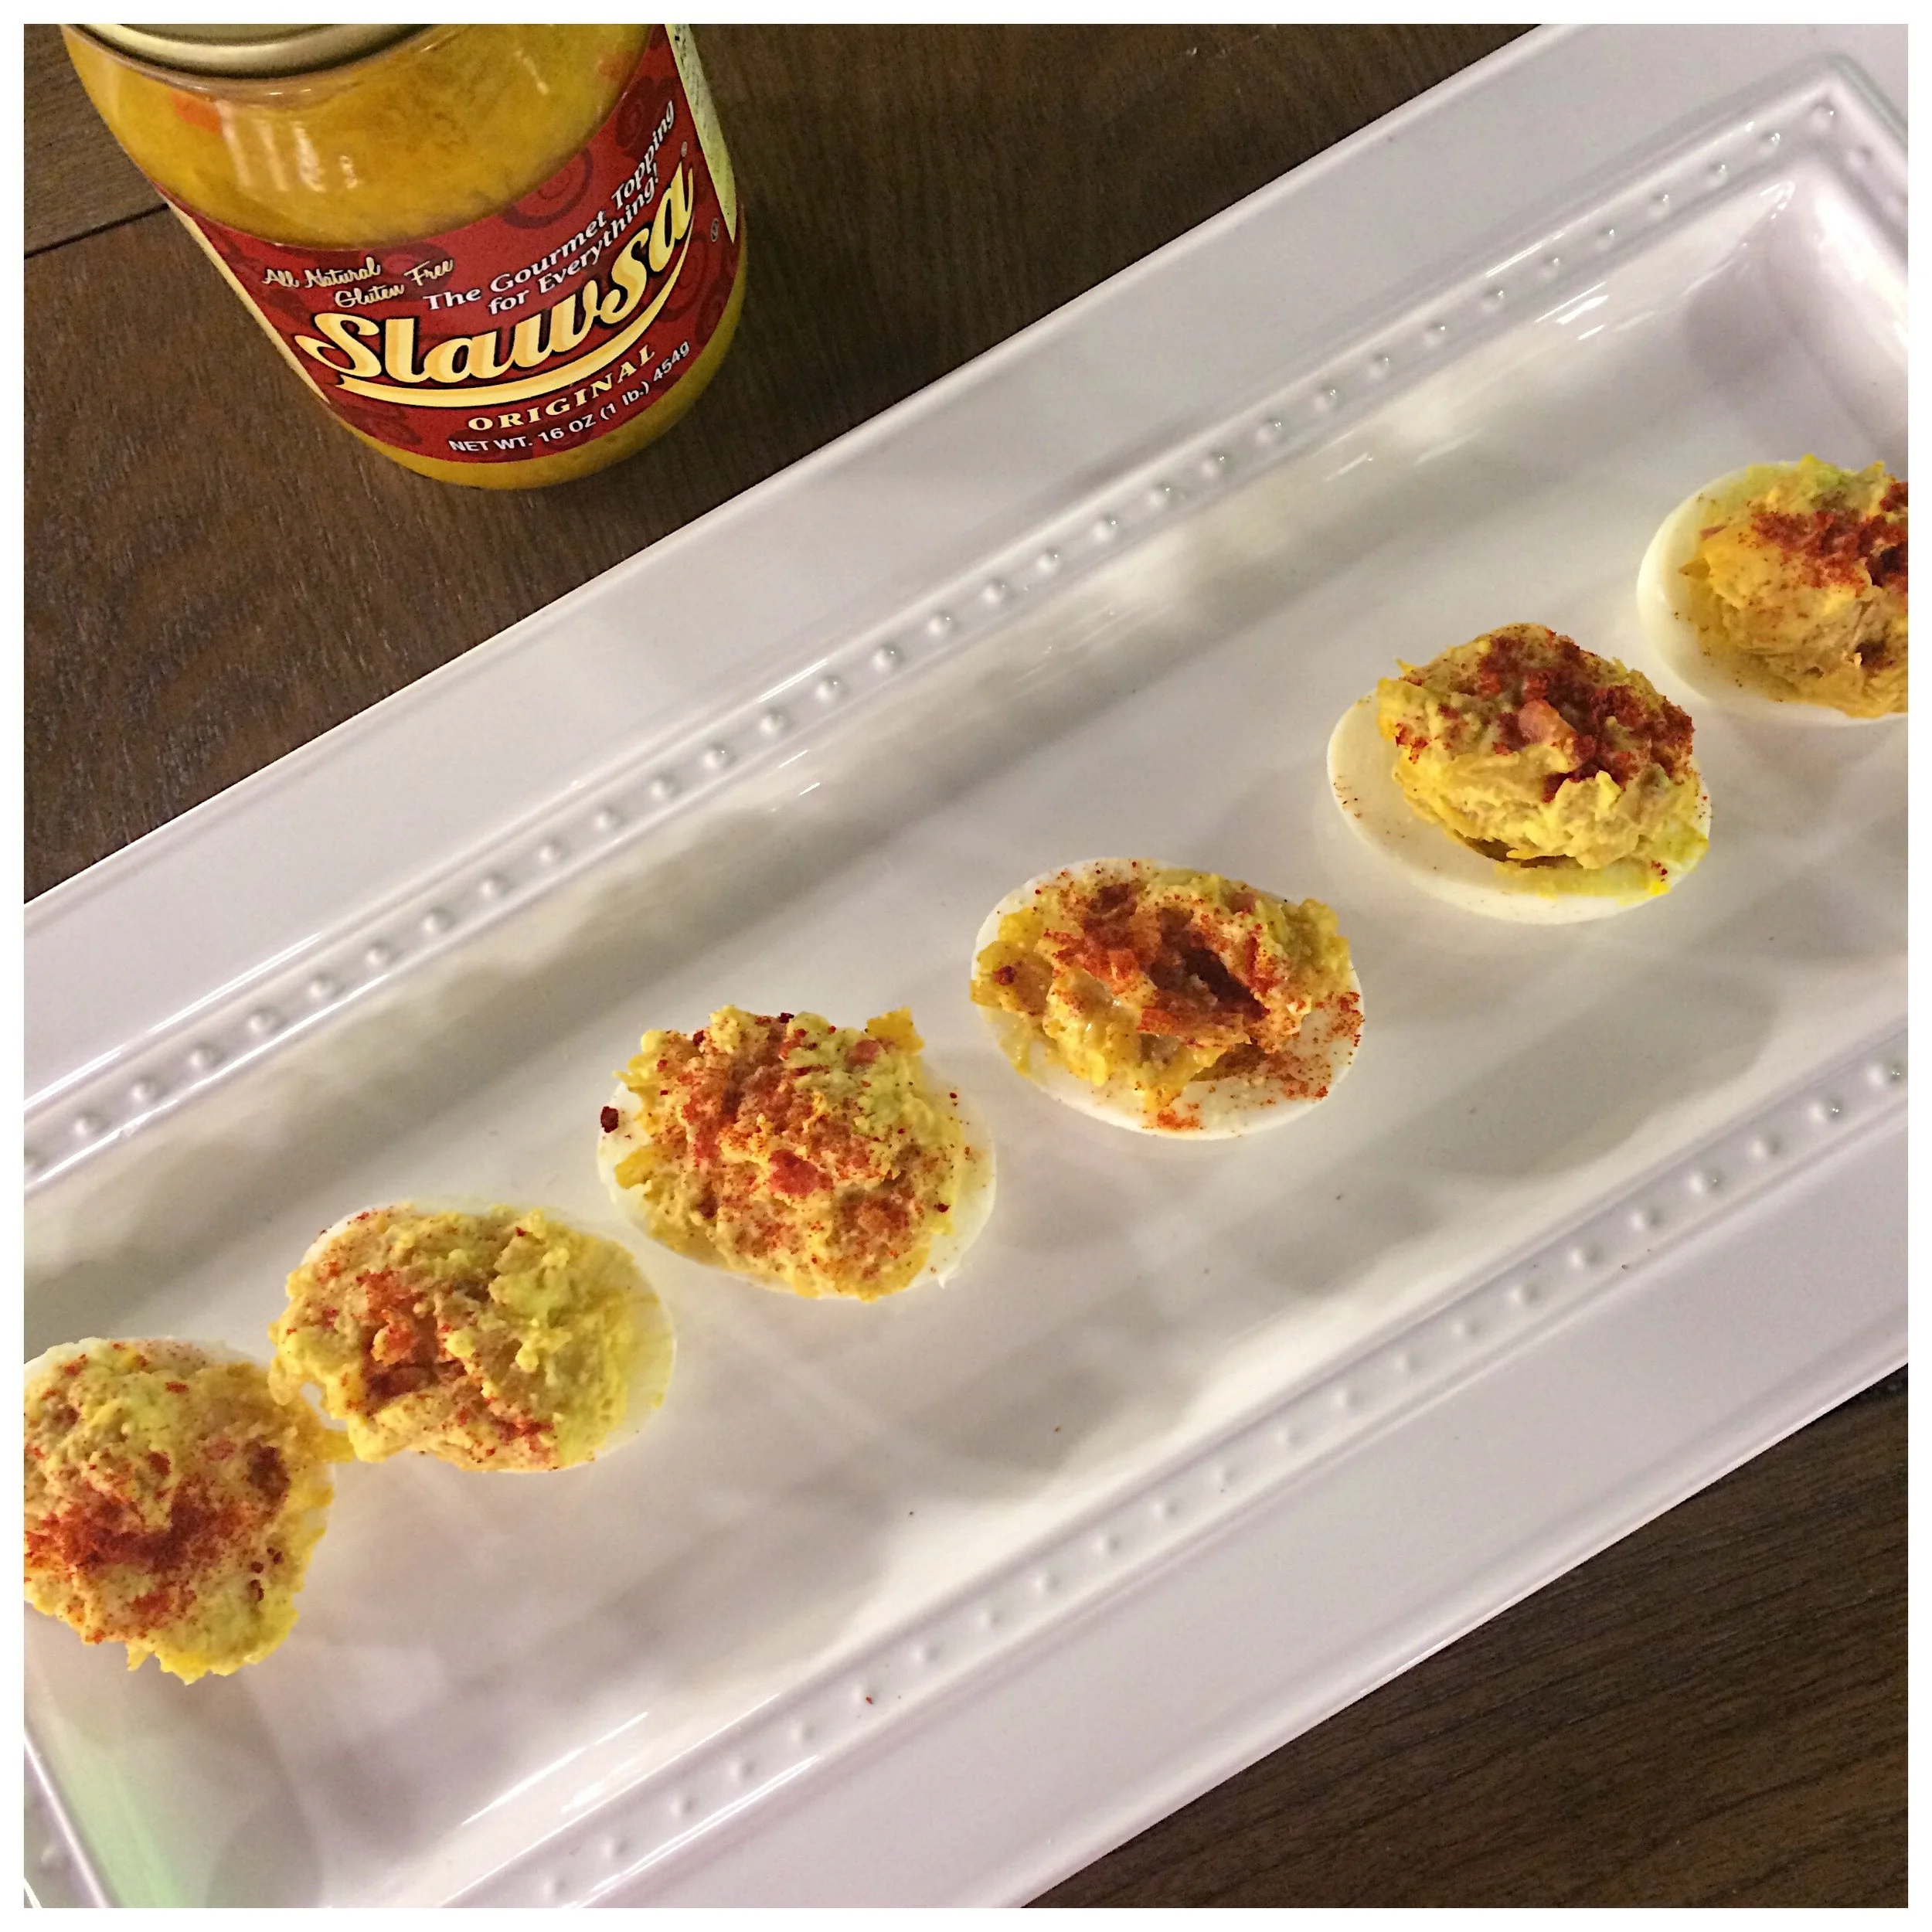
I was introduced to Slawsa over a year ago, and it has become a staple in my kitchen. From grilling, to sandwiches, to mixing it up in traditional recipes, Slawsa is a condiment I have no idea how people can live without! I've never been a big mayo, mustard, ketchup condiment person, but I put Slawsa on just about everything. And then I tried them in deviled eggs... and I'm telling yall... Wow!!! Best and easiest deviled eggs ever! They have only 3 ingredients and no chopping is required!!! If you live in Memphis, look for Slawsa in Kroger stores in the relish section. If you try this, you'll never make deviled eggs the same again... They'll always have Slawsa in them!! Recipe from: http://www.slawsa.com
Grocery list:
12 hard-boiled eggs, sliced in half lengthwise, yolks removed and set aside
3/4 cup Slawsa Spicy
1/4 cup mayonnaise
Directions:
1. Mash together yolks in a bowl first, then throughly mix in Slawsa & mayo.
2. Spoon generously into egg whites and garnish with paprika and/or parsley.
Tip: For perfectly cooked and easy peel-able hard-boiled eggs, put 12 eggs in a saucepan. Cover 1 inch over eggs with water. Add 2 tsp of baking soda to water. Turn heat to high and bring eggs to a rolling boil for one minute, the cover, remove from the heat and let sit for 12 minutes. Remove eggs and place in ice bath to quickly cool before using. In addition to the baking soda trick, using older eggs also will make them easier to peel.
CHEERS TO HAPPY EATING!!!
Momma's Deviled Eggs
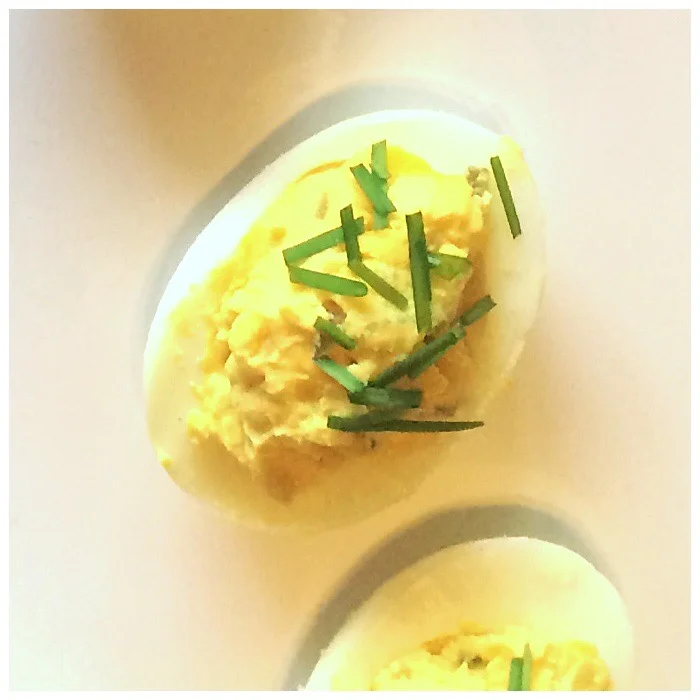
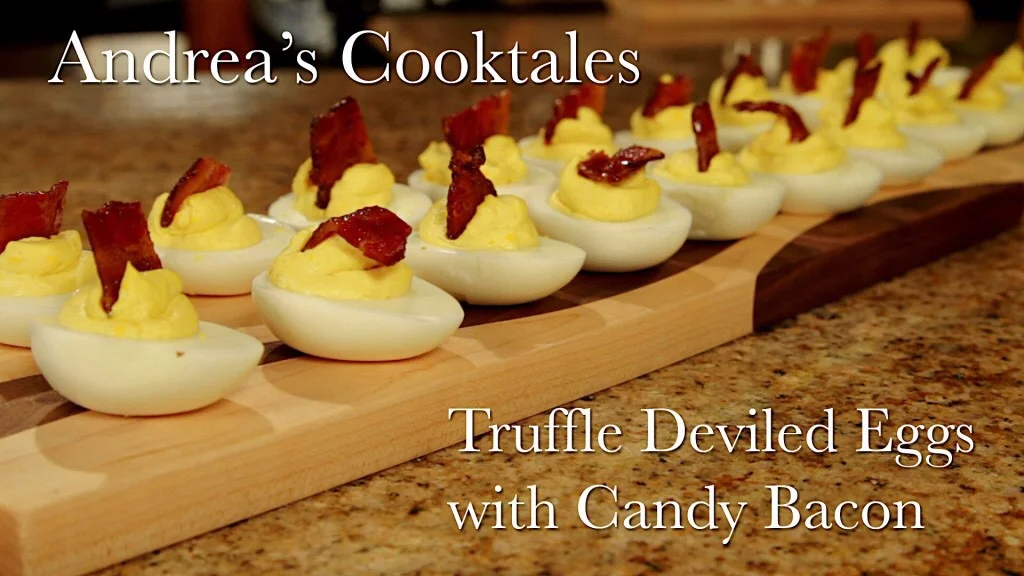
Every southerner loves a deviled egg, and every southern gal especially loves her Momma's deviled eggs! I always think back to anytime we had a get together at Momma's house... She always made her famous deviled eggs. There are so many ways to make deviled eggs, like Slawsa Deviled Eggs and my Truffled Deviled Eggs with Candied Bacon, but Momma's deviled eggs bring back the best memories.
Grocery list:
12 large eggs - hard boiled and peeled
1/2 cup mayo
2 tbsp sweet pickle relish
1 tbsp mustard
1/2 tsp vinegar
1/4 tsp sugar
Paprika or chives for garnish
Directions:
1. Slice the eggs in half lengthwise and dump the hard yolks into a medium bowl. Mash the yolks up with a fork until very smooth.
2. Add the mayo, sweet pickle relish, mustard, vinegar, and sugar to the mashed yolks and mix together until completely combined and smooth. Taste and add more of any of the ingredients that you like (momma says there's no exact measurements, taste as you go, and whatever you like more of, you can add).
3. Spoon mixture evenly back into the 24 egg halves. Garnish with paprika, chives, or both.
CHEERS TO HAPPY EATING!!!
Andrea's Cooktales - Series 2, Episode 2 - Truffle Deviled Eggs with Candy Bacon
Mini Jack-o-Lantern Pies
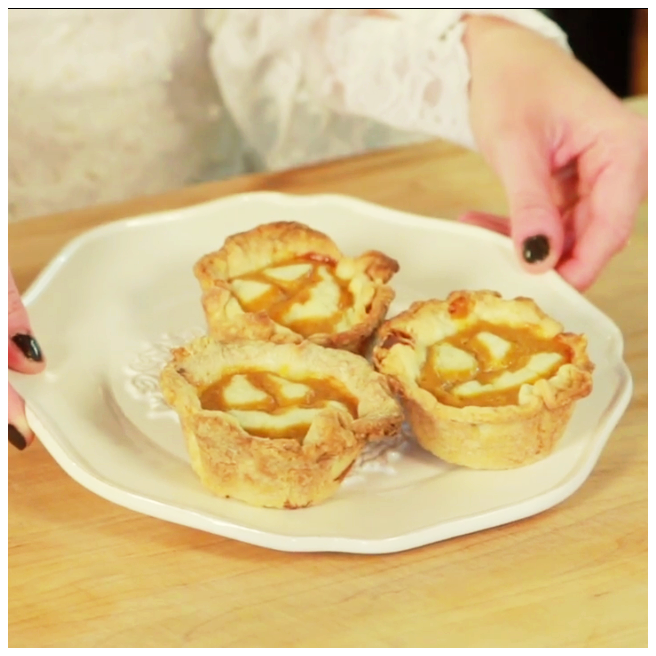
When I was a kid, Halloween was everything on earth to us. My family always made it so special and it was more than just trick-or-treating. Make these mini pies with your kids to get them in the spirit!
Grocery list:
Leftover or frozen pie dough
Flour - for dusting
1 (12 oz) can pumpkin
1 (15 oz) sweetened condensed milk
1 egg - beaten
2 tbsp firmly packed brown sugar
3/4 tap cinnamon
1/2 tsp ginger
1/2 tsp nutmeg
1/2 tsp salt
Directions:
1. Heat oven to 375 degrees. Using a large biscuit cutter, cut out 12 circles of pie dough on a floured surface. Roll out each circle with a rolling pin so they fit into a muffin pan. Use your fingers to press the circles of dough into the muffin tin the way you would a pie crust. Using the scraps, make enough eyes, noses, and mouths for each jack-o-lantern. Set aside.
2. Make the pie filling. Combine the pumpkin, sweetened condensed milk, egg, brown sugar, cinnamon, ginger, nutmeg, and salt together in a medium bowl until smooth.
3. Pour filling into each prepared crust and carefully and decoratively add the eyes, noses, and mouths to make jack-o-lanterns. Bake for 35-40 minutes or until center comes out clean when poked with a toothpick.
Halloween Chili
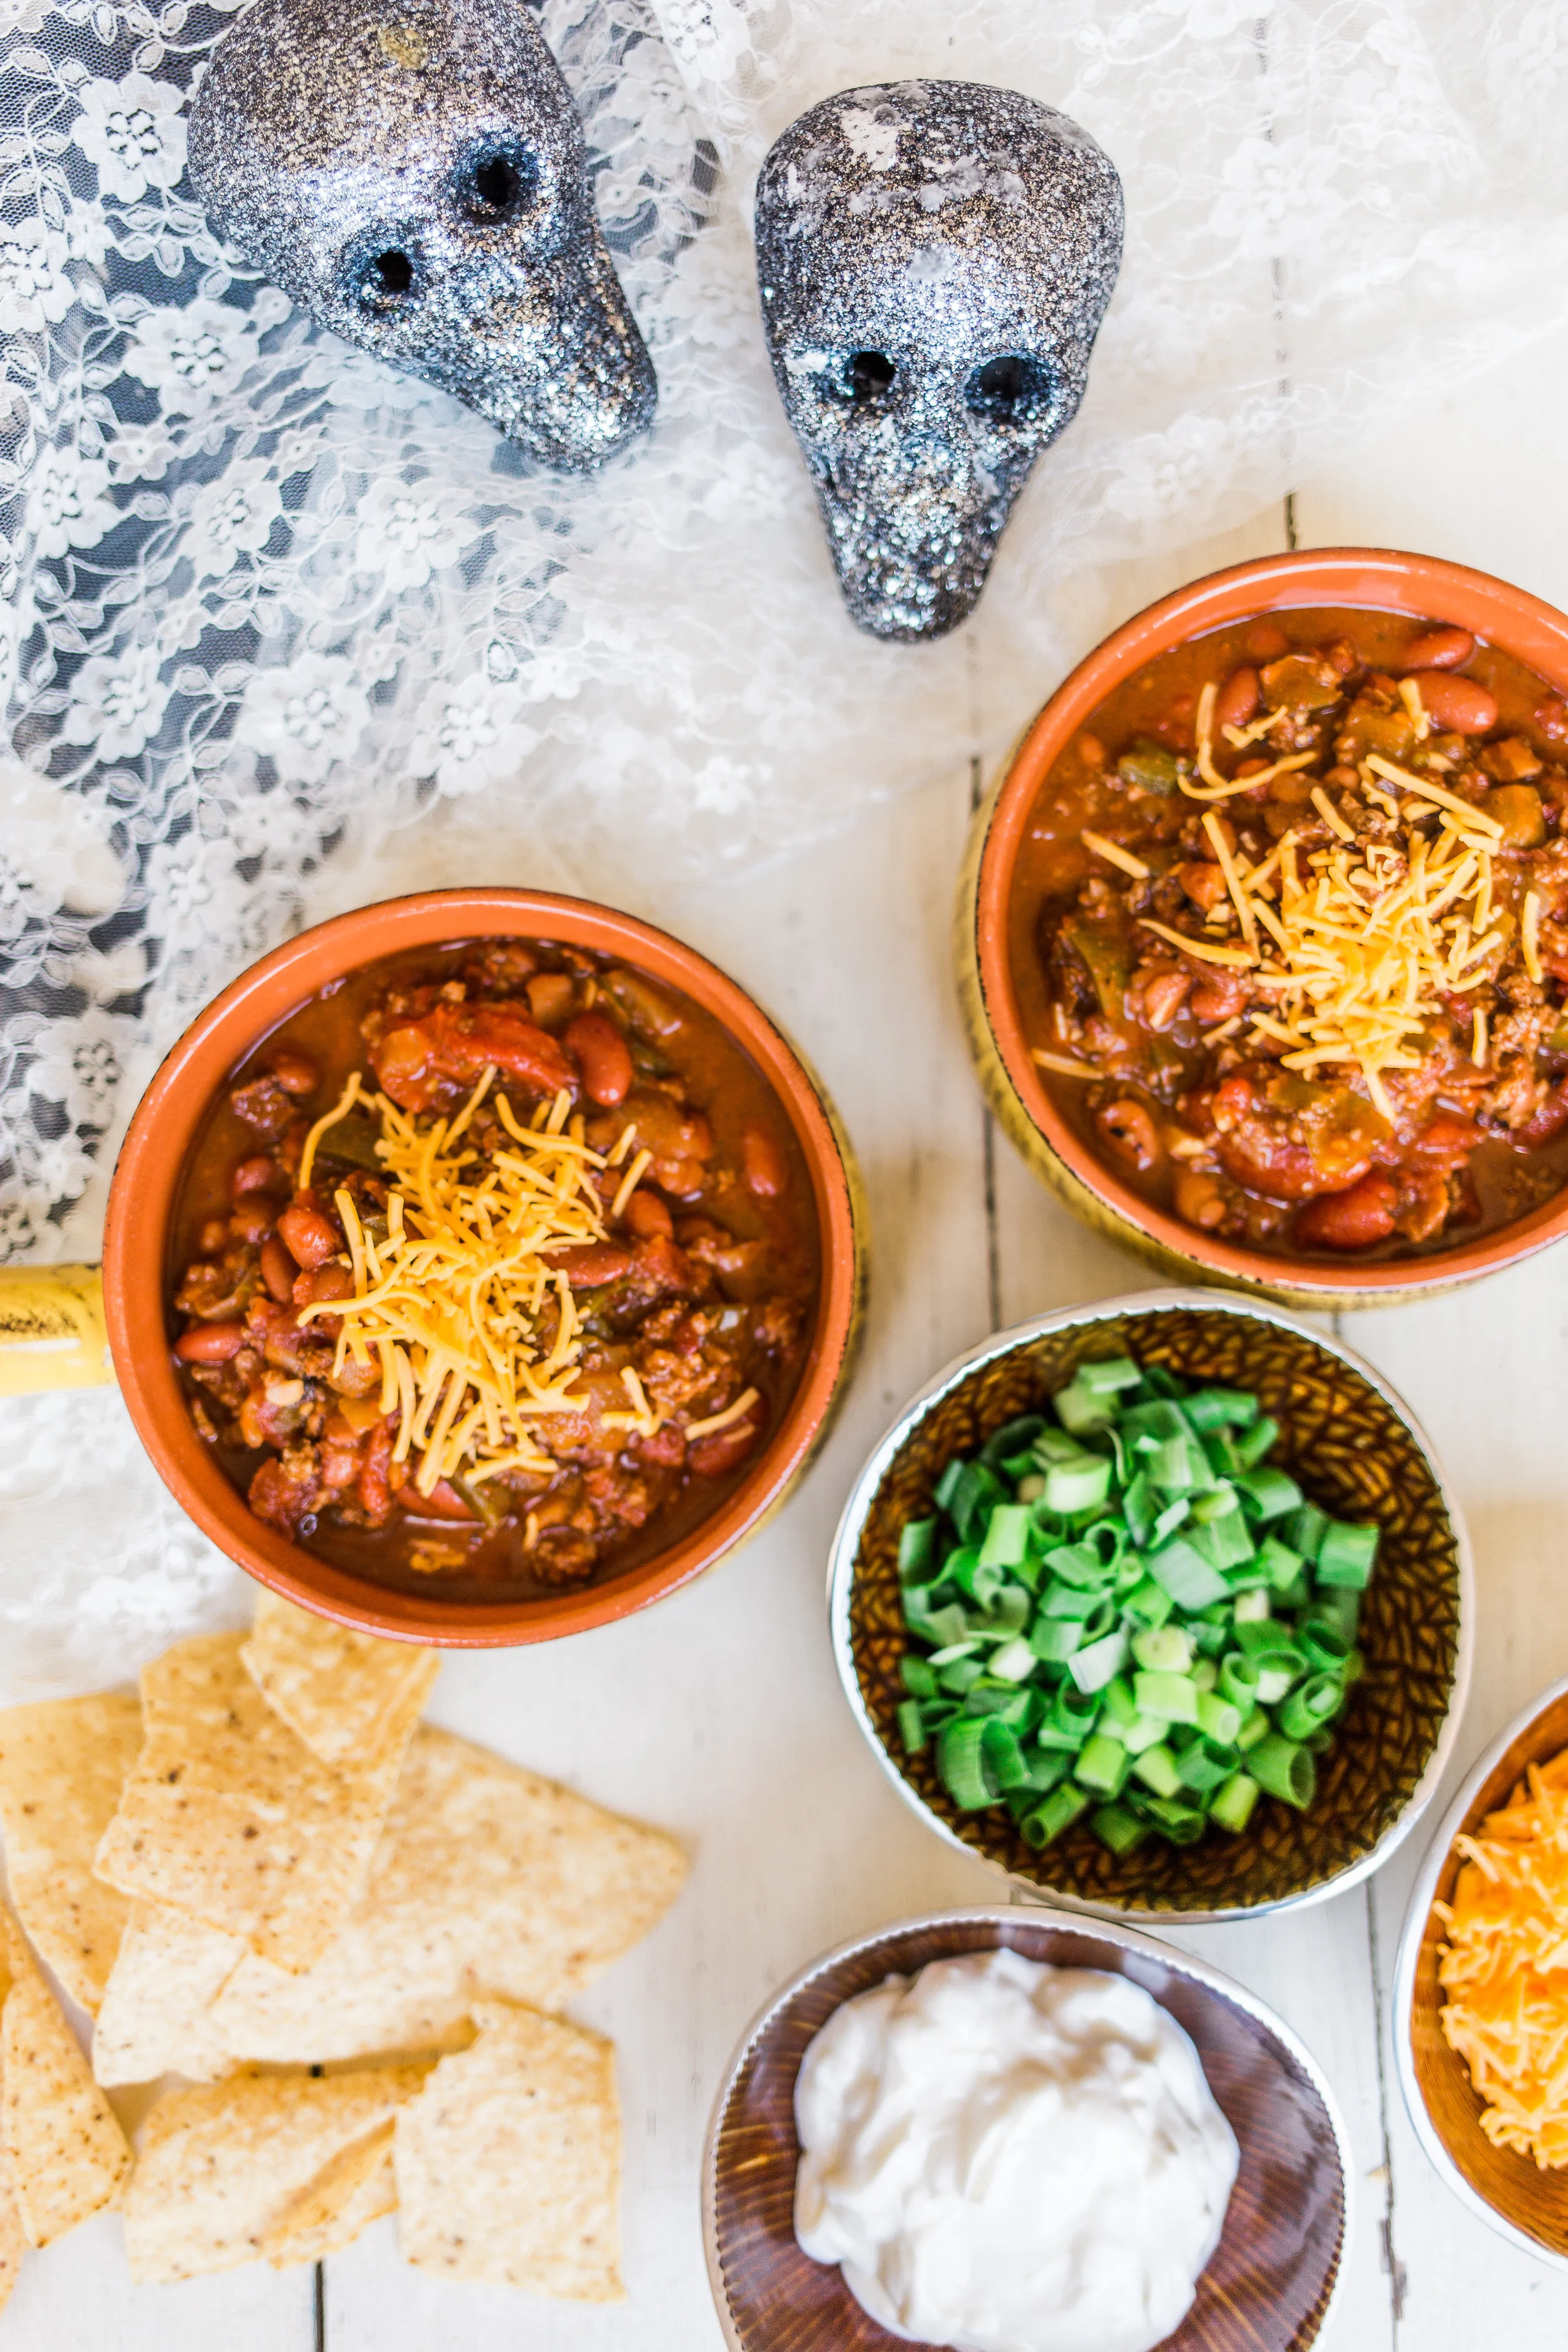

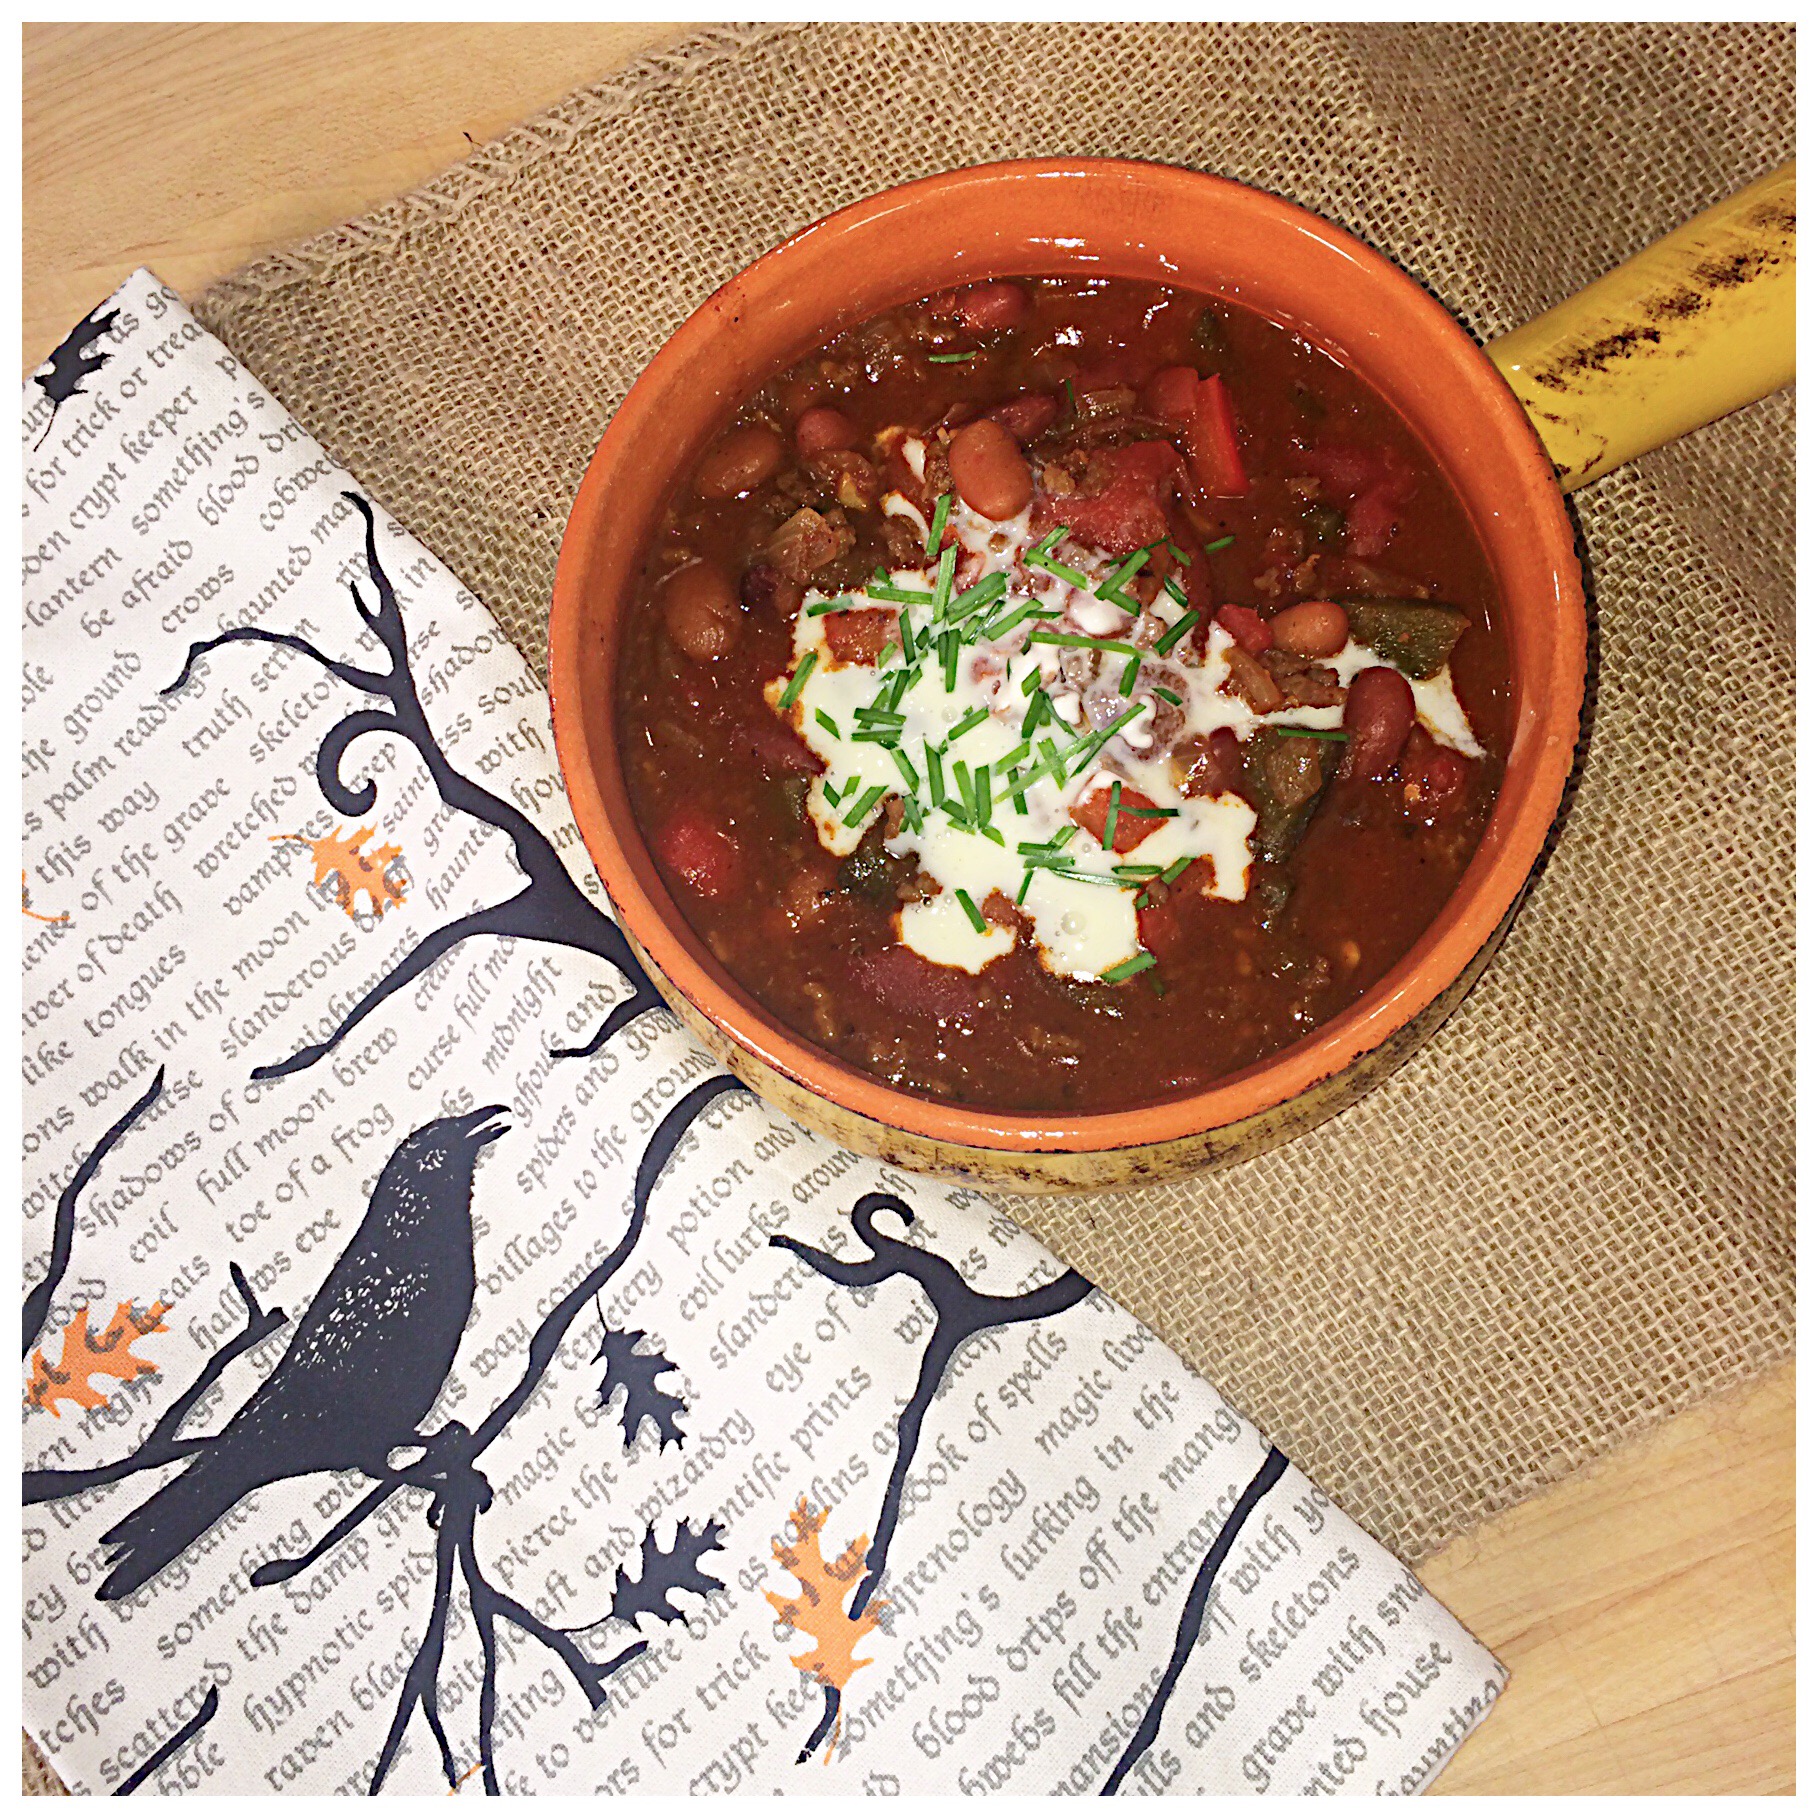
Everyone knows Halloween is my favorite holiday of all! The week of Halloween, I always make my famous Halloween chili and we have friends over to watch scary movies. This chili has been a Halloween specialty since I can remember!
SEE THE VIDEO HERE!!!
Grocery list (8-10 people):
1 lb ground beef
1 lb ground bison
1 lb ground chorizo
4 slices of bacon
2 tbsp butter
2 onions – chopped
2 Poblano peppers – seeded and chopped
1 Anaheim pepper – seeded and chopped
1 jalapeno pepper – seeded and chopped
1 green bell pepper - seeded and chopped
1 red bell pepper - seeded and chopped
6 cloves garlic – minced
¼ cup brown sugar
4 tbsp chili powder
2 tbsp Kosher salt – plus more to taste
1 tbsp oregano
1 tbsp garlic powder
1 tbsp cumin
2 tsp smoked paprika
½ tsp cayenne
2 chilis in adobo sauce - chopped, plus two tbsp. of the sauce
2 32 oz cans whole San Marzano tomatoes – broken up
1 can Rotel
½ can tomato paste (3 oz)
½ bottle chili sauce
2 cans kidney beans
2 cans mild chili beans
32 oz of chicken stock, plus more for thinner chili
Directions:
1. In a large skillet, cook and drain the ground beef, ground bison, and chorizo. You can do these one at a time. Set all the cooked meat aside. Wipe the pan out and fry the bacon. Set bacon aside. Heat half of the bacon grease and 2 tbsp of butter over medium high heat. Add the chopped onions with a dash of salt and sauté for about 5 minutes or until they start to brown. Add the Poblano peppers, Anaheim pepper, jalapeno pepper, green bell pepper, and red bell pepper with a dash of salt and sauté until peppers are soft. Add the chopped garlic and sauté one more minute, stirring everything together well.
2. Transfer the veggie mixture and the meat to a very large soup pot over medium heat. Add the brown sugar, chili powder, Kosher salt, oregano, garlic powder, cumin, smoked paprika, and cayenne to the pot. Stir spices together well with the meat and veggies and let cook together for about 3-4 minutes.
3. Finally, add the chopped chilis and adobo sauce, San Marzano tomatoes (continuing to break the whole tomatoes up into pieces), Rotel, tomato paste, chili sauce, kidney beans, chili beans, and chicken stock. Stir together and let come to a slight bubble. Lower the heat and let simmer on the stove. Finally, add the chopped bacon bits and give it one final stir. Serve with cooked noodle shells, tortilla chips, sour cream, cheese, avocado, chopped onions, and whatever your heart desires!
CHEERS TO A HAPPY HALLOWEEN!!
Andrea's Cooktales - Series 2, Episode 15 -Halloween Chili
Hocus Pocus Pasta
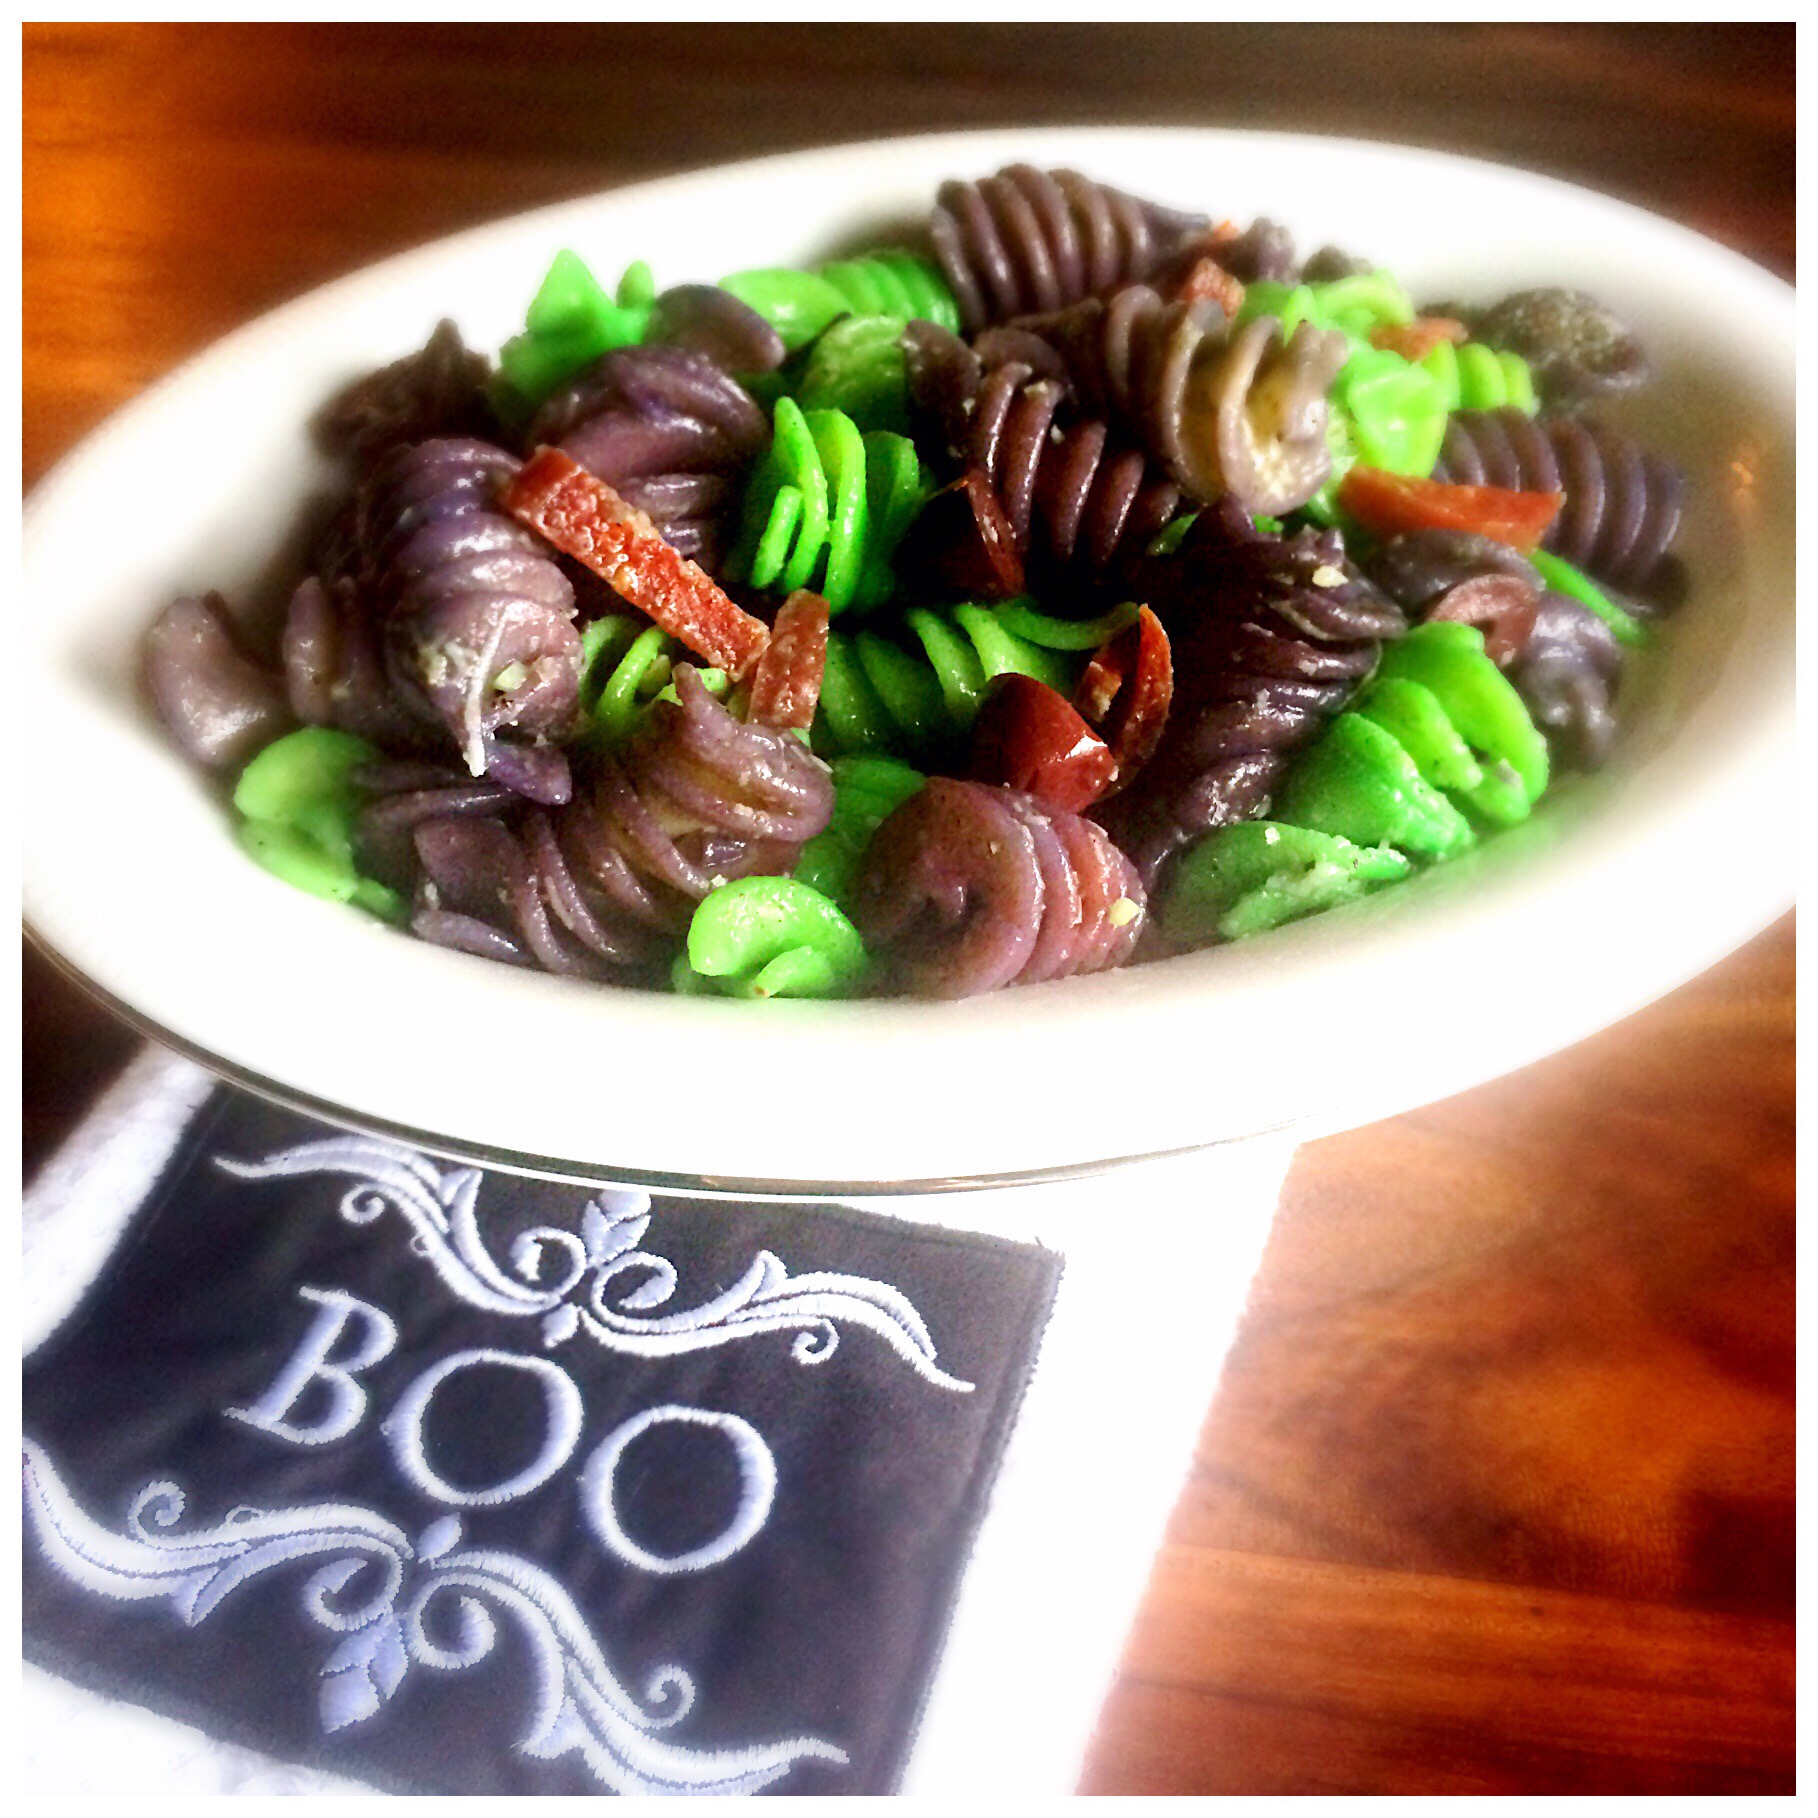
The story for this pasta recipe is simple... I love the movie Hocus Pocus!!! Around Halloween time, who doesn't?! I have watched that movie every October since 1993 when it was released! This recipe is perfect for a movie night, a get together with "witches," or a Halloween party!
Grocery list (4-6 people):
1 lb Fusilli pasta
Kosher salt
12 drops green food coloring
9 drops red food coloring
3-4 drops blue food coloring
3 garlic cloves - minced
3 tbsp red wine vinegar
1/2 cup extra virgin olive oil
Pepper
1/3 cup kalamata olives - sliced in half
1 cup pepperonis - chopped
1/2 cup fresh Parmesan- grated
Directions:
1. Bring a large pot of salted water to a boil. Add the pasta and cook according to the directions on the box. It should be tender but still firm when ready. In one large ziplock bag, add the green food coloring. In another large ziplock bag add the red and blue food coloring, creating purple.
2. Drain pasta, reserving at least 1/4 cup of pasta water. Put half the pasta in the ziplock bag with green coloring and the other half in the bag with purple coloring. Add 1 to 2 tablespoons of pasta water to each bag. Close and move around, coating all the pasta with the color. Let sit for 5-10 minutes, then rinse each pasta color separately.
3. Combine the green and purple pasta in a large bowl. In a small bowl, whisk together the garlic, red wine vinegar, olive oil, 1 tsp salt, and 1/2 tsp of pepper. Pour over the pasta and toss together. Add the olives, pepperonis, Parmesan cheese and toss one last time. Taste and add more salt if needed.
Cheers to a Happy Halloween!!!
Quisque iaculis facilisis lacinia. Mauris euismod pellentesque tellus sit amet mollis.